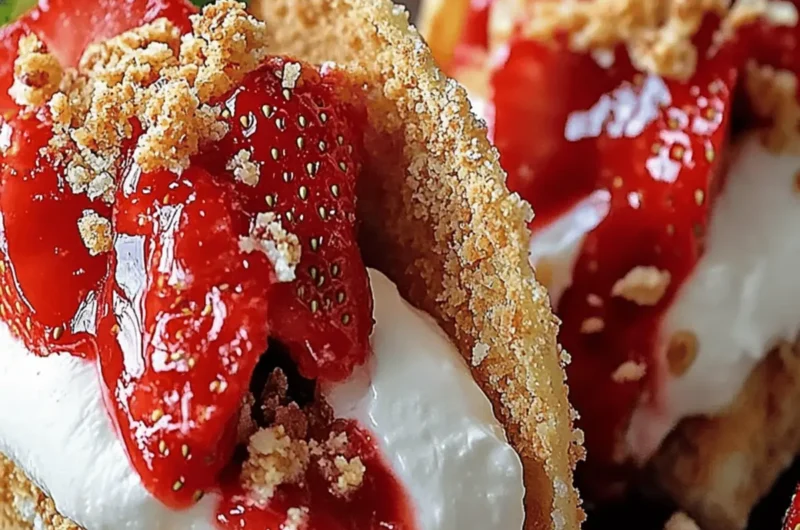
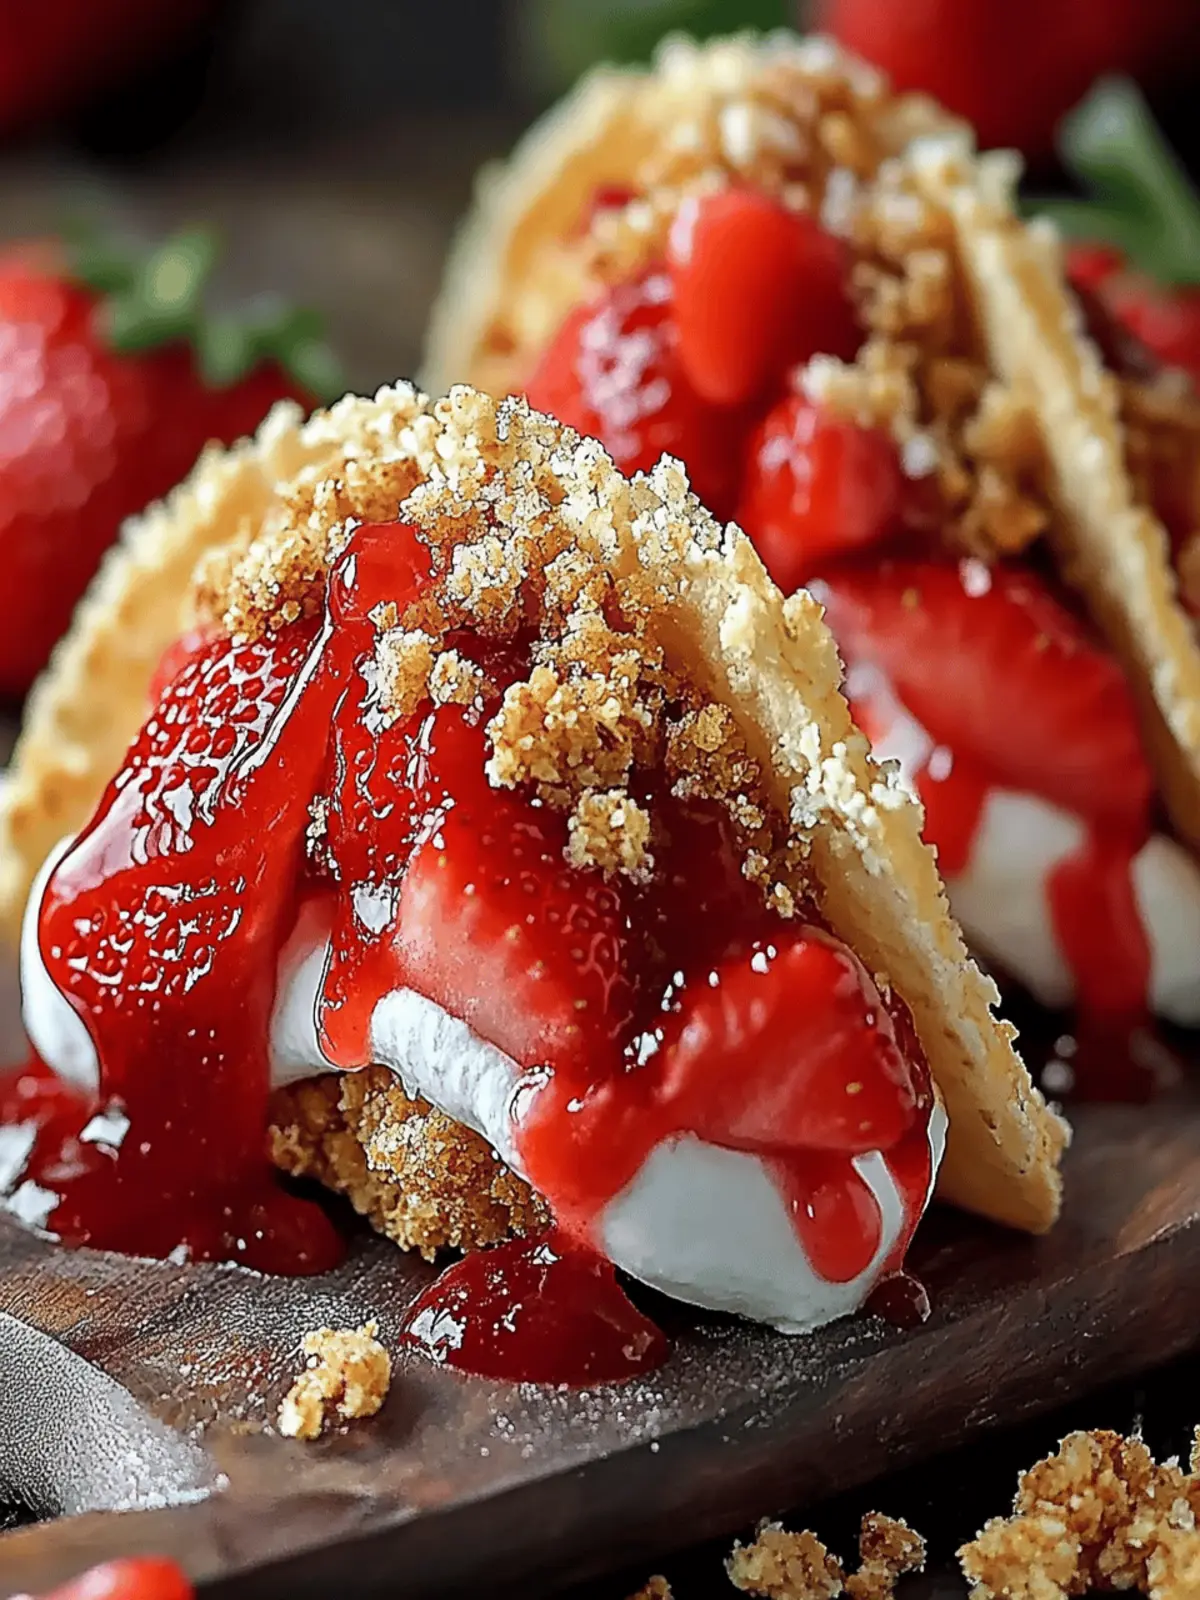
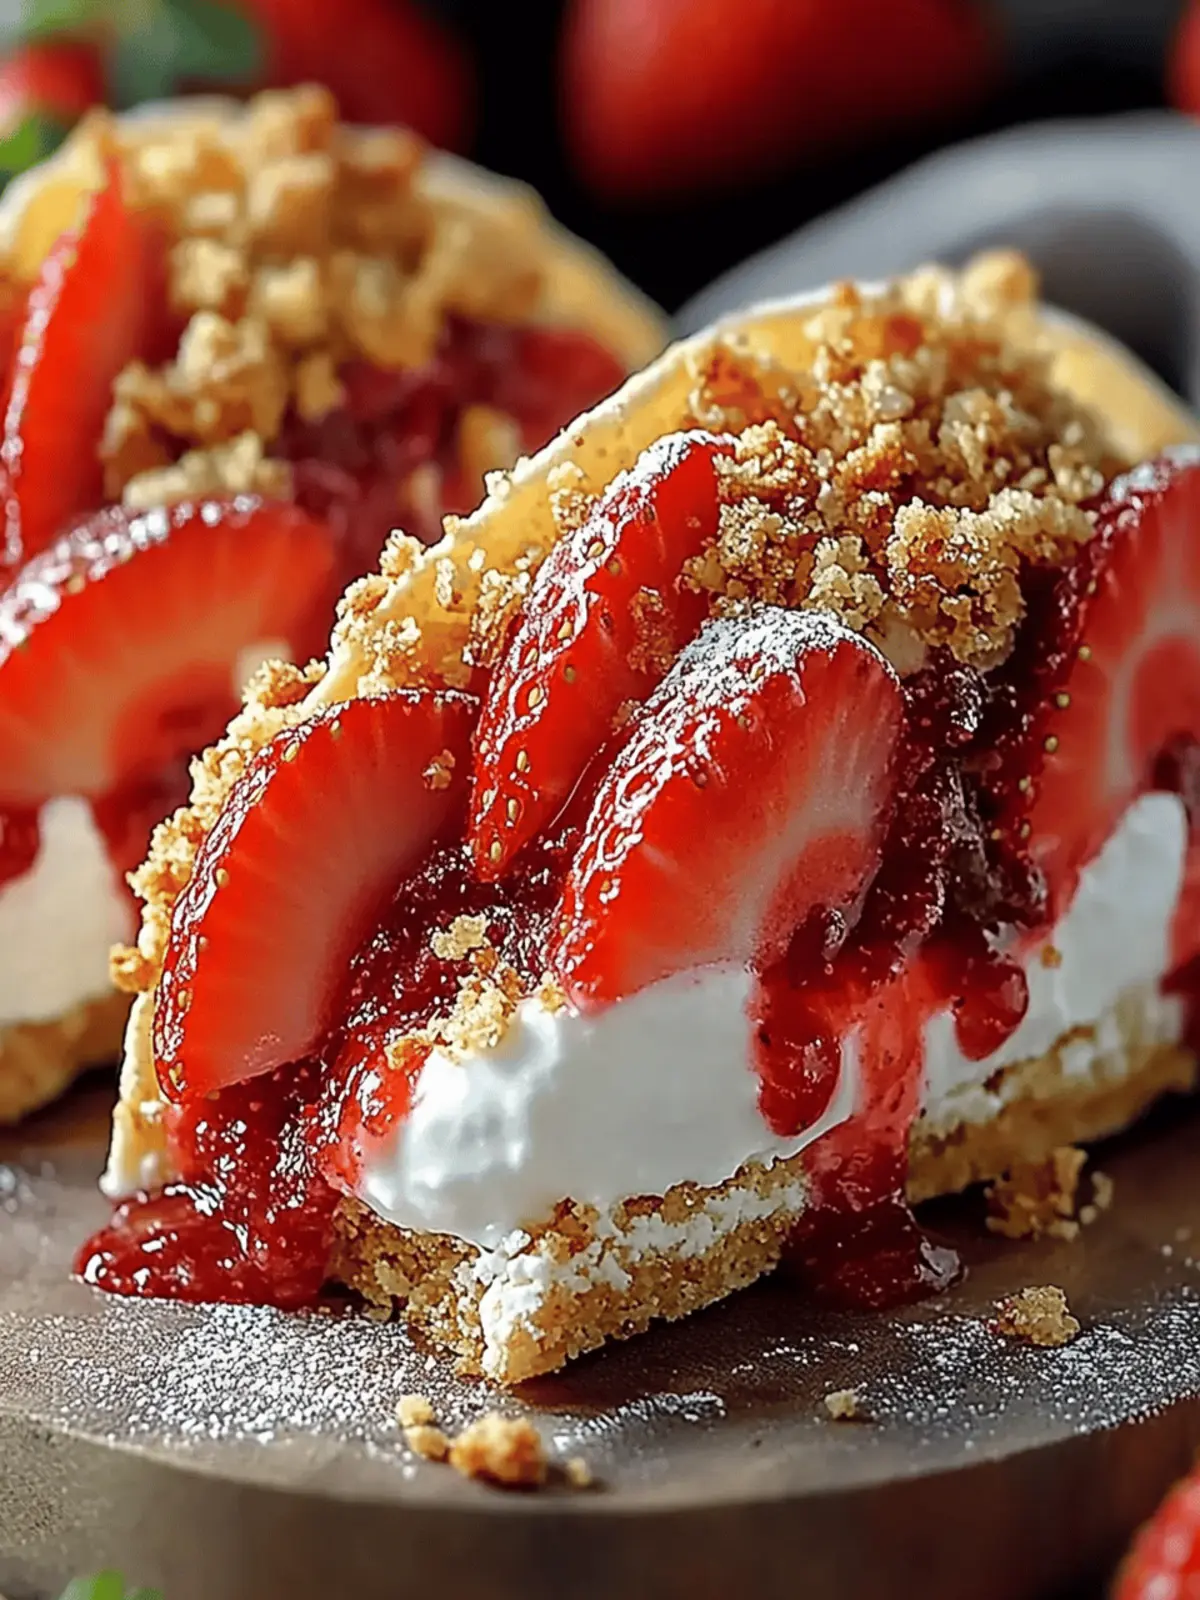
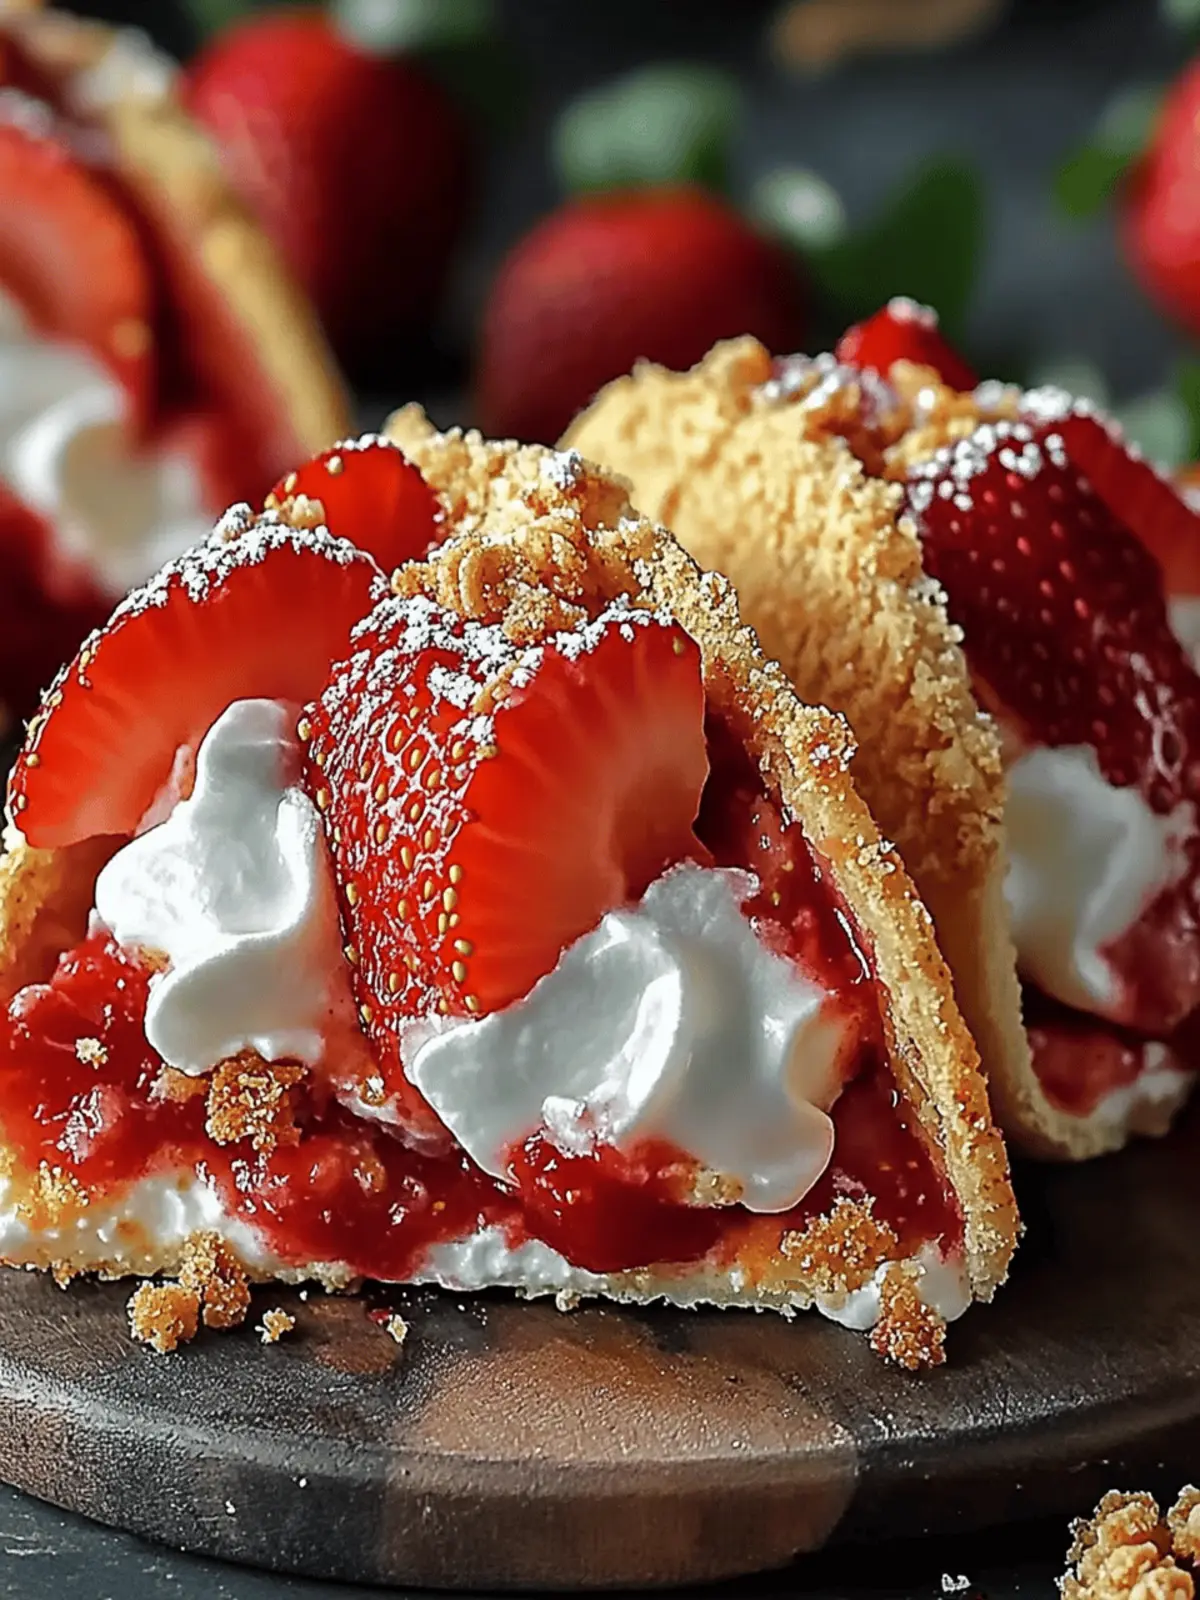
In a world overflowing with traditional desserts, I stumbled upon a delightful surprise that transformed my approach to sweet treats: Strawberry Crunch Cheesecake Tacos. The moment I filled a crunchy taco shell with velvety cheesecake and topped it with fresh strawberries, I knew I had discovered something special. Imagine biting into a dessert that combines the indulgence of cheesecake with the fun of handheld tacos—a perfect marriage of textures that leaves everyone asking for seconds!
These no-bake wonders not only shine at gatherings but also offer a customizable canvas. Whether you’re celebrating a birthday or simply craving something sweet, these strawberry tacos make for an enticing treat that’s guaranteed to impress. And the best part? You can easily tailor them to suit various dietary preferences, making them a crowd-pleaser for all your friends and family. Get ready to elevate dessert night with a twist that you won’t soon forget!
Why love Strawberry Crunch Cheesecake Tacos?
Irresistible fusion: This dessert blends creamy cheesecake with crunchy shells, delivering a delightful texture adventure in every bite.
No-bake convenience: Quick to prepare, these tacos save you time without sacrificing flavor, allowing you to enjoy your evening stress-free.
Crowd-pleasing appeal: Perfect for gatherings or family parties, everyone will rave about this fun twist on a classic dessert.
Customizable options: Feel free to swap out strawberries for your favorite berries, or try diverse toppings to keep things exciting!
Easy storage: Made-ahead taco shells can be ready in advance, making it simple to serve a delicious treat whenever the craving strikes.
Strawberry Crunch Cheesecake Tacos Ingredients
• Dive into the delightful details of this no-bake dessert!
For the Cheesecake Filling
- Cream Cheese – Adds creaminess and structure; ensure it is softened for easy mixing.
- Granulated Sugar – Sweetness to balance the tartness of strawberries; can substitute with powdered sugar for a smoother texture.
- Vanilla Extract – Enhances overall flavor; use pure vanilla extract for the best taste.
- Heavy Cream – Contributes to a light and fluffy filling; can substitute with whipped topping for a lighter option.
- Fresh Strawberries – Provides natural sweetness and freshness; can use other berries like raspberries or blackberries.
For the Taco Shells
- Graham Cracker Crumbs – The base for taco shells that imparts a sweet, crunchy texture; gluten-free graham crackers can be used for a gluten-free version.
- Unsalted Butter – Binds the graham cracker crumbs; can substitute with coconut oil for a dairy-free option.
Optional Toppings
- Chopped Toasted Pecans – Adds extra crunch and nutty flavor; can replace with almonds or walnuts.
- Additional Strawberries – For garnish and added freshness on top.
Enjoy creating your Strawberry Crunch Cheesecake Tacos!
How to Make Strawberry Crunch Cheesecake Tacos
-
Beat cream cheese: Start by beating the softened cream cheese in a mixing bowl until smooth and creamy. This step ensures a delightful base for your velvety cheesecake filling.
-
Mix together: Add granulated sugar and vanilla extract into the cream cheese. Combine thoroughly until all ingredients are fully incorporated and the mixture is consistent.
-
Fold in cream: Gently fold in the heavy cream and finely chopped strawberries. This mix should be light and airy, helping your cheesecake to have that dreamy texture we all love.
-
Prepare the taco shells: In another bowl, mix the graham cracker crumbs and melted butter until it resembles coarse sand. It should hold together when pressed, creating your crunchy taco shell base.
-
Shape the shells: Divide the graham cracker mixture among taco molds or muffin tins, pressing it down to form the shape of taco shells. Make sure they’re firmly packed for stability!
-
Chill the shells: Place the filled molds in the refrigerator and chill for at least 2 hours, or until the shells are firm enough to hold their shape when removed.
-
Fill the taco shells: Once chilled, carefully fill each taco shell with the cheesecake mixture, ensuring even distribution for delicious bites.
-
Garnish and serve: Top with chopped toasted pecans if desired, and add more fresh strawberries on top for a colorful and appetizing finish. Serve chilled and get ready to enjoy the delightful flavors!
Optional: Consider a drizzle of chocolate sauce for added indulgence.
Exact quantities are listed in the recipe card below.
What to Serve with Strawberry Crunch Cheesecake Tacos?
Delight in creating a complete meal that perfectly complements your dessert experience.
- Whipped Cream: A dollop of lightly sweetened whipped cream adds a creamy touch that enhances the cheesecake flavor in each taco.
- Fresh Fruit Salad: A colorful medley of seasonal fruits brightens the plate and refreshes the palate between rich bites of cheesecake.
- Coffee or Espresso: The bold flavor of coffee contrasts beautifully with the sweet, fruity dessert, making for a delightful after-dinner pairing.
Consider serving a fruit platter alongside to offer a refreshing palette cleanser. This can include additional strawberries, melon, or citrus slices for a balanced finish to your meal.
- Chocolate Sauce: A drizzle over the tacos introduces a decadent layer of richness that pairs wonderfully with the fruity cheesecake.
- Ladyfinger Cookies: These light, airy cookies can be served on the side, offering a delightful texture contrast and an elegant touch to your dessert presentation.
- Sparkling Lemonade: A bright, zesty beverage to wash down the sweetness while adding a fizzy complement to your dessert.
How to Store and Freeze Strawberry Crunch Cheesecake Tacos
Fridge: Store assembled tacos in an airtight container for up to 3 days. This preserves the flavors and freshness of the cheesecake filling and strawberries.
Freezer: For longer storage, freeze unfilled taco shells in a freezer-safe container for up to a month. When ready to enjoy, let them thaw in the fridge before filling.
Shell Preparation: Prepare taco shells in advance and keep them in the fridge for up to 5 days. This allows for quick assembly when you’re ready to serve.
Reheating: Although the tacos are enjoyed chilled, if you have filled leftovers, it’s best to consume them fresh. Avoid reheating as it may affect the texture of the cheesecake.
Strawberry Crunch Cheesecake Tacos Variations
Explore the endless possibilities as you make this dessert truly your own with delightful twists and substitutes!
-
Berry Medley: Swap strawberries for a mix of berries like blueberries or raspberries for a vibrant, berry-packed delight. The clash of flavors will dazzle your palate!
-
Nut-Free Option: Omit pecans and replace them with a sprinkle of coconut flakes for a tropical vibe. It’s crunchy and sweet—but without the nuts!
-
Dairy-Free Delight: Substitute cream cheese with vegan cream cheese and use coconut whipped topping to keep the creaminess while going dairy-free. Everyone will love this delightful version!
-
Chocolate Lovers: Add cocoa powder to the cheesecake filling or drizzle melted chocolate over the top. It’s an irresistible fusion that adds a rich layer of indulgence.
-
Almond Extract: Replace vanilla extract with almond extract for a sweet, nutty flavor. A little switch can transport your taste buds on a delicious journey!
-
Zesty Kick: Incorporate lemon zest into the cheesecake for a refreshing brightness that will balance the sweetness beautifully—everyone will be reaching for more!
-
Caramel Drizzle: Top your tacos with a drizzle of caramel sauce for an extra layer of sweetness and flavor that complements the strawberries perfectly.
-
Crunchy Granola: Replace graham crackers with your favorite granola for an intense crunch and a new flavor profile that’s both nutritious and delicious.
These variations will allow you to cater to preferences or mix things up for delightful surprises!
Make Ahead Options
These Strawberry Crunch Cheesecake Tacos are perfect for meal prep enthusiasts! You can prepare the taco shells up to 5 days in advance by mixing the graham cracker crumbs and butter, then pressing them into molds and refrigerating until firm. In addition, the cheesecake filling can be prepped up to 24 hours ahead; simply store it in an airtight container in the refrigerator to preserve its luscious texture. When you’re ready to serve, just fill the taco shells with the cheesecake mixture and top with fresh strawberries and optional chopped pecans. This way, you can enjoy a fabulous dessert with minimal effort, allowing you to delight your guests with this sweet treat anytime!
Expert Tips for Strawberry Crunch Cheesecake Tacos
- Softened Cream Cheese: Make sure your cream cheese is at room temperature for easy blending. Cold cream cheese can lead to a lumpy filling.
- Light Mixing: Avoid overmixing the cheesecake filling to keep it light and fluffy. Gentle folding will maintain that desirable texture.
- Chilling Time: Don’t rush the chilling process! Make sure to chill the taco shells for at least 2 hours to ensure they hold their shape perfectly.
- Taco Shell Stability: Pack the graham cracker mixture firmly into the molds to prevent the shells from crumbling when filled with the cheesecake mixture.
- Customizable Filling: Feel free to mix in other fruits or use flavored extracts to create your own unique version of Strawberry Crunch Cheesecake Tacos!
- Airtight Storage: If you have leftovers, store any uneaten tacos in an airtight container in the refrigerator for up to 3 days to keep them fresh and tasty.
Strawberry Crunch Cheesecake Tacos Recipe FAQs
What kind of strawberries should I use for the cheesecake filling?
Absolutely! For the best flavor, always choose fresh, ripe strawberries with bright color and no dark spots. If you find yourself with strawberries that are slightly overripe, don’t worry—just make sure to chop them finely, as they can still enhance the filling with their sweetness.
How can I store leftover Strawberry Crunch Cheesecake Tacos?
Store any assembled tacos in an airtight container in the refrigerator for up to 3 days. This helps maintain the freshness of the cheesecake filling and prevents the taco shells from becoming soggy. If you have unfilled taco shells, they can be kept for up to 5 days in the fridge!
Advertisement
Can I freeze the cheesecake tacos? If so, how?
Yes! For longer storage, you can freeze unfilled taco shells. Just place them in a freezer-safe container and they’ll last for up to a month. When you’re ready to enjoy them, simply take them out of the freezer and let them thaw in the refrigerator overnight before filling with the cheesecake mixture. Avoid freezing the filled tacos as the texture may not hold up well after thawing.
What can I do if my cheesecake filling is too runny?
If your cheesecake filling turns out too runny, don’t fret! Fold in a little more softened cream cheese until you reach the desired thickness. Alternatively, you can chill the filling in the fridge for about 30 minutes to help it firm up before filling the taco shells.
Are these Strawberry Crunch Cheesecake Tacos suitable for gluten-free diets?
Absolutely! You can make this dessert gluten-free by using gluten-free graham crackers instead of regular ones. Just check the packaging to ensure that they are certified gluten-free, and you’ll have a delicious treat that everyone can enjoy!
Can pets eat strawberries?
While strawberries are generally safe for pets in moderation, it’s crucial to remember that dogs and cats shouldn’t consume too much sugar. Always consult your veterinarian before sharing new treats with your furry friends, especially if they have any dietary restrictions or health issues. Enjoy your Strawberry Crunch Cheesecake Tacos worry-free, but keep them away from your pets!
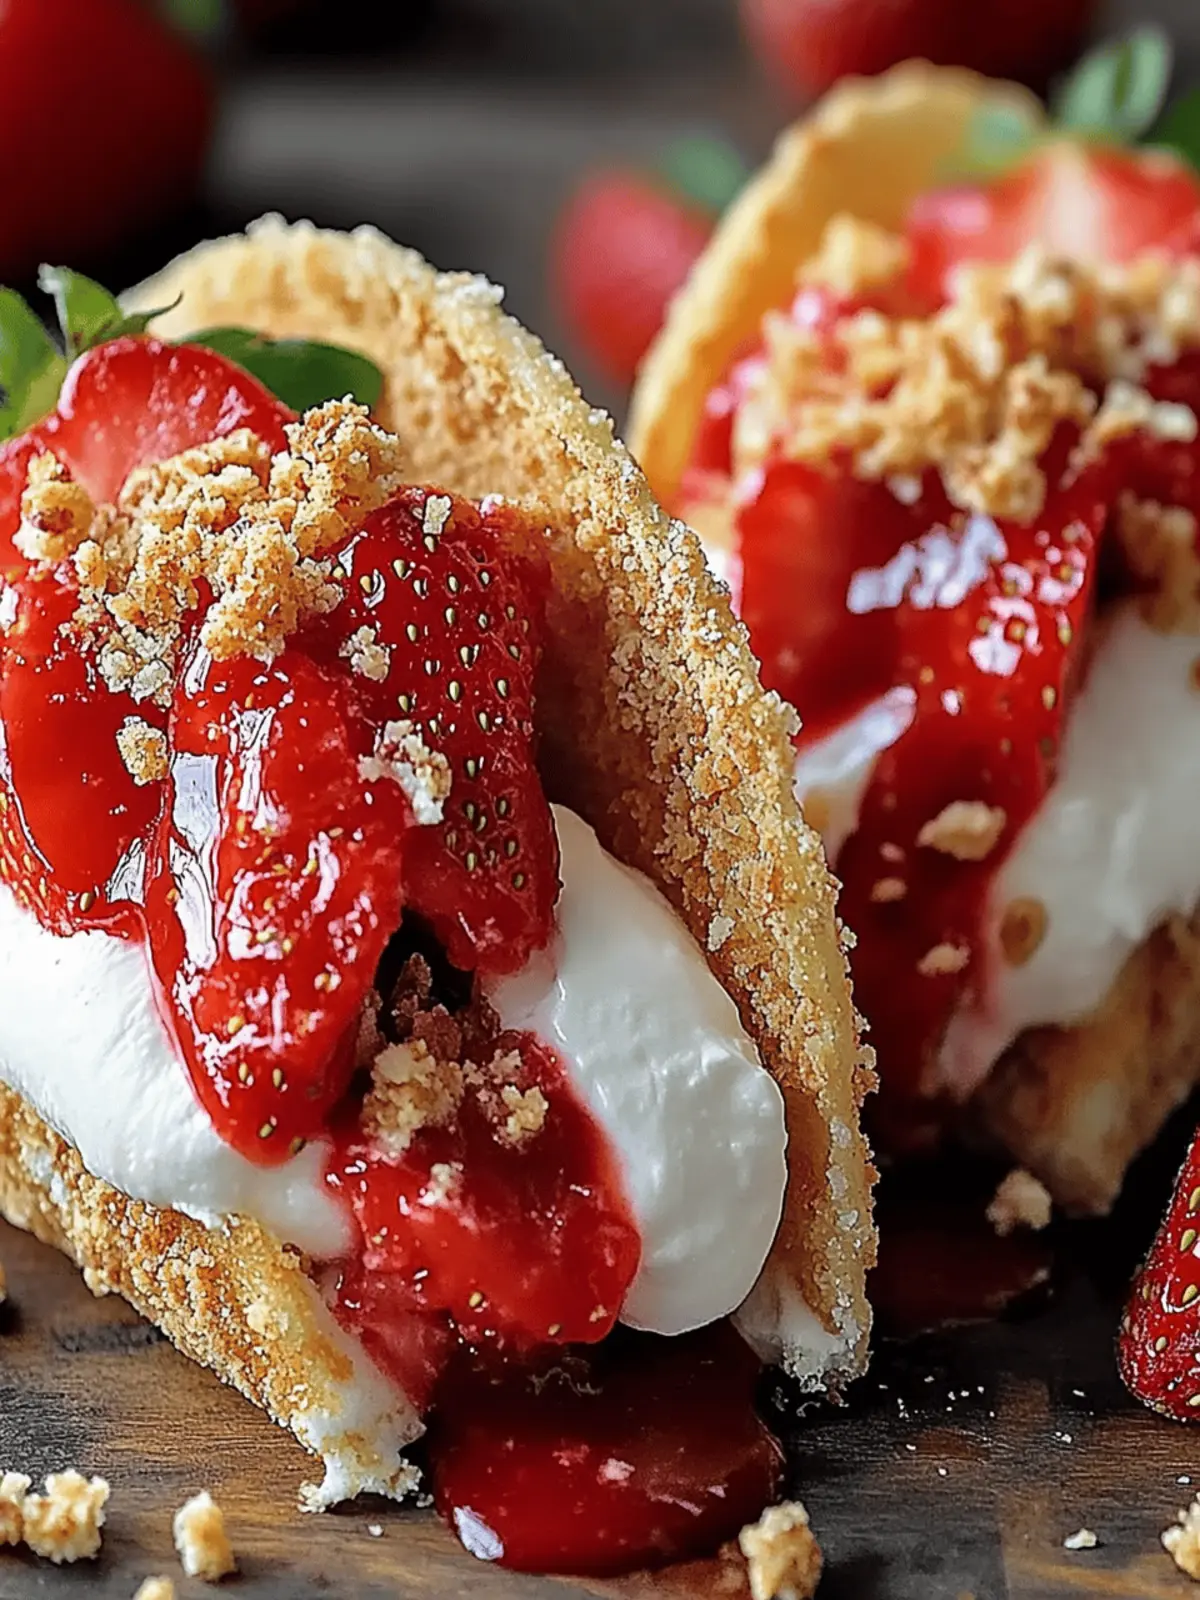
Strawberry Crunch Cheesecake Tacos: Your New Favorite Dessert
Ingredients
Equipment
Method
- Beat cream cheese in a mixing bowl until smooth and creamy.
- Add granulated sugar and vanilla extract into the cream cheese and combine thoroughly.
- Gently fold in the heavy cream and finely chopped strawberries.
- In another bowl, mix the graham cracker crumbs and melted butter until it resembles coarse sand.
- Divide the graham cracker mixture among taco molds or muffin tins, pressing it down.
- Place the filled molds in the refrigerator and chill for at least 2 hours.
- Carefully fill each taco shell with the cheesecake mixture.
- Top with chopped toasted pecans and additional strawberries.

