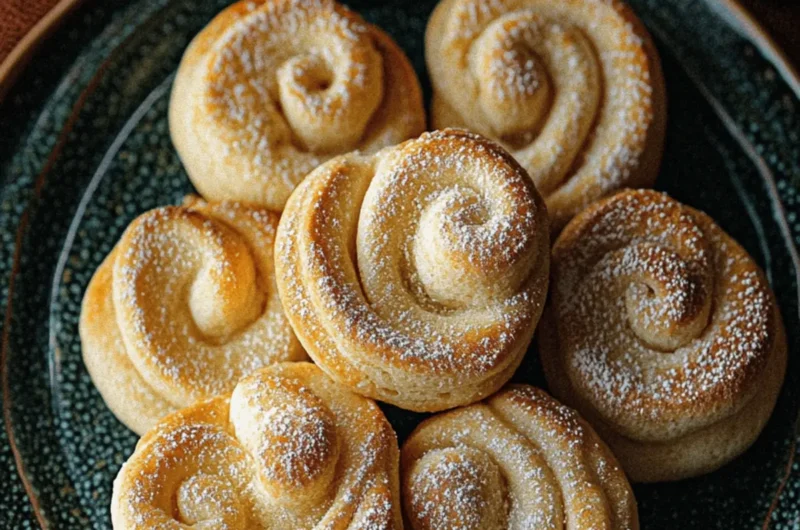
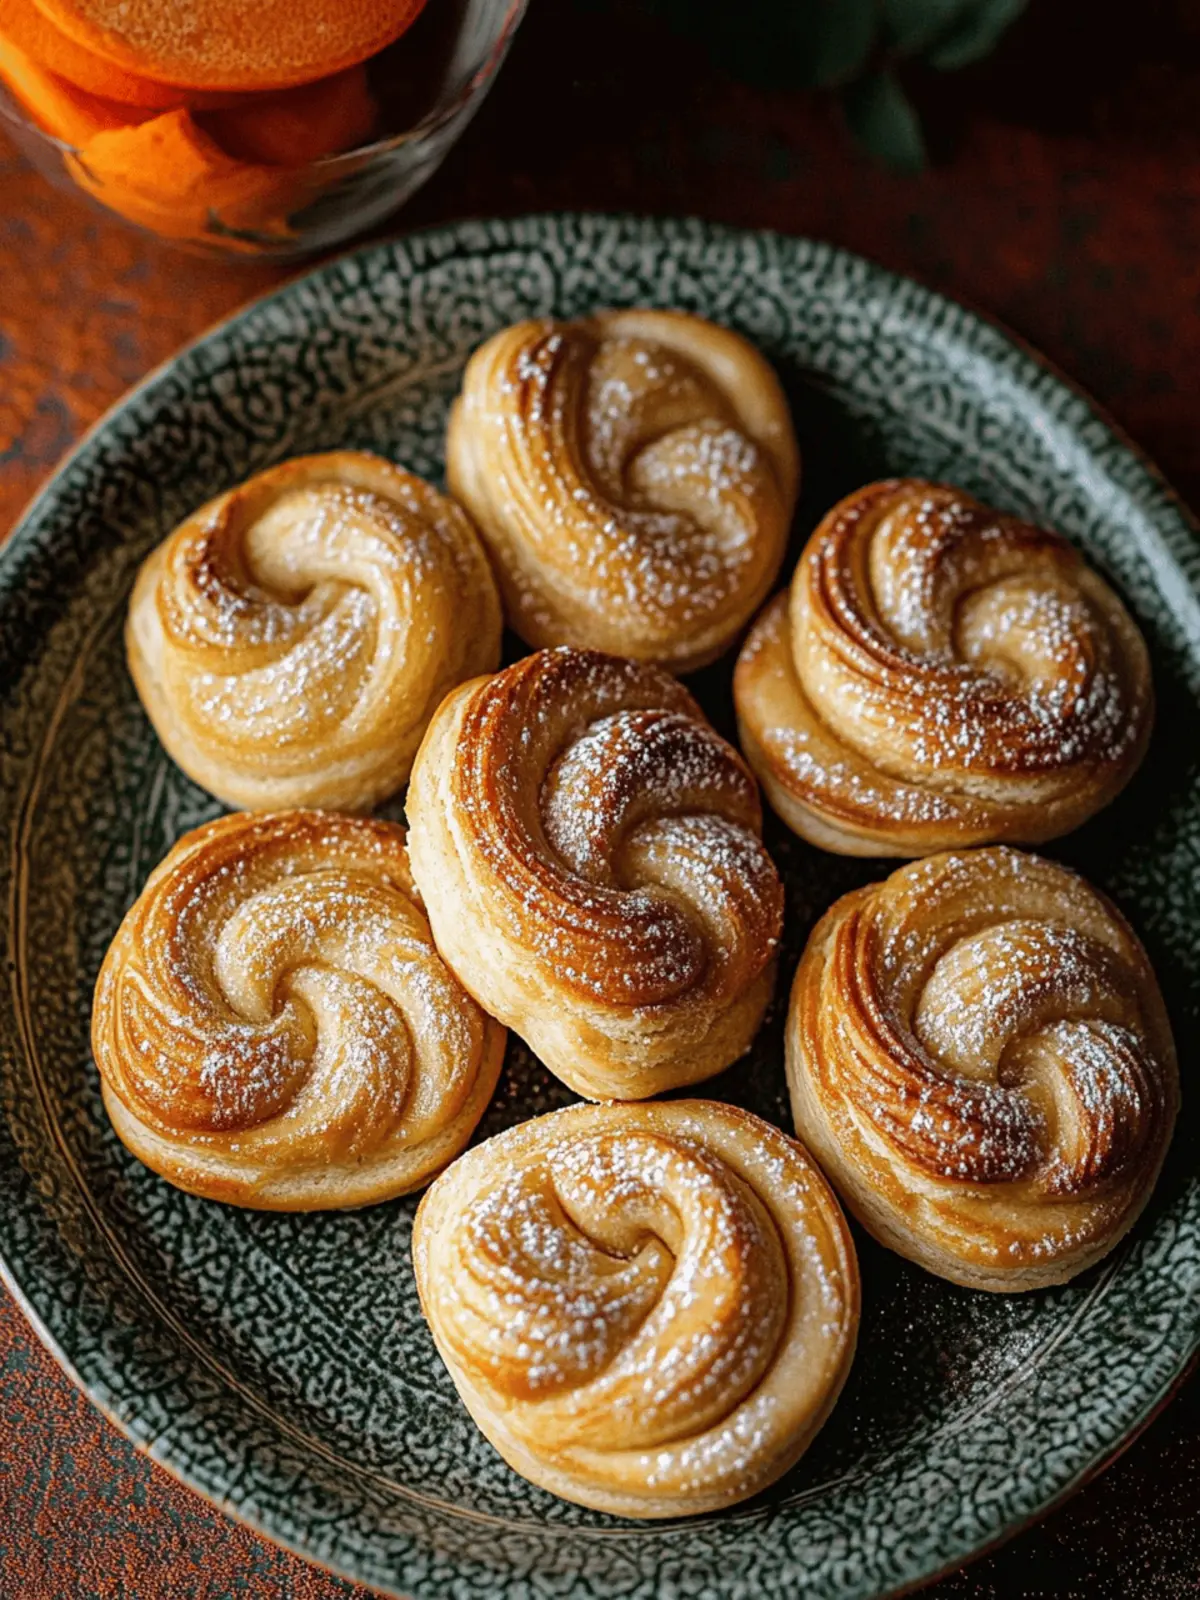
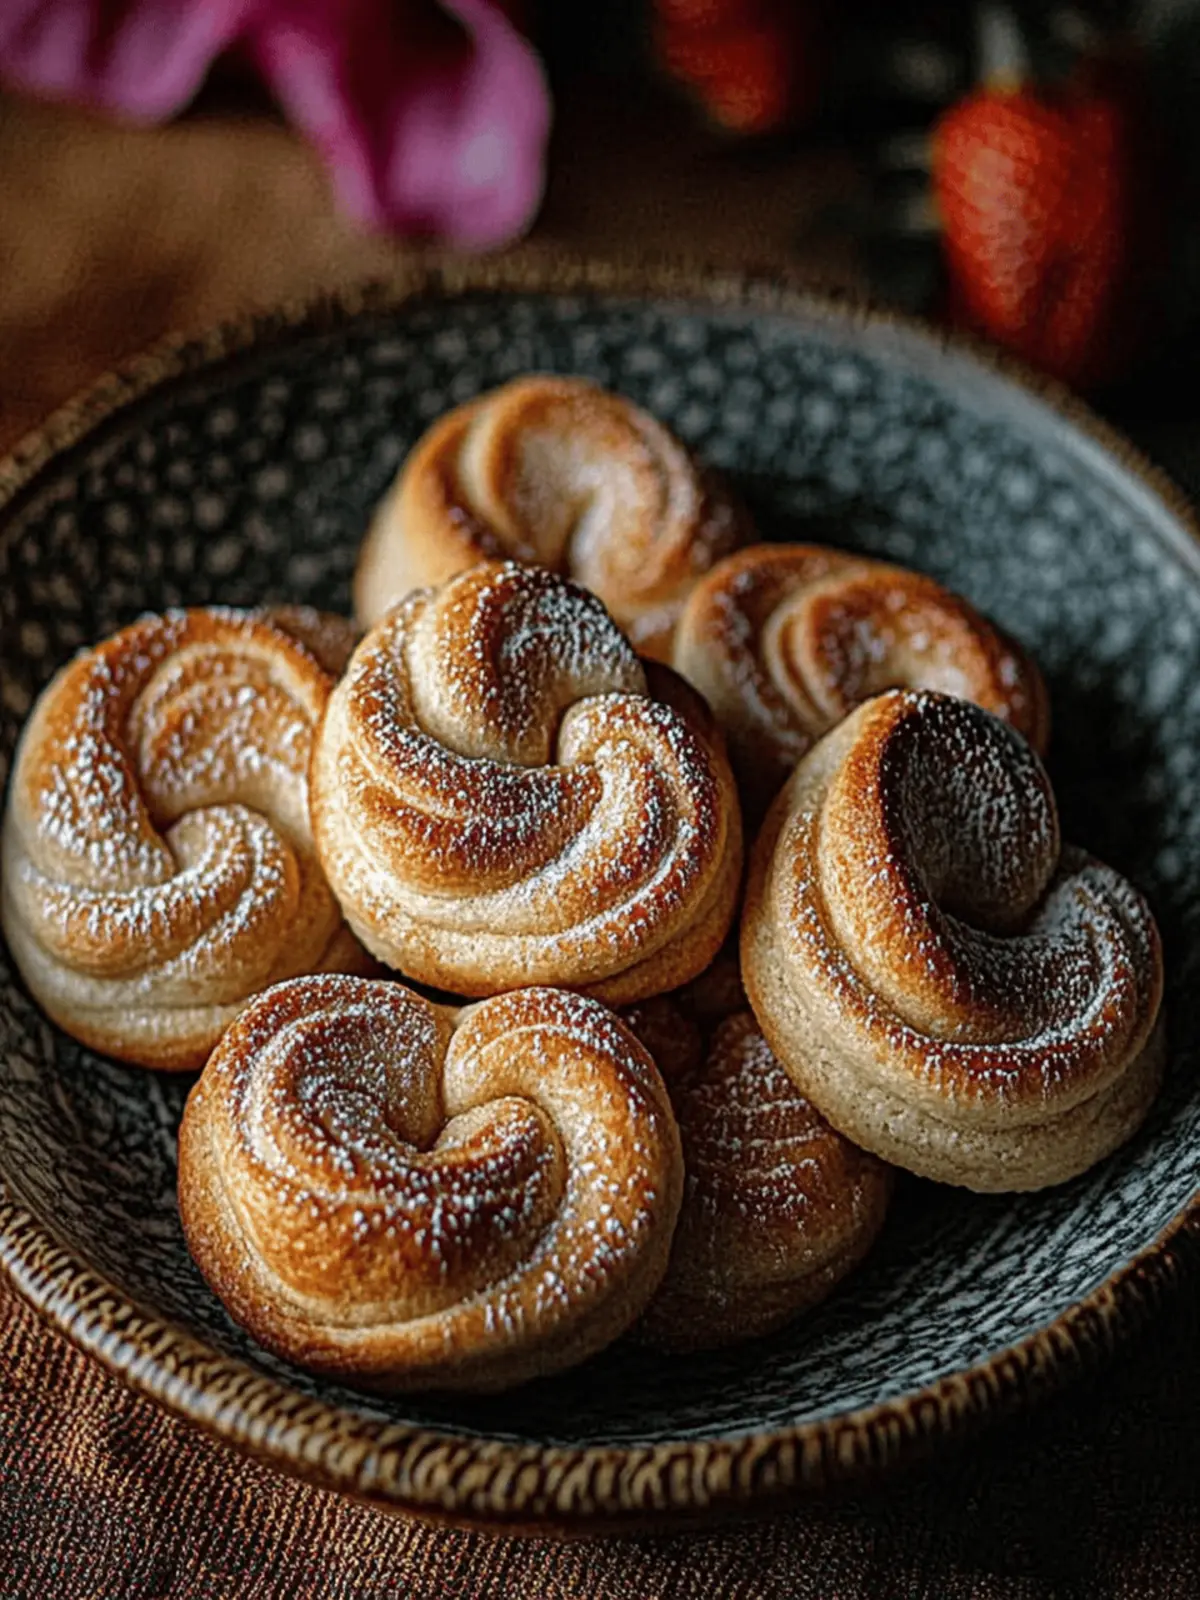
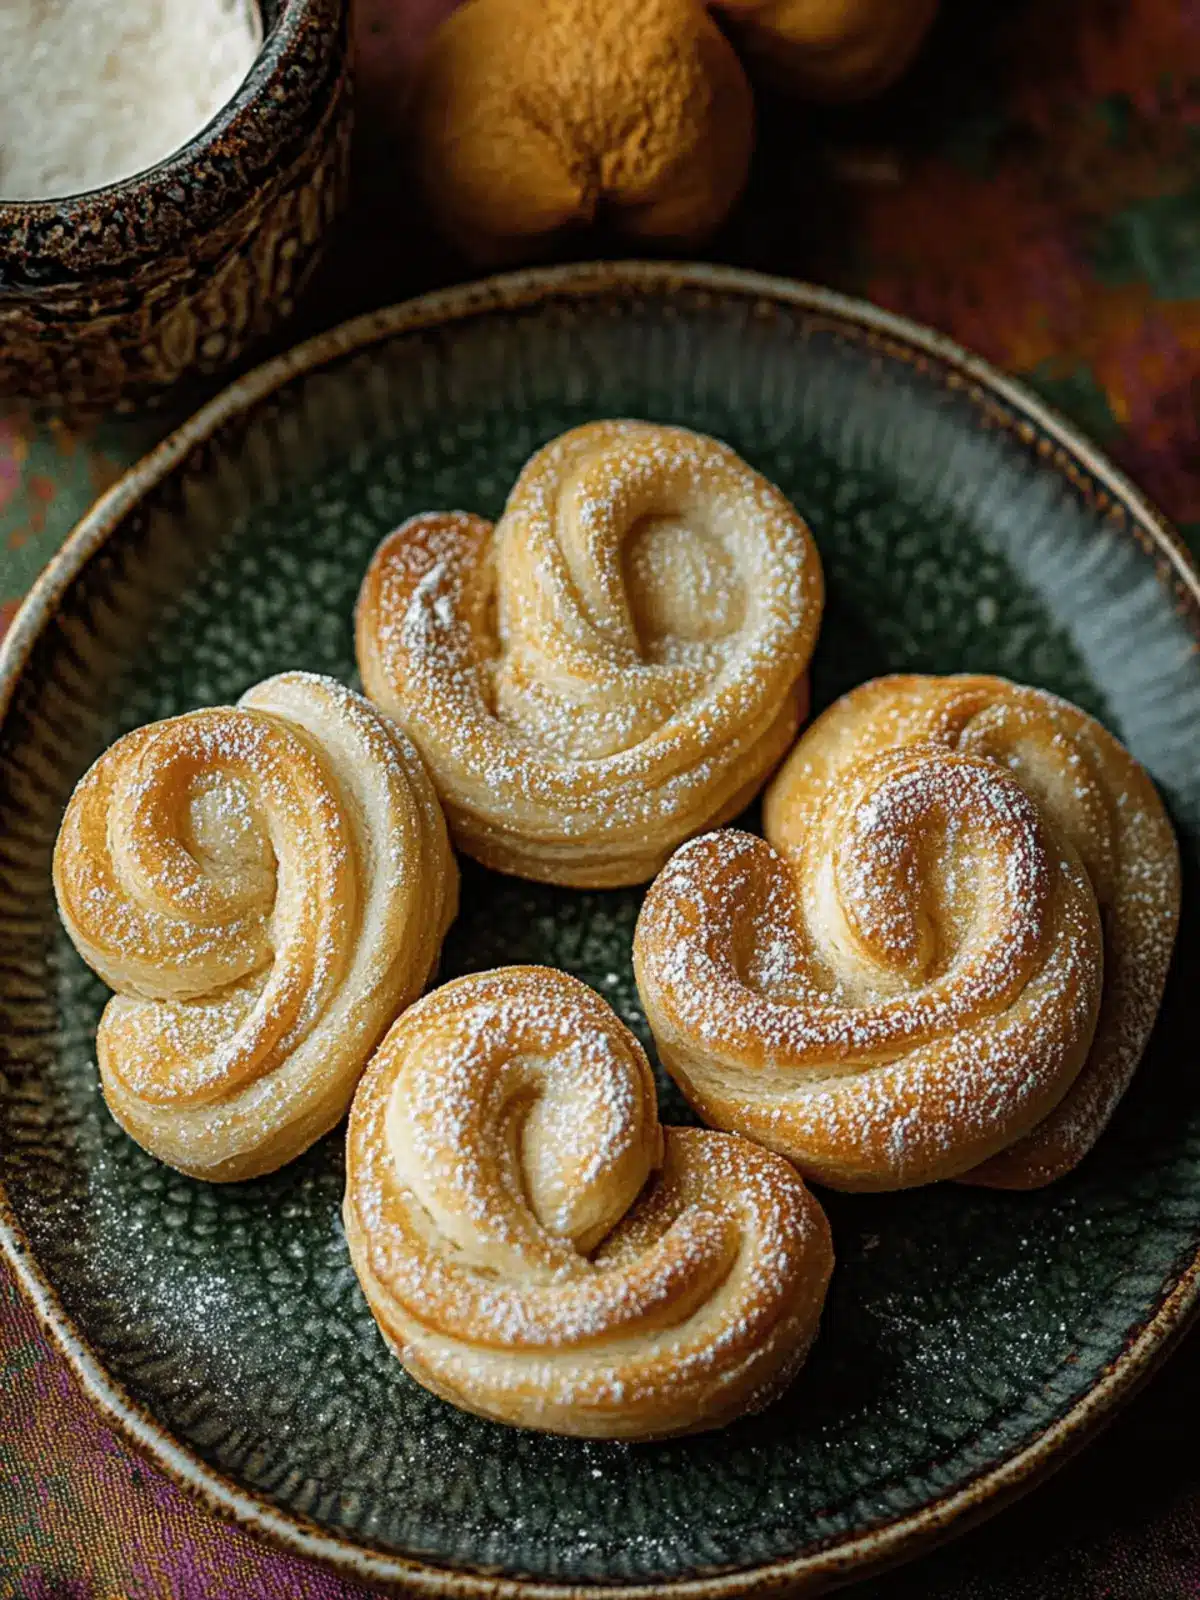
There’s a certain kind of joy that fills the kitchen when you’re about to bake something special. Imagine the delight of kneading soft dough, thick with the sweet aroma of vanilla, and the anticipation of watching it rise to golden perfection. That’s exactly what you’ll experience when making Orejas, or Orejitas—those lovely little “ears” that hail from Mexican bakeries, bringing a taste of cultural heritage right to your home.
I stumbled upon this delightful treat while visiting a charming bakery, and I knew I had to recreate it! With their crisp exterior and airy, buttery interior, these pastries are not just a simple dessert; they’re a nostalgic reminder of gatherings with family and friends, perfect for pairing with morning coffee or enjoyed on their own. What I love most about this recipe is its adaptability—whether you prefer them sweetened with sugar and cinnamon or filled with rich chocolate or fruity jams, Orejas cater to all cravings. So roll up your sleeves, and let’s bring a taste of Mexico’s culinary heart into our kitchens!
Why are Orejas a Must-Try Treat?
Crispy and Irresistible: These Orejas boast an amazing texture, with a crunchy exterior and airy buttery center that makes every bite a delight.
Family-Friendly Fun: Perfect for involving kids, this simple recipe can be a great bonding activity while creating scrumptious memories together.
Versatile Options: Try them filled with chocolate, topped with cinnamon sugar, or even served with a delicious glaze for a unique twist.
Cultural Connection: Baking Orejas isn’t just about the taste—it’s an embrace of rich Mexican traditions, allowing you to connect with heritage through food.
Quick and Easy: With straightforward steps, you’ll have freshly baked Orejas in under an hour—ideal for satisfying those sweet cravings without a fuss.
Indulge in this delightful recipe, and don’t forget to share them during gatherings or as a post-meal treat!
Orejas Ingredients
For the Dough
- All-purpose flour – Provides structure for the pastry; can substitute with whole wheat flour for added fiber.
- Unsalted butter – Adds richness and flavor; substitute with coconut oil for a dairy-free option.
- Sugar – Sweetens the dough and is used for coating; try coconut sugar for a less refined alternative.
- Vanilla extract – Imparts a warm, aromatic flavor; use pure vanilla for the best taste, or almond extract for a different profile.
- Salt – Enhances overall flavor and balances sweetness.
- Milk – Hydrates the dough, adding moisture; use non-dairy milk like almond milk if necessary.
- Active dry yeast – Provides leavening for light, flaky texture; instant yeast can also work without needing activation.
- Egg – Binds the ingredients and contributes to browning; for a vegan option, a flax egg can be used.
For the Coating
- Sugar for coating – Coats the pastries to create a sweet outer layer; mix with cinnamon for an added flavor boost.
Get ready to whip up some absolutely delightful Orejas that will have everyone asking for seconds!
How to Make Orejas
-
Prep dough: Combine warm milk with active dry yeast and let it bloom for about 5 minutes, until foamy. This step is crucial for getting that perfect rise!
-
Mix ingredients: In a large bowl, combine all-purpose flour, sugar, salt, and softened butter. Mix until crumbly, ensuring the butter is well incorporated for that rich flavor.
-
Incorporate liquids: Pour the yeast mixture and crack in the egg. Stir gently until the dough starts to come together, aiming for a soft, cohesive texture.
-
Knead dough: Lightly flour your countertop and knead the dough for approximately 5 minutes. You want it to be smooth and elastic, invitingly soft to the touch.
-
Let rise: Place your kneaded dough in a greased bowl, cover with a cloth, and let it rise in a warm spot for about an hour or until it doubles in size. Patience pays off here!
-
Shape Orejas: Roll out the dough into a flat rectangle, sprinkle with sugar, and fold it over itself. Twist and shape into the iconic “ear” shape, making sure they look adorable!
-
Bake: Arrange the shaped Orejas on a baking sheet and bake in a preheated oven at 375°F (190°C) for about 15 minutes or until they turn a lovely golden brown. Watch them closely!
-
Cool and Serve: Once baked, let them cool slightly on a wire rack before serving. Consider dusting with more sugar or a glaze for an extra touch of sweetness!
Optional: Dust with powdered sugar before serving for a touch of elegance.
Exact quantities are listed in the recipe card below.
What to Serve with Orejas?
Baking Orejas may fill your kitchen with delightful aromas, but pairing them with complementary flavors makes for an unforgettable experience.
- Rich Dark Chocolate: The luscious richness of dark chocolate creates a perfect contrast, elevating the sweetness of the Orejas. This combination satisfies those with a sweet tooth!
- Fresh Berries: Juicy strawberries, raspberries, or blueberries add a tart freshness, cutting through the sweetness of the pastries for a balanced bite.
- Cinnamon Hot Chocolate: A warm, spiced beverage enhances the experience, wrapping you in coziness with every bite of these pastries.
- Creamy Horchata: This traditional Mexican beverage, made with rice and cinnamon, complements the Orejas beautifully while adding an extra layer of cultural significance.
- Sweetened Cream Cheese Dip: A luscious dip can take your serving to the next level! The creamy blend pairs heavenly with the flaky pastry, making each bite a dream.
- Traditional Coffee: Whether black or with cream, coffee’s deep, rich flavor perfectly balances the sweetness and airy texture of the Orejas, making each sip and bite a harmonious match.
- Iced Tea with Lemon: Refreshing and tart, iced tea brightens your palate while enjoying these pastries, enhancing your snacking experience.
- Vanilla Ice Cream: A scoop of vanilla ice cream transforms your Orejas into a dessert extravaganza, combining crispy, warm pastries with cool creaminess for a delightful contrast.
How to Store and Freeze Orejas
Room Temperature: Keep Orejas in an airtight container at room temperature for up to 3 days to maintain their crunchiness and flavor.
Fridge: If you need to keep them longer, store Orejas in the fridge for up to a week. Just be aware that refrigeration can make them slightly less crispy.
Freezer: For longer storage, freeze Orejas in a single layer in a freezer-safe container for up to 2 months. Wrap them individually for easy access later.
Reheating: To restore their delightful crispness, reheat Orejas in a preheated oven at 350°F (175°C) for about 5-7 minutes before serving. Enjoy the fresh-baked taste once more!
Make Ahead Options
These delectable Orejas are perfect for meal prep enthusiasts, allowing you to enjoy this delightful treat even on your busiest days! You can prepare the dough up to 24 hours in advance—simply follow the initial steps, knead it, then wrap the dough tightly in plastic wrap and refrigerate. When you’re ready to bake, let the dough sit at room temperature for about 30 minutes before shaping it into those adorable “ear” forms. Additionally, after baking, you can store the Orejas in an airtight container for up to 3 days to keep them fresh. Just remember to reheat them briefly in the oven to restore their crispiness! With these make-ahead tips, you’ll have delicious Orejas ready to enjoy without the last-minute rush.
Orejas Variations & Substitutions
Feel free to awaken your inner chef and personalize your Orejas with delightful twists and variations.
- Cinnamon Sugar: Mix ground cinnamon with sugar for a warm and comforting coating, enhancing the classic flavor profile.
- Whole Wheat Flour: Substitute all-purpose flour with whole wheat flour for a nutty taste and added fiber in your pastries.
- Chocolate-Lavished: Fill the dough with chocolate chips or a rich chocolate ganache before folding for a decadent treat that’ll satisfy any sweet tooth.
- Fruit-Filled: Use jams like raspberry or apricot as a sweet surprise inside each pastry, adding a burst of fruity flavor.
- Almond Extract: Swap vanilla extract with almond extract to introduce a delightful twist, giving your Orejas a unique aromatic charm.
- Glazed Delight: Brush the baked pastries with a simple syrup glaze for a sweet, shiny finish that adds a touch of elegance.
- Nutty Additions: Fold in finely chopped nuts, like almonds or pecans, into the dough for a delightful crunch and additional texture.
- Spicy Touch: For a little kick, sprinkle cayenne pepper or chili powder in the sugar before coating the Orejas, balancing sweetness with a hint of heat.
Let your creativity run wild, and enjoy exploring these delightful variations!
Expert Tips for Making Orejas
-
Warm Milk Is Key: Ensure your milk is warm but not hot. Too much heat can kill the yeast, preventing a proper rise in your Orejas.
-
Knead with Care: Avoid over-kneading as it can make the pastries tough. Aim for a smooth and elastic texture for a tender result.
-
Even Rolling: Roll out the dough evenly to ensure consistent baking. Uneven dough can lead to some Orejas being overcooked while others are underdone.
-
Monitor Baking Time: Keep a close eye on them in the oven. Overbaking can result in dryness; you want that beautiful golden-brown color without the crunch of burnt edges.
-
Customize Sugars: Feel free to mix cinnamon with your sugar for the coating. It’s a warm spice that enhances the sweetness, making your Orejas even more irresistible!
Indulge in these tips for the perfect Orejas that are sure to impress!
Orejas (Orejitas) Recipe FAQs
How do I select the best ingredients for Orejas?
Absolutely! For the best Orejas, choose all-purpose flour that feels fresh and has a fine consistency. Look for unsalted butter that is creamy and free from any off-smells. When picking milk, opt for whole milk for richness, but if you’re dairy-free, almond milk works wonderfully. For the yeast, ensure it’s within its expiration date and fluffy when blooming—this guarantees a great rise!
How should I store leftover Orejas?
Very! Store any leftover Orejas in an airtight container at room temperature for up to 3 days. To maintain their delightful crunch, keep them in a cool, dry place away from direct sunlight. If you’re keeping them longer, consider refrigerating them for up to 1 week, though they may lose some crispiness.
Advertisement
Can I freeze Orejas, and what’s the best way to do it?
Absolutely! To freeze Orejas, allow them to cool completely and then lay them in a single layer on a baking sheet. Freeze them for about 1-2 hours until they’re firm, then transfer them to a freezer-safe container or zip-top bag, making sure to remove excess air. They can be frozen for up to 2 months. When you’re ready to enjoy, simply reheat them in a preheated oven at 350°F (175°C) for about 5-7 minutes to restore their crispness.
What should I do if my dough isn’t rising?
Very! If your dough isn’t rising, it might be due to using milk that’s too hot, directly killing the yeast. Always check that your milk is warm (about 110°F/43°C) but not hot. You can also try placing the dough in a warmer location, like an oven with the light on, to encourage the rising process. If your yeast is expired, it may not bloom properly, so always check the date before using it!
Can Orejas be made vegan or gluten-free?
Absolutely! For a vegan version of Orejas, substitute the egg with a flax egg (mix 1 tablespoon of ground flaxseed with 2.5 tablespoons of water and let it sit for 5 minutes). Use coconut oil instead of butter and a non-dairy milk, like almond milk. For a gluten-free option, you can try using a gluten-free flour blend, but results may vary in texture.
Are Orejas safe for my pets?
Very! Orejas aren’t suitable for pets as they contain ingredients like sugar and butter that can upset their digestive systems. Always keep pastries and sweets out of reach from curious furry friends!
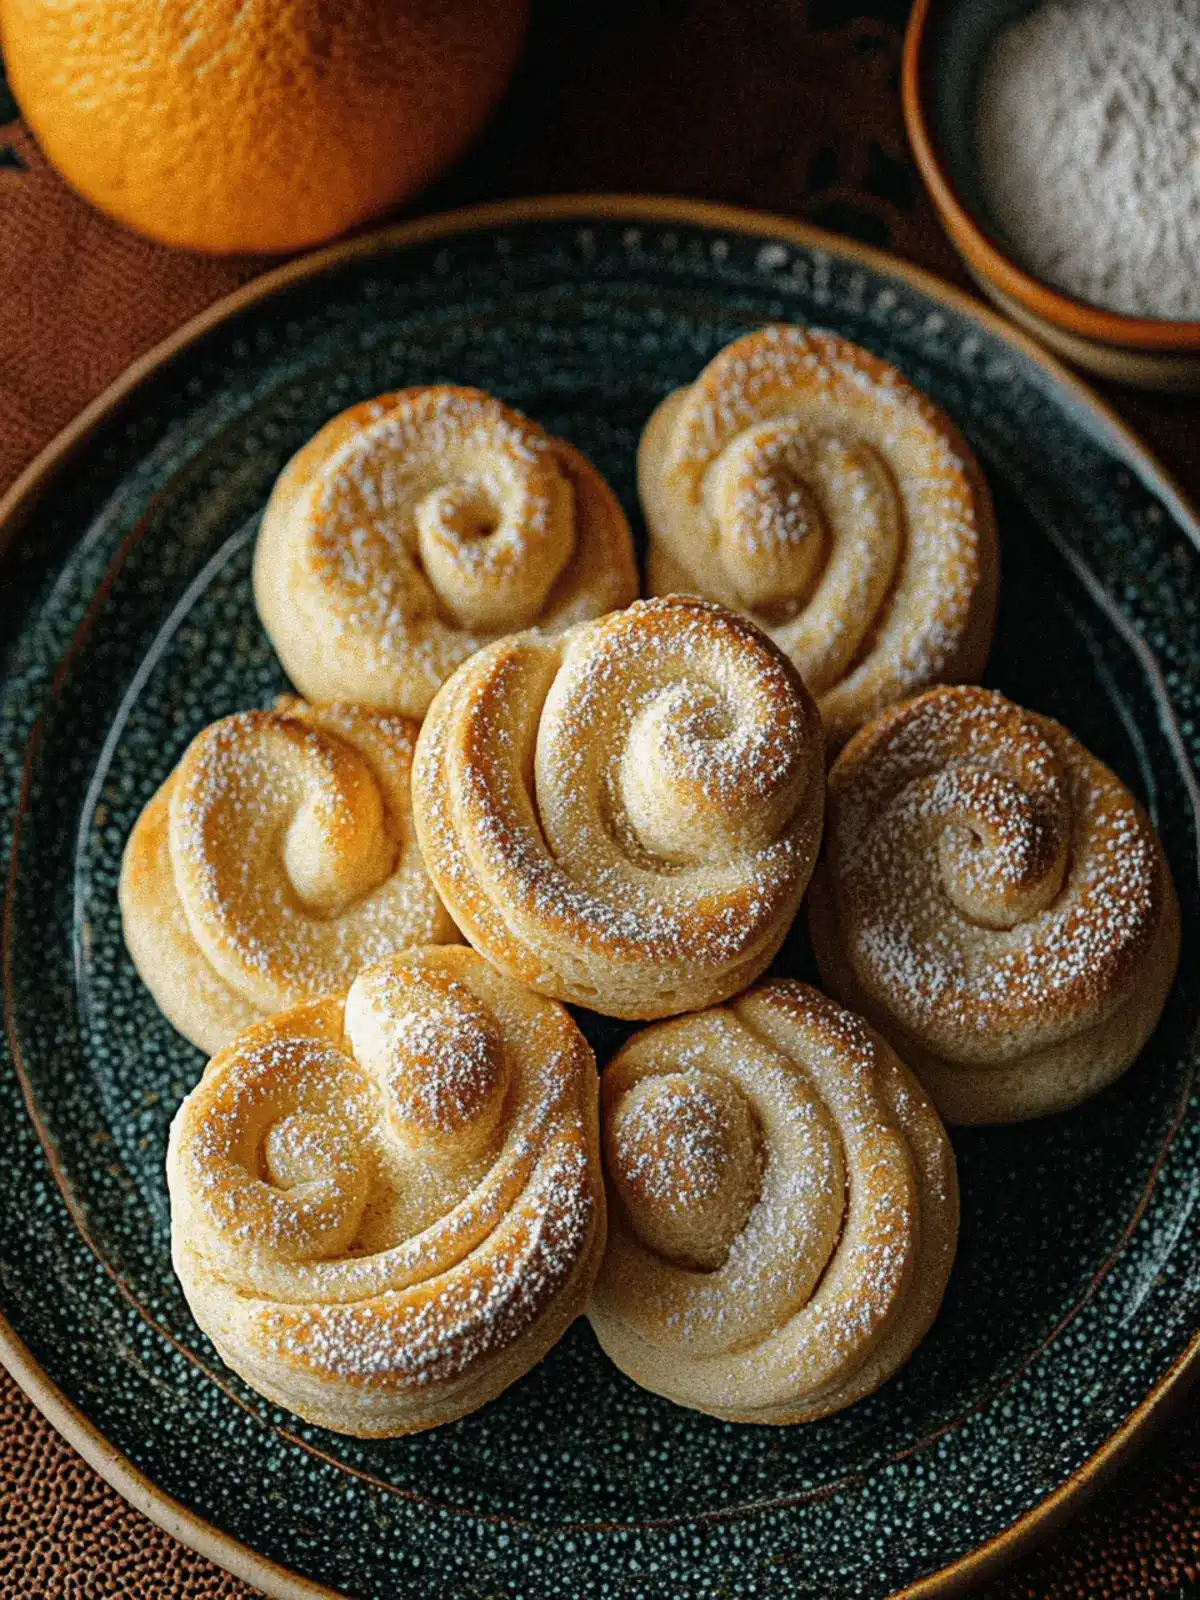
Golden Orejas Recipe: Irresistible Mexican Pastry Delight
Ingredients
Equipment
Method
- Combine warm milk with active dry yeast and let it bloom for about 5 minutes, until foamy.
- In a large bowl, combine all-purpose flour, sugar, salt, and softened butter. Mix until crumbly.
- Pour the yeast mixture and crack in the egg. Stir gently until the dough starts to come together.
- Lightly flour your countertop and knead the dough for approximately 5 minutes.
- Place your kneaded dough in a greased bowl, cover with a cloth, and let it rise in a warm spot for about an hour.
- Roll out the dough into a flat rectangle, sprinkle with sugar, and fold it over itself.
- Twist and shape into the iconic “ear” shape.
- Arrange the shaped Orejas on a baking sheet and bake in a preheated oven at 375°F (190°C) for about 15 minutes.
- Once baked, let them cool slightly on a wire rack before serving.

