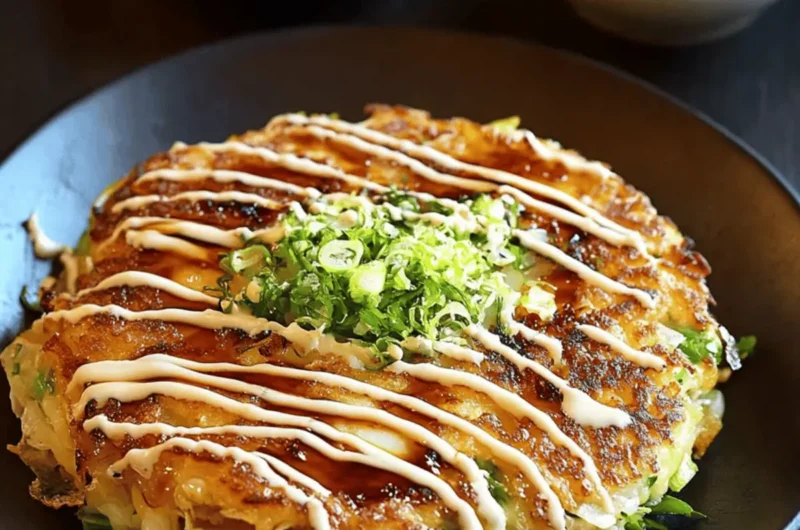
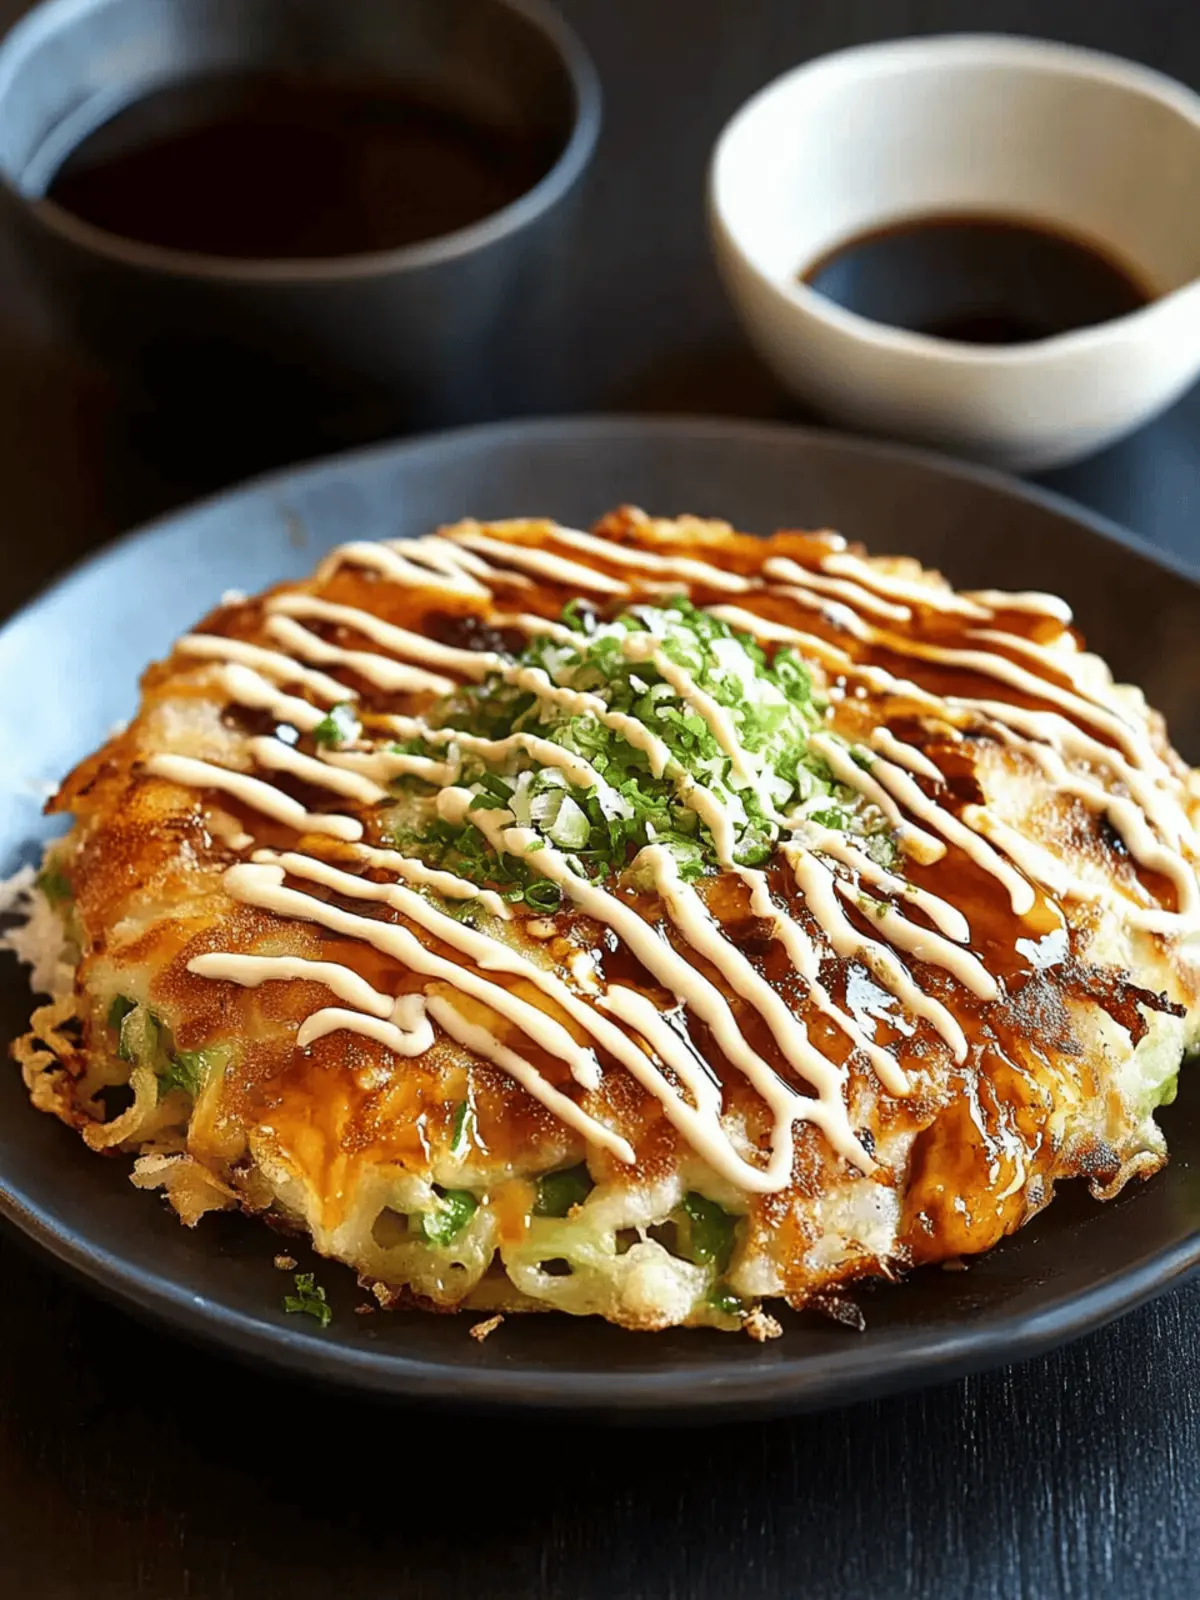
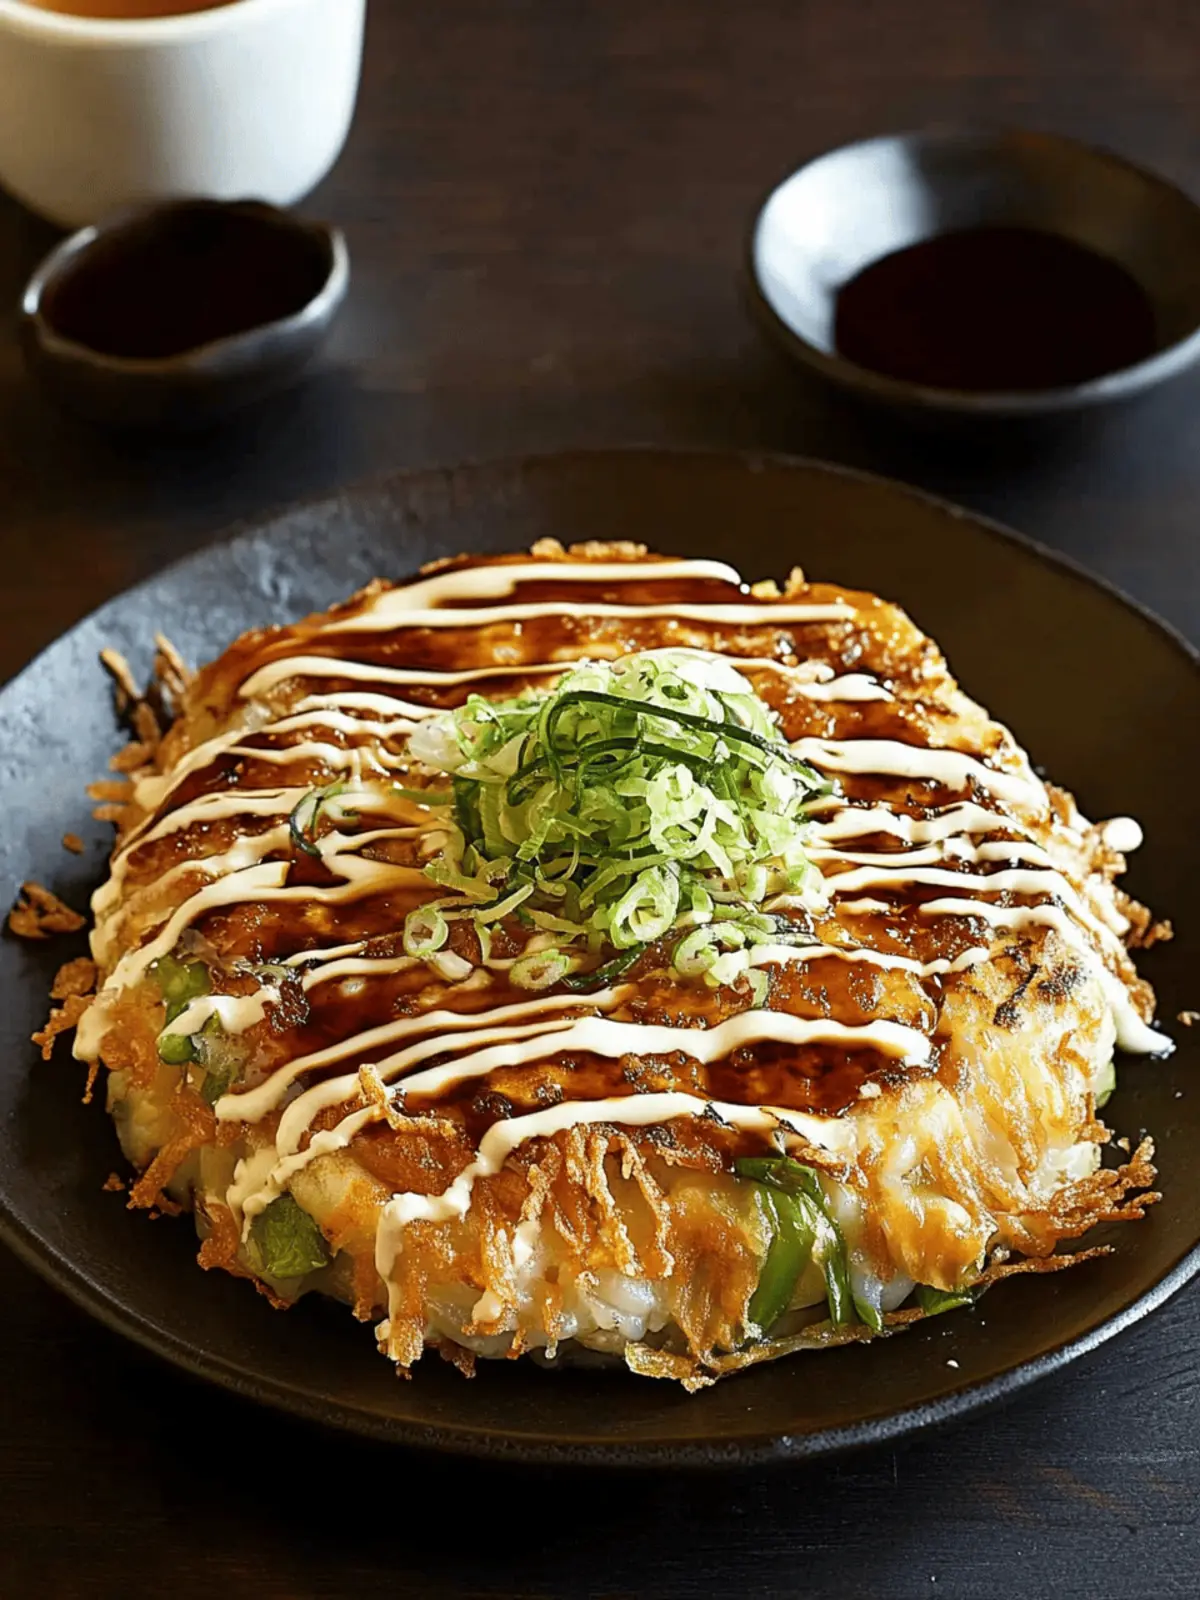
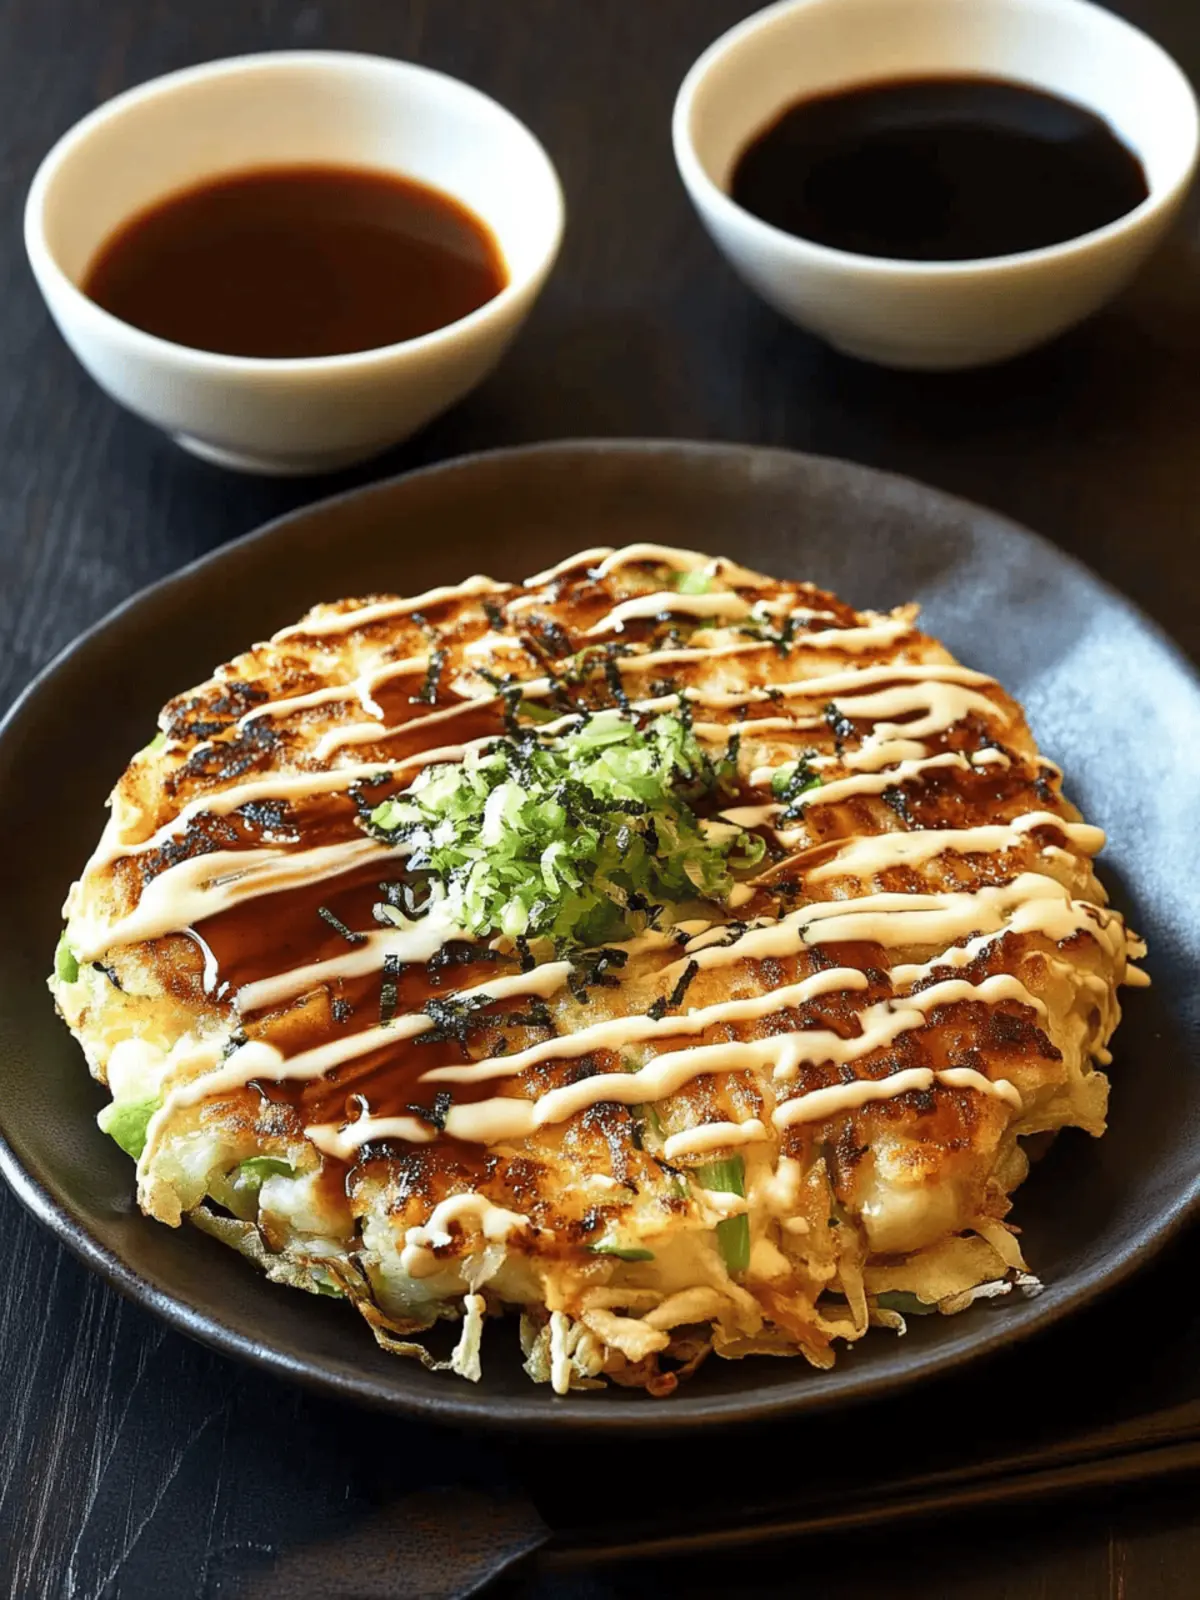
There’s a certain joy that comes from experimenting in the kitchen, and my latest culinary adventure led me to a dish that’s both delightful and surprisingly simple—okonomiyaki. These savory Japanese pancakes are much more than just a meal; they’re a canvas, inviting you to play with flavors and textures in a way that feels almost boundless.
When the craving for something fresh and exciting hits, I whip up a batch of these scrumptious pancakes, combining crispy cabbage, flavorful bacon, and a hint of umami that leaves taste buds dancing. What’s equally appealing is that they can be ready in under 30 minutes! Whether you’re looking to impress guests or simply want to treat yourself to something special, okonomiyaki is the answer. Join me as we dive into this versatile dish that promises to turn dreary fast-food habits into an exciting home-cooked experience.
Why is Okonomiyaki a Must-Try Recipe?
Uniqueness: These savory pancakes offer a delightful twist on traditional breakfast foods, easily satisfying any palate.
Quick Preparation: In just 30 minutes, you can create this restaurant-quality dish at home, making it perfect for busy weeknights.
Versatility: Customize your okonomiyaki with your favorite toppings and fillings—why not experiment with cheese or zucchini?
Crowd-Pleasing: Ideal for gatherings, this dish is a hit with friends and family, turning meals into fun, interactive experiences.
Flavorful Appeal: Expect a burst of umami with each bite, thanks to the combination of ingredients like dashi powder and kewpie mayo, making it a flavor-packed sensation!
Okonomiyaki Ingredients
Get ready to savor the taste of these deliciously crafted Japanese pancakes!
For the Pancake Batter
- Bacon – Adds savory flavor and fat that enhances overall taste; feel free to substitute with pork belly for authenticity.
- Plain Flour/All-Purpose Flour – Provides structure and stability; no substitutions necessary, but gluten-free flour could work if needed.
- Cornstarch – Ensures that okonomiyaki gets that perfect crispy texture; potato starch is a great alternative.
- Warm Water – Hydrates dry ingredients, making a smooth batter; it’s crucial for dissolving dashi powder.
- Dashi Powder – This essential ingredient adds umami flavor; you can substitute with homemade dashi or stock if desired.
- Eggs – Acts as a binder and enriches the pancake; always opt for fresh eggs for the best results.
- Cabbage – Gives volume and a satisfying crunch; shredded napa cabbage makes a great alternative.
- Spring Onion/Green Onion – Contributes freshness and a mild flavor; reserve half for garnish after mixing with the batter.
- Corn – Adds a touch of sweetness and texture; consider fresh corn for a delightful, juicy bite.
- Vegetable Oil – Necessary for frying; use a neutral oil like canola or sunflower for the best results.
For the Toppings
- Kewpie Mayo – Offers a creamy texture and distinct flavor; you can use regular mayo, but it won’t match the same unique taste.
- Okonomiyaki Sauce – This sauce is vital for authentic flavor, similar to BBQ sauce; regular BBQ or yakisoba sauce can substitute.
- Aonori (Dried Seaweed Flakes) – Adds umami and is traditional for presentation; you can swap with small flakes of nori.
- Katsuobushi (Dried Bonito Flakes) – Enhances flavor with a smoky profile; feel free to omit if it’s not available.
- Beni Shoga (Pickled Red Ginger) (Optional) – Provides tanginess and adds a nice crunch.
- Japanese 7 Spice (Shichimi Togarashi) (Optional) – This common seasoning brings complexity and warmth to each bite.
Dive into creating these savory pancakes, and you’ll see why okonomiyaki is a favorite in homes and eateries alike!
How to Make Okonomiyaki
-
Fry Bacon: In a large skillet, cook the bacon over medium heat until crispy, about 5-7 minutes. Once done, remove and set aside, keeping the flavorful drippings in the pan.
-
Prepare Batter: In a jug, whisk the eggs thoroughly. Add the warm water with dissolved dashi powder and mix well. In a separate bowl, combine flour and cornstarch, then pour in the egg mixture and stir until smooth.
-
Combine Ingredients: Gently fold in the shredded cabbage, half of the spring onions, corn, and the crispy bacon into the batter. Take care not to overmix; the goal is to keep those lovely textures!
-
Cook Pancakes: Heat the skillet over medium heat again, adding a splash of vegetable oil. Spoon out 1/4 cup of the batter per pancake into the pan, flattening it slightly into a circle (about 10 cm wide).
-
Finish Cooking: Cook for about 3-4 minutes per side until golden brown and crispy, flipping carefully. Once done, serve hot topped with kewpie mayo, okonomiyaki sauce, aonori, bonito flakes, and extra spring onion.
Optional: Try adding some pickled ginger or sprinkle Japanese 7 spice for an additional kick!
Exact quantities are listed in the recipe card below.
Storage Tips for Okonomiyaki
Fridge: Store cooked okonomiyaki in an airtight container; they will stay fresh for up to 3 days.
Freezer: For longer storage, freeze the pancakes wrapped individually in plastic wrap, then placed in a sealed bag; consume within 2 months for best flavor and texture.
Reheating: Reheat in a microwave for 1-2 minutes or in a skillet over medium heat for a few minutes on each side until heated through. Enjoy the delightful textures again!
Expert Tips for Perfect Okonomiyaki
- Room Temperature Ingredients: Start with room temperature ingredients to ensure a smooth, even batter with the right consistency and texture.
- Don’t Overmix: Gently fold the batter to retain the lightness from the cabbage; overmixing can lead to denser pancakes.
- Well-Heated Pan: Make sure your frying pan is heated properly before adding the batter. This helps achieve that delightful crispy edge everyone loves!
- Customize Freely: Feel free to experiment with fillings and toppings based on personal preference; this is what makes okonomiyaki a versatile family dish.
- Proper Storage: Store any leftover pancakes in an airtight container in the fridge and enjoy them within 1-3 days for the best flavor and quality.
Okonomiyaki Variations & Substitutions
Feel free to let your creativity shine by adjusting this delightful recipe to suit your taste buds!
- Protein Boost: Add cooked shrimp or sliced chicken for a satisfying source of protein that complements the batter beautifully.
- Veggie Swap: Substitute cabbage with finely grated zucchini or shredded carrots for a colorful and delicious twist on texture.
- Cheesy Pleasure: Integrate shredded cheese, like mozzarella or cheddar, into the batter for melting goodness that elevates each bite.
- Noodle Twist: Stir in cooked soba noodles for a unique texture and heartiness, transforming traditional okonomiyaki into a comforting meal.
- Gluten-Free: Use a gluten-free flour blend in place of all-purpose flour to suit dietary needs while retaining those crispy edges.
- Spicy Kick: Add a dash of Japanese 7 spice (shichimi togarashi) to the batter, bringing warmth and complexity to your pancakes.
- Fresh Corn: If using canned corn, swap it for fresh corn kernels for a pop of sweetness and crunch that brightens every bite.
- Seaweed Garnish: Use finely chopped nori as a topping instead of aonori for a different kind of umami and a pretty presentation.
What to Serve with Okonomiyaki?
Enhance your meal experience by pairing these delightful savory pancakes with complementary sides and beverages that elevate their vibrant flavors.
- Miso Soup: A comforting bowl of miso soup adds a warm, savory contrast, balancing the pancakes’ rich umami notes perfectly.
- Japanese Rice: Steamed white rice provides a neutral base that lets the flavors of the okonomiyaki shine while adding heartiness to your meal.
- Pickled Vegetables: A side of tangy pickled vegetables or tsukemono introduces refreshing acidity, cutting through the richness of the pancakes.
- Asian Slaw: A crunchy mix of napa cabbage, carrots, and sesame dressing is light and refreshing, complementing the okonomiyaki’s textures beautifully.
- Tempura Vegetables: Crispy tempura adds an exciting crunch, enhancing your meal with delightful flavors and contrasting textures that everyone will enjoy.
- Chilled Sake: For a joyful pairing, serve chilled sake, whose smooth, subtle flavors harmonize with the savory richness of okonomiyaki.
- Green Tea: This lightly brewed beverage is fresh and cleansing, making it a fantastic accompaniment that enhances the overall dining experience.
- Fried Tofu: Silken fried tofu provides a protein option that is soft and bland, allowing the vibrant flavors of okonomiyaki to truly shine.
- Mochi Ice Cream: For dessert, consider a scoop of mochi ice cream. The sweet, chewy treat offers a delightful ending that contrasts joyfully with the savory pancakes.
Make Ahead Options
Okonomiyaki is the perfect meal prep solution for busy home cooks! You can prepare the batter (excluding the eggs) and chop the ingredients, such as cabbage and spring onions, up to 24 hours in advance. Simply store the dry batter mix in an airtight container and refrigerate the chopped veggies separately to maintain their crispness. When you’re ready to cook, whisk the eggs into the batter, fold in the vegetables, and pour onto the heated skillet. This way, you can enjoy freshly made okonomiyaki with minimal effort, just as delicious and satisfying as if you had just whipped it up!
Okonomiyaki Recipe FAQs
What’s the best way to choose ripe ingredients for okonomiyaki?
Absolutely! For okonomiyaki, fresh cabbage is crucial; look for crisp heads without dark spots or wilting. Fresh spring onions should be vibrant and firm, while bacon should be uncooked and streaked with fat for that perfect savory flavor.
How should I store leftover okonomiyaki?
You can store cooked okonomiyaki in an airtight container in the fridge for up to 3 days. When you’re ready to enjoy them, simply reheat in the microwave for 1-2 minutes or fry in a skillet until warmed through, preserving that delightful crispy edge.
Can I freeze okonomiyaki?
Of course! If you want to freeze your okonomiyaki, individually wrap each pancake in plastic wrap and then place them in a freezer-safe bag. They can be frozen for up to 2 months. To reheat, you can microwave them for 1-2 minutes or warm them in a skillet to get that lovely crispiness back.
Advertisement
What if my okonomiyaki batter is too thick?
If your batter seems too thick, don’t worry! Gently add a tablespoon of warm water at a time, stirring carefully until you reach your desired consistency. This will help maintain that beautiful fluffy texture while cooking.
Are there any dietary considerations for making okonomiyaki?
Yes! If you’re cooking for someone with allergies, ensure that all ingredients, especially the dashi powder and sauces, are free of common allergens like seafood or gluten. You can substitute with homemade stock or gluten-free flour to accommodate dietary preferences.
How can I customize my okonomiyaki?
Very! One of the joys of making okonomiyaki lies in its versatility. Feel free to swap in additional fillings like cooked shrimp or sliced mushrooms, and use zucchini or carrots instead of cabbage for different flavor profiles. Just remember to keep the overall ratio of wet and dry ingredients in check!
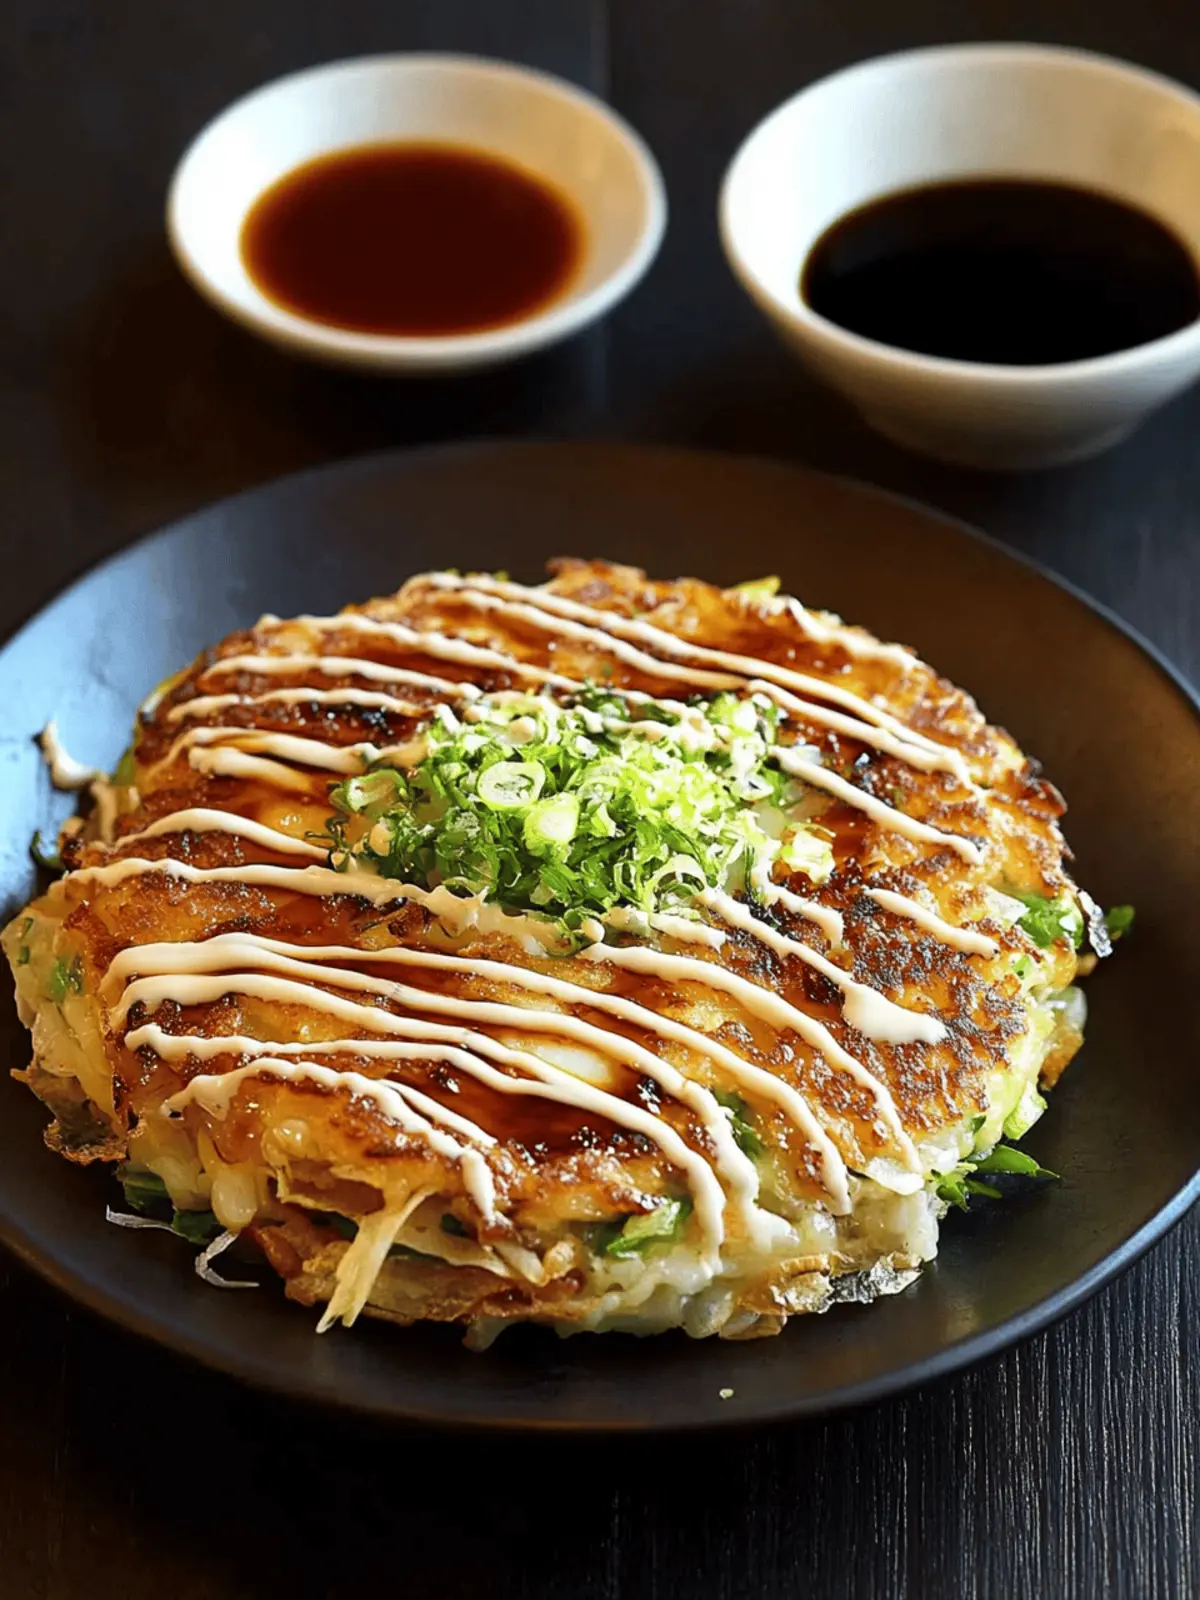
Savory Okonomiyaki: Quick & Easy Japanese Pancakes for All
Ingredients
Equipment
Method
- In a large skillet, cook the bacon over medium heat until crispy, about 5-7 minutes. Remove and set aside, keeping the drippings.
- In a jug, whisk the eggs thoroughly. Add warm water with dissolved dashi powder and mix well. In a separate bowl, combine flour and cornstarch, then pour in the egg mixture and stir until smooth.
- Gently fold in the shredded cabbage, half of the spring onions, corn, and crispy bacon into the batter. Do not overmix; keep the textures!
- Heat the skillet again over medium heat, adding a splash of vegetable oil. Spoon out 1/4 cup of the batter per pancake into the pan, flatten slightly into a circle.
- Cook for about 3-4 minutes per side until golden brown and crispy, flipping carefully. Serve hot topped with kewpie mayo, okonomiyaki sauce, aonori, bonito flakes, and extra spring onion.

