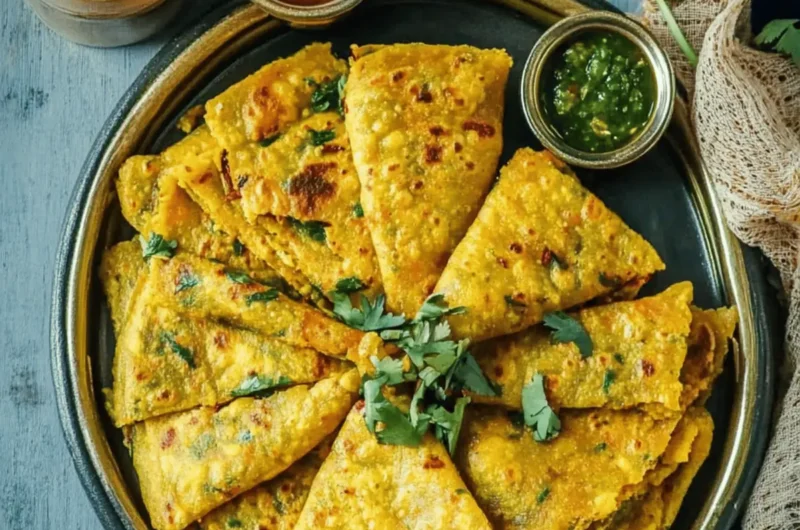
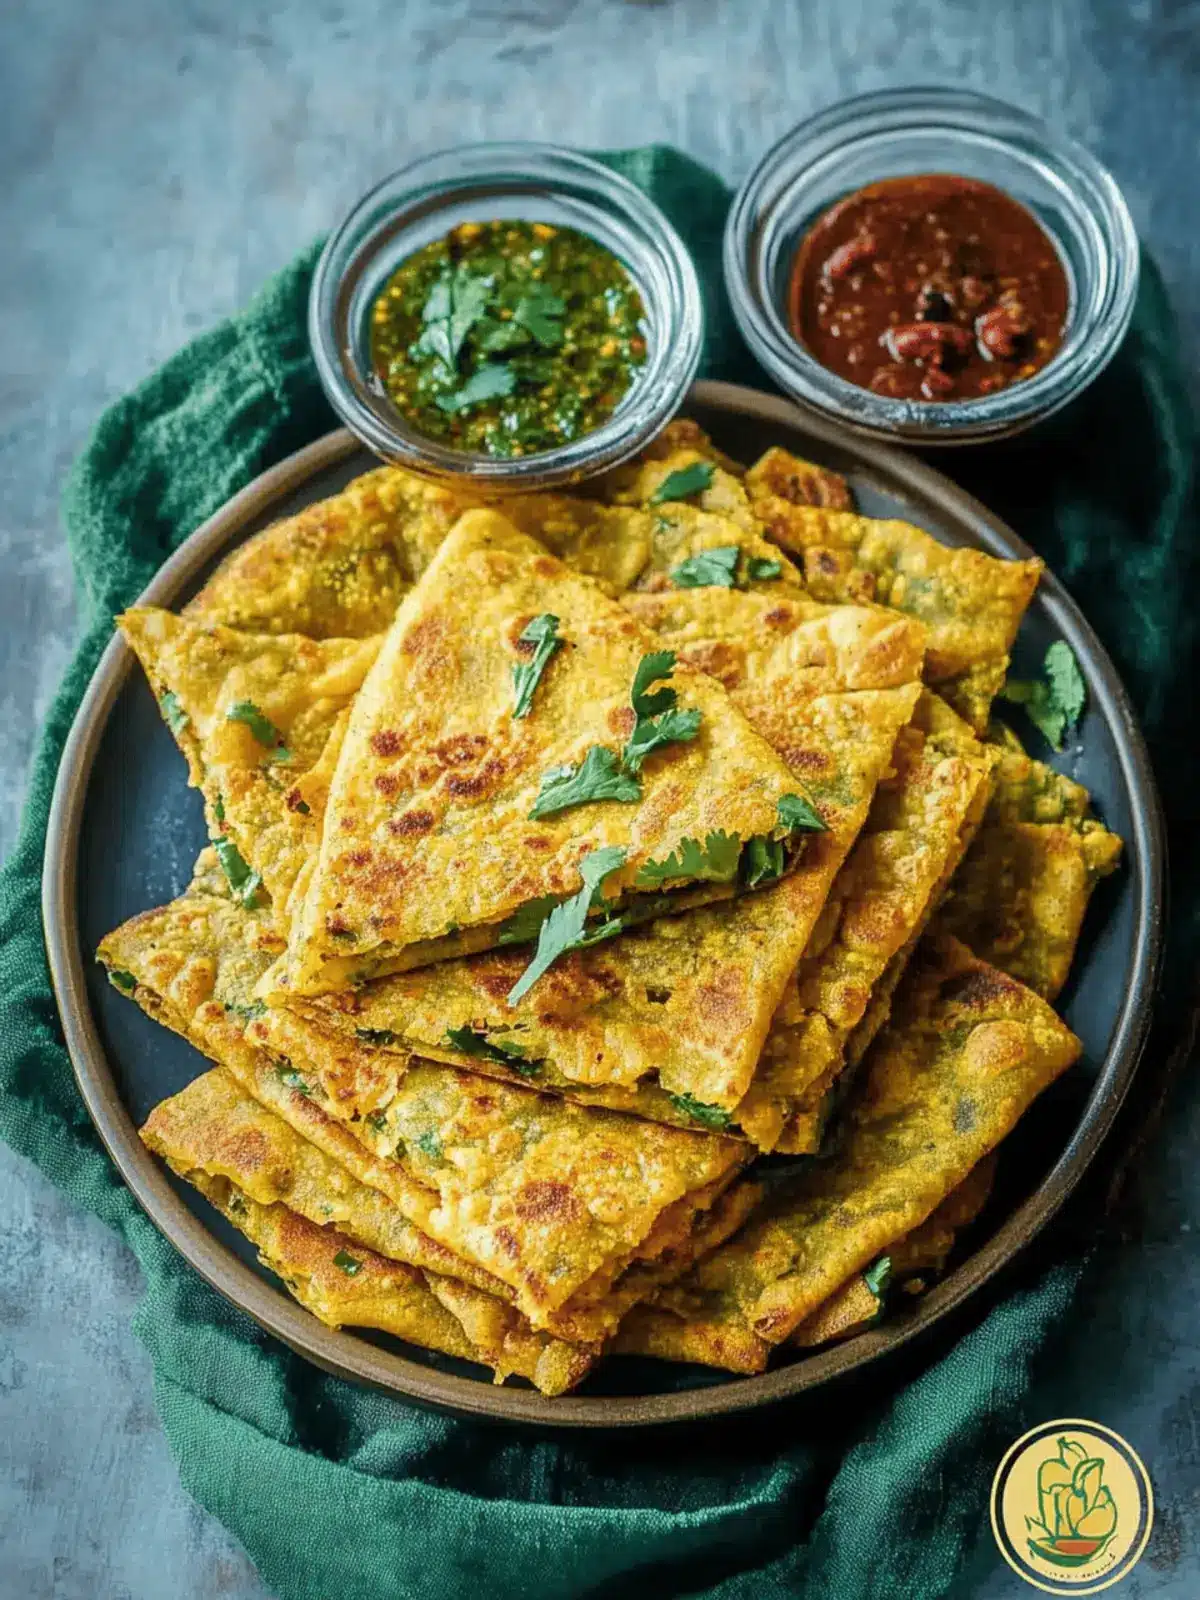
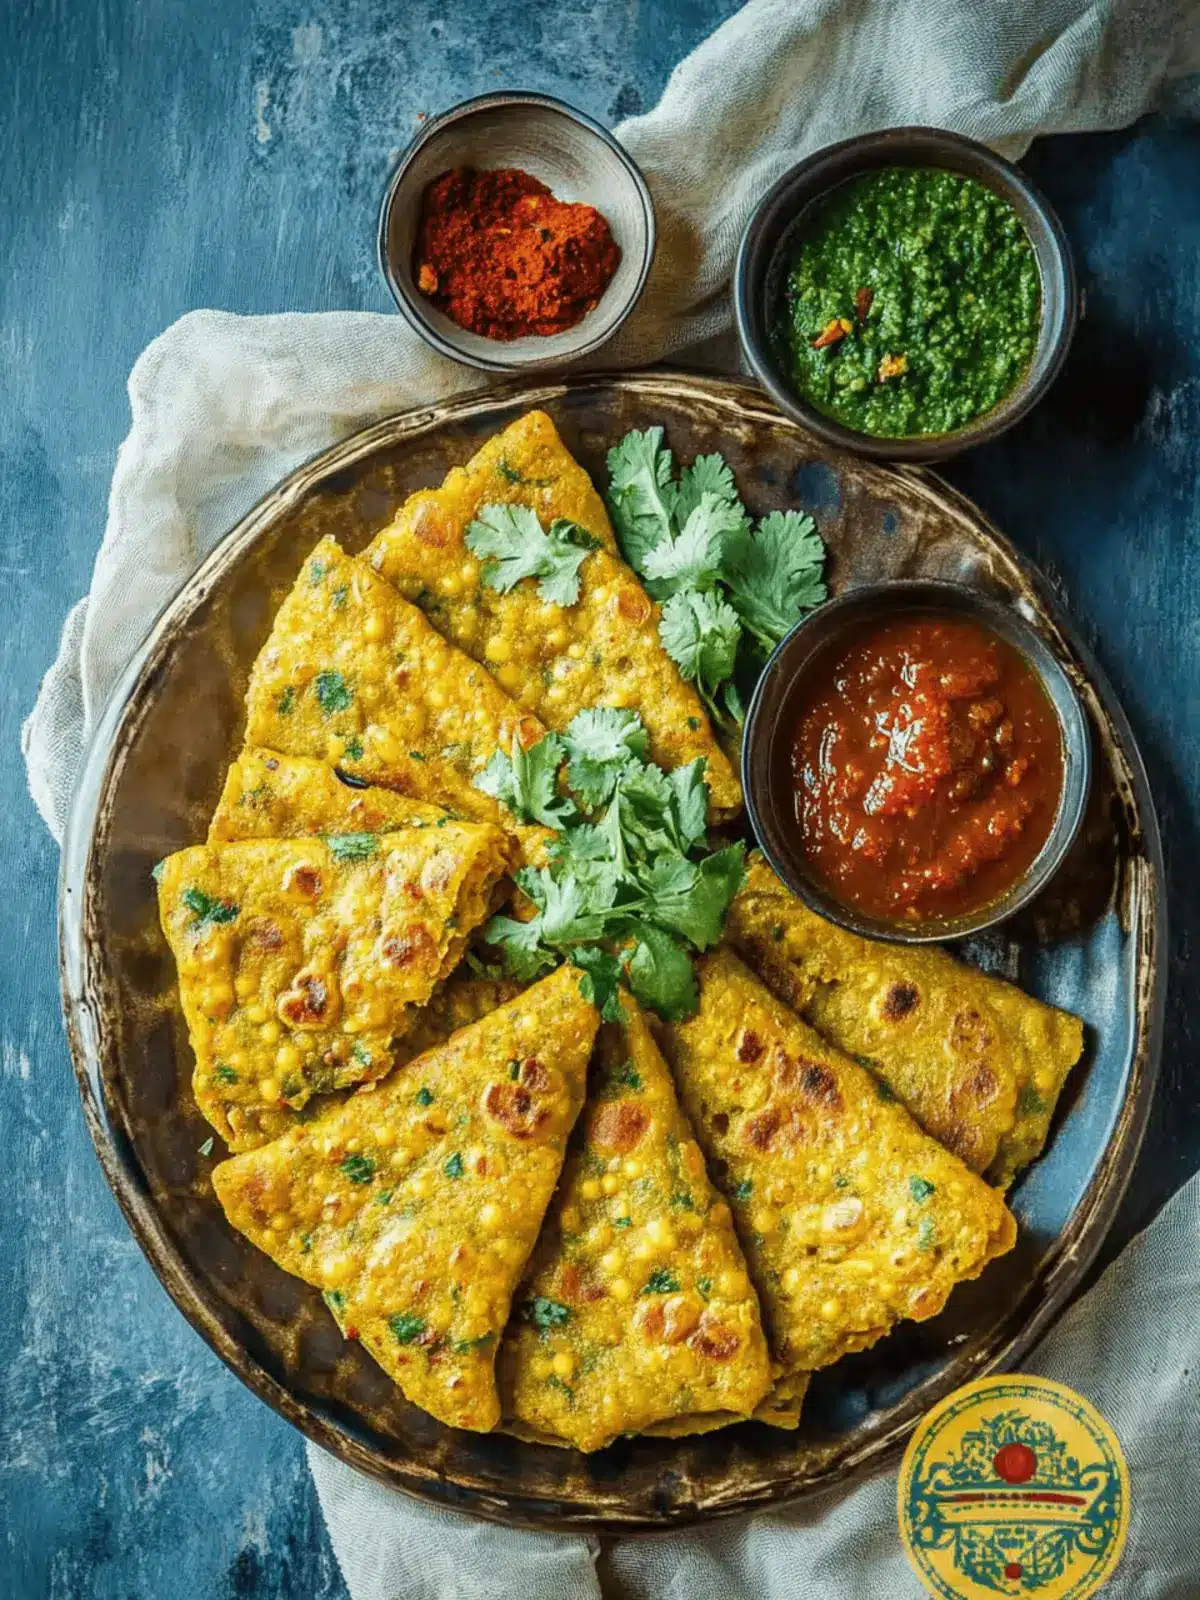
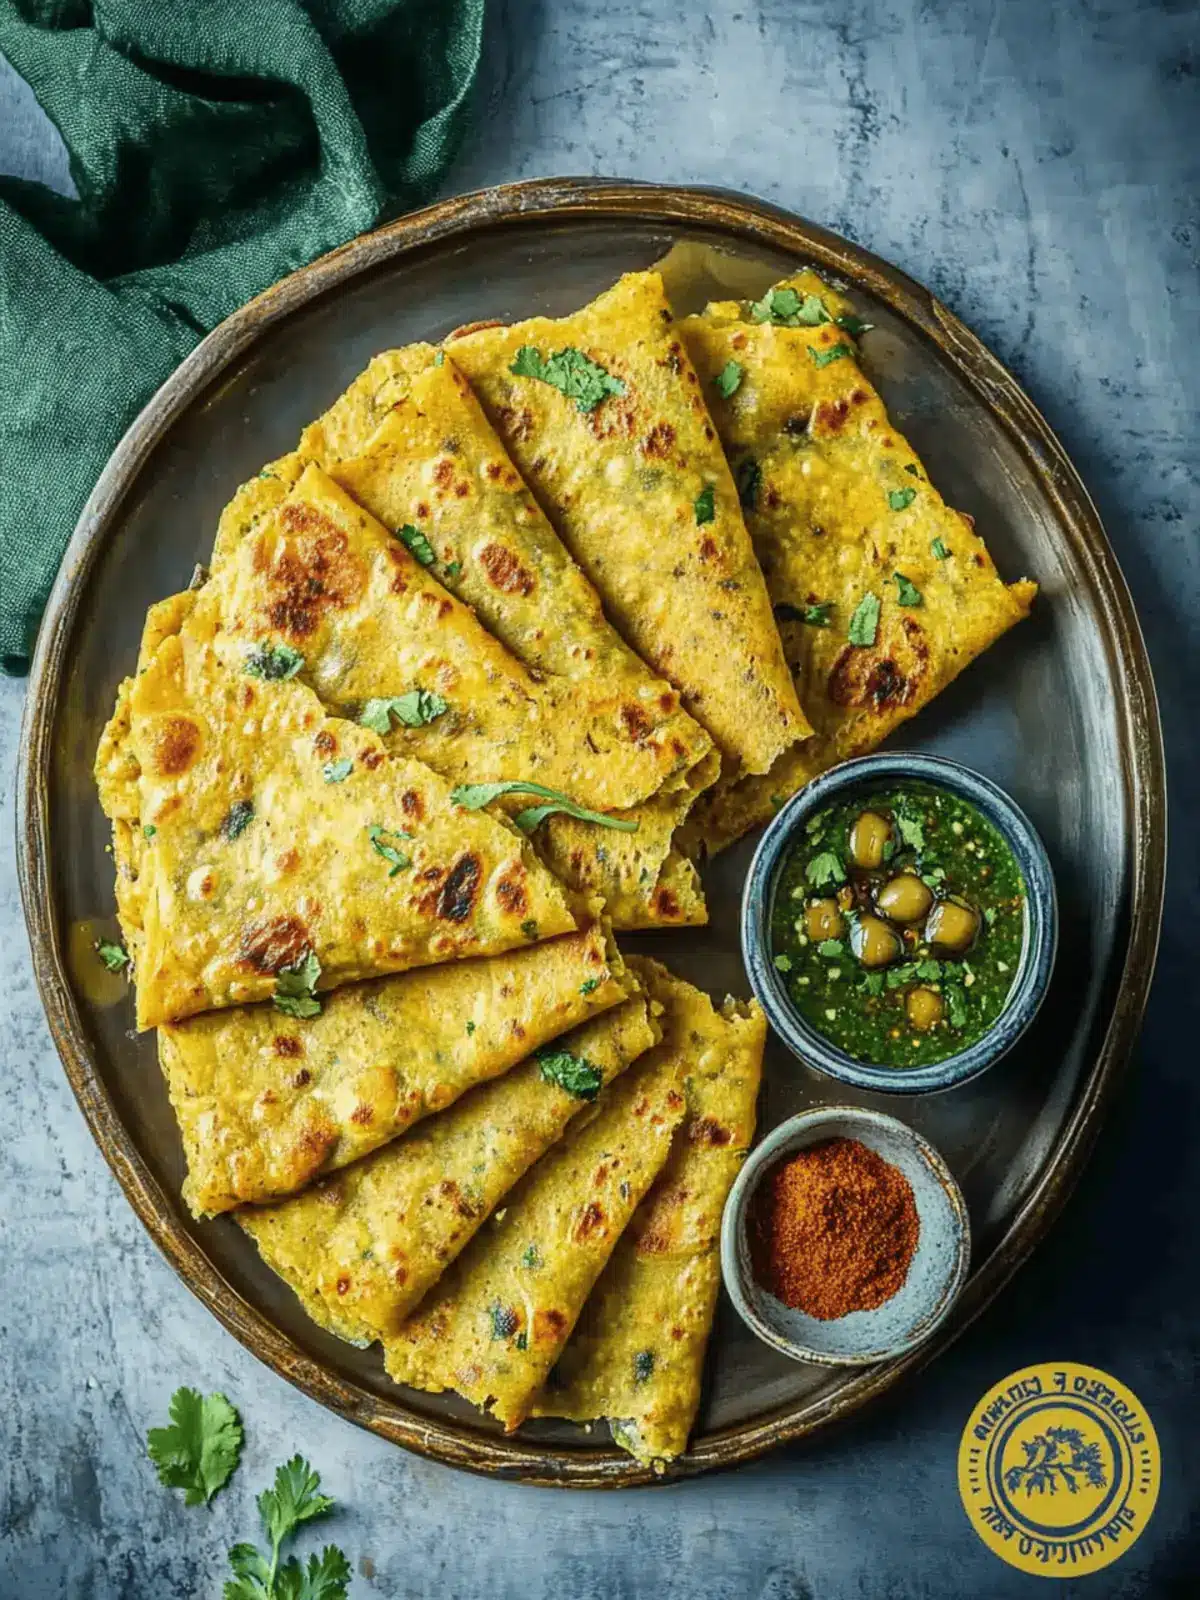
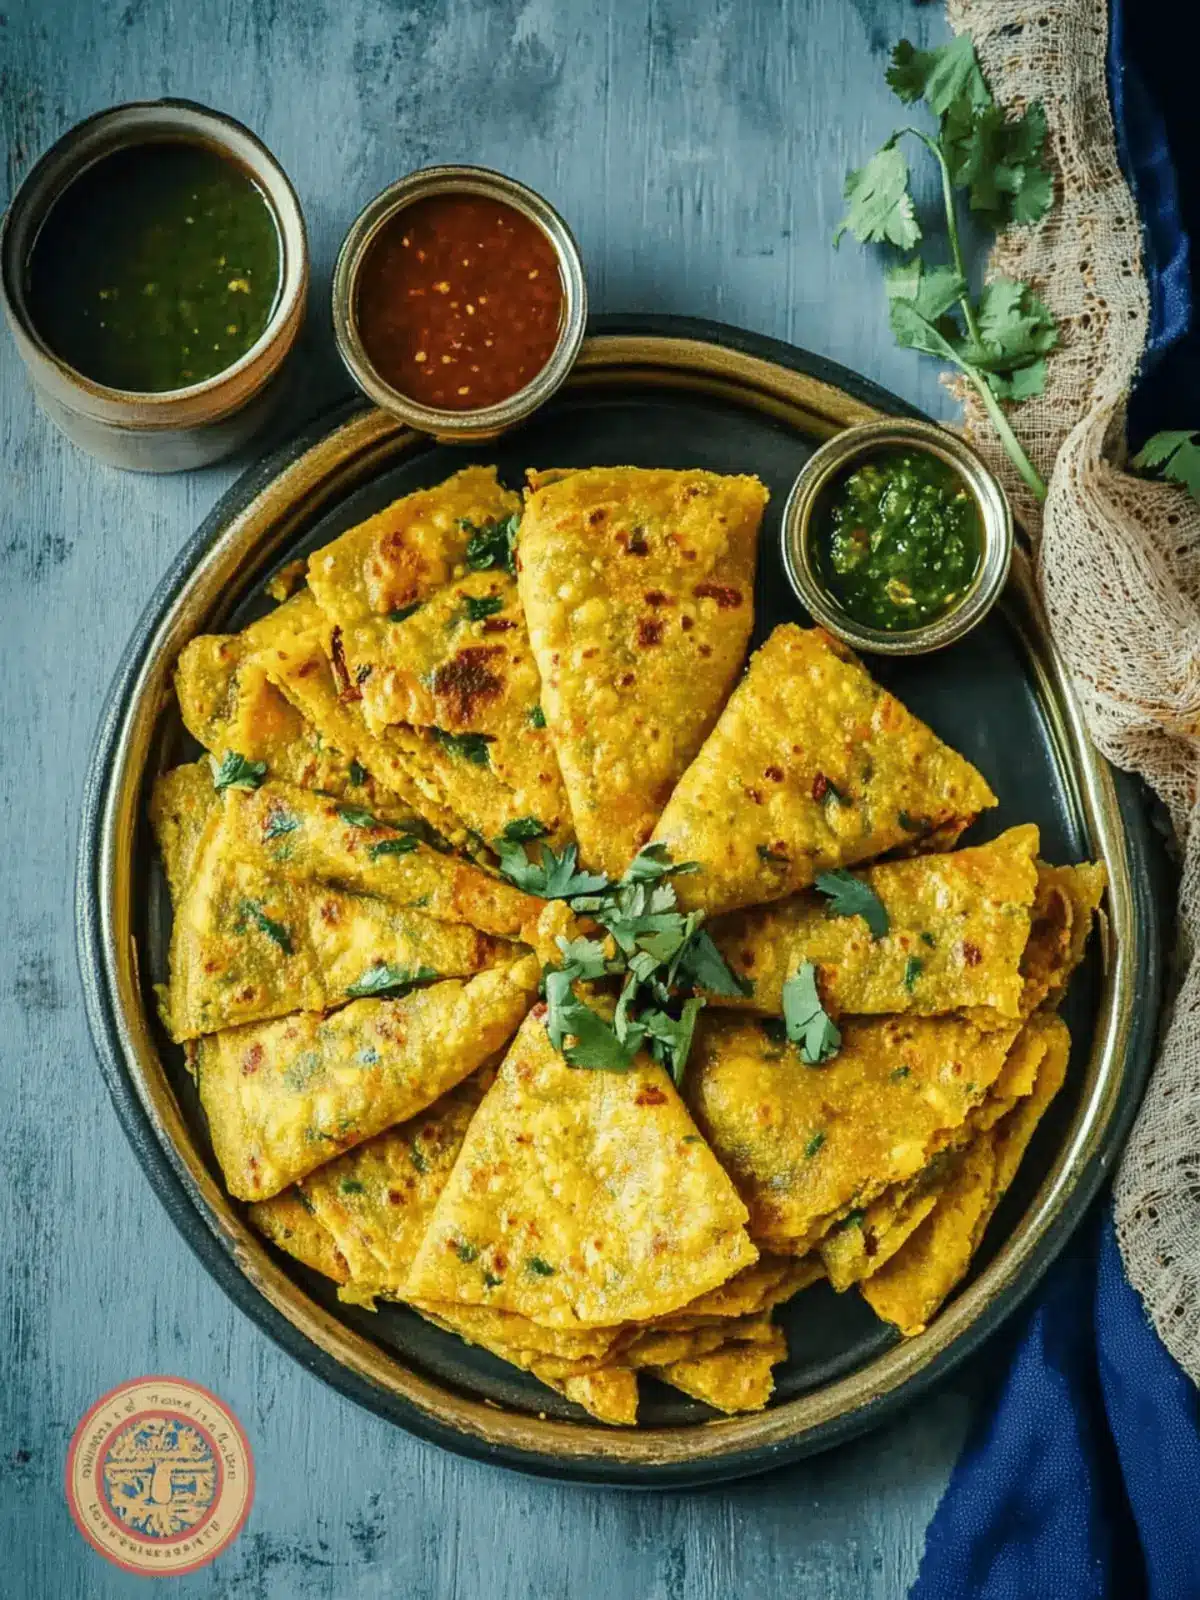
There’s something truly satisfying about the crackle and pop of Moong Dal Chilla sizzling on the stovetop. The rich aroma of spices and fresh greens wafting through your kitchen instantly brightens your mood and transports you to a comforting place of home-cooked goodness. This vegan savory pancake, made from protein-rich split yellow lentils, is not only a delightful treat but also a nutritious power pack, perfect for revamping your breakfast or snack game.
I first discovered this gem during a busy week filled with the usual go-to fast food routines. Feeling uninspired, I wanted something quick that didn’t compromise on health or flavor. That’s when I stumbled upon Moong Dal Chilla—a bright, versatile dish that I now love to customize with whatever greens I have on hand. In just 20 minutes, you can whip up a batch that’s golden on the outside, soft and moist on the inside, and bursting with savory flavor. Let’s dive into this delicious and wholesome recipe that’s bound to become a new family favorite!
Why love Moong Dal Chilla?
Moong Dal Chilla is a culinary delight you’ll adore for several reasons. Quick Prep: In just 20 minutes, you can create a hearty meal or snack. Nutrient Packed: Rich in protein and fiber, it’s a great choice for healthy eating. Flavorful Variations: Customize with seasonal greens or spices to keep it exciting. Versatile Serving: Enjoy it with dips like chutney or yogurt – the options are endless! Kid-Friendly: Add cheese for an enticing twist that kids will love. You can also explore more ideas in this variation to keep your meals fresh and exciting!
Moong Dal Chilla Ingredients
• Everything you need for a tasty dish!
For the Batter
- Split Yellow Lentils (Moong Dal) – This main ingredient is packed with protein and lends a nutty flavor to your chillas.
- Onion – Adds a subtle sweetness and moisture; feel free to omit it if you prefer.
- Chopped Cilantro – Infuses freshness and color into your batter; parsley works as a lovely substitute.
- Jalapeno – Provides that spicy kick; simply leave it out for a milder version.
- Chopped Spinach – Boosts nutrition and vitamins; swap with other greens like kale or Swiss chard for variety.
- Cumin Seeds – Adds warm earthiness to the chilla; ground cumin can easily replace it.
- Flax Seed Powder – Elevates nutritional value; use it as an optional addition or skip it if you don’t have any.
- Chilly Powder & Turmeric Powder – Introduces color and heat; adjust these according to your taste preferences.
- Ajwain (Carom Seeds) – Aids in digestion and offers a unique flavor; thyme can be used as an alternate.
- Salt – Essential for enhancing the overall taste of the dish.
- Water – Needed to achieve the perfect pouring batter consistency; buttermilk can be used for added tanginess.
Optional Toppings
- Cheese – Consider melting some cheese on top during cooking to make this dish extra appealing to kids.
- Condiments – Pair with ketchup, green chutney, or yogurt for a delightful dipping experience.
Now that you’re equipped with the essential ingredients for making your own Moong Dal Chilla, let’s get cooking!
How to Make Moong Dal Chilla
-
Soak Lentils: Begin by washing and soaking the split yellow lentils (moong dal) in lukewarm water for at least 4 hours or overnight. This softens them and prepares them for blending.
-
Prepare Batter: Once soaked, drain the lentils and blend them with enough water to create a smooth batter. The consistency should be similar to pancake batter—thick but pourable.
-
Add Ingredients: In a mixing bowl, combine your smooth lentil batter with chopped spinach, cilantro, onion, jalapeno, cumin seeds, ajwain, turmeric, and salt. Stir well to mix all the flavors together.
-
Adjust Consistency: Check the batter; it should flow easily when poured. If it’s too thick, add little by little more water until you reach a pouring consistency that’s perfect for chillas.
-
Cook Pancakes: Heat a non-stick skillet over medium heat. Pour a ladleful of the batter into the center, spreading it into a round shape. Drizzle with oil, and cook for 2-3 minutes until the edges start to lift and the bottom is golden brown.
-
Serve Hot: Carefully flip the chilla and cook for another 2 minutes more. Once both sides are golden brown, serve hot with your favorite dips like ketchup, mayo, or green chutney.
Optional: Garnish with fresh herbs or a sprinkle of chili flakes for an extra flavor kick.
Exact quantities are listed in the recipe card below.
Moong Dal Chilla Variations
Looking to add a personal twist to your Moong Dal Chilla? Get ready to mix it up in delightful ways!
-
Greens Galore: Add chopped kale, Swiss chard, or even arugula for different textures and flavors. Each option brings its unique nutrients to the dish, so feel free to get creative!
-
Cheesy Delight: Stir in grated cheese for a deliciously rich and melty version. This kid-friendly twist will certainly get the little ones asking for seconds.
-
Herb Boost: Try swapping cilantro with fresh herbs like dill or basil for a new flavor profile. The aromatic qualities will take your chilla to a whole new level!
-
Spice Level: Add red chili flakes or cayenne pepper to kick up the heat. For a milder option, mix in a bit of smoked paprika for a warm, smoky flavor.
-
Texture Twist: Incorporate rice flour or ground oats to create crispier chillas. This variation adds a delightful crunch that pairs perfectly with dipping sauces.
-
Veggie Power: Get creative with veggies like grated carrots or bell peppers; they not only add color but also enhance the nutritional value. This is a great way to sneak in extra servings of vegetables!
-
Fusion Fun: Experiment with adding a scoop of hummus to the batter for a Mediterranean twist. The result is a creamy chilla that’s bursting with flavor and health benefits.
-
Nutty Flavor: Try adding some finely chopped walnuts or almonds into the batter. This provides a satisfying crunch and a boost of healthy fats to your dish.
Let your culinary imagination run wild, and enjoy the delicious journey of customizing your Moong Dal Chilla!
Make Ahead Options
These Moong Dal Chillas are perfect for meal prep enthusiasts! You can soak the lentils and prepare the batter up to 24 hours in advance, ensuring a quick breakfast or snack during busy days. Simply soak the split yellow lentils overnight and blend them with water when ready to make the batter. To maintain quality, store the batter in an airtight container in the refrigerator. When it’s time to cook, stir the batter to recombine, pour it onto a preheated skillet, and enjoy your delicious, freshly cooked chillas with minimal effort. Additionally, cooked chillas can be refrigerated for 2-3 days; simply reheat them before serving for a tasty, time-saving option!
Expert Tips for Moong Dal Chilla
-
Soaking Matters: Soak the moong dal for at least 4 hours to ensure it blends smoothly, resulting in a velvety batter without lumps.
-
Heat Control: Make sure your skillet is evenly heated before pouring the batter. This helps prevent sticking and ensures a perfect golden brown finish.
-
Mix It Up: Feel free to experiment with different greens or vegetables in your batter to keep your Moong Dal Chilla fresh and exciting.
-
Consistency Check: If the batter is too thick, add water gradually to achieve the right pouring consistency. A well-mixed batter is key for a light pancake.
-
Storage Savvy: The batter can be refrigerated for up to a week. You can also freeze it in portions for a quick meal prep option!
-
Kid-Friendly Twist: To make Moong Dal Chilla more appealing to kids, try adding cheese while cooking. It’s a sure hit!
Storage Tips for Moong Dal Chilla
-
Fridge: Store cooked Moong Dal Chillas in an airtight container for up to 3 days. Reheat them on a skillet over low heat to maintain crispness.
-
Freezer: For longer storage, freeze the chillas in a single layer, then transfer to an airtight bag or container. They can last up to 2 months in the freezer.
-
Batter Storage: The Moong Dal Chilla batter can be refrigerated for up to a week. Ensure it is stored in a sealed container to prevent it from drying out.
-
Reheating: Reheat frozen chillas directly on a skillet or in an oven to restore their crispy texture. You can also microwave them, but the skillet method is preferable for crispness.
What to Serve with Moong Dal Chilla?
Enhance your meal with tasty pairings that elevate the flavors and textures of these savory lentil pancakes.
-
Mint Chutney: Offers a refreshing zing that perfectly complements the chillas’ savory notes. It adds a bright flavor that’s simply irresistible!
-
Spiced Yogurt: A cool and creamy dip balanced with herbs and spices adds richness, making every bite delightful. This is a great kid-friendly option too!
-
Roasted Vegetables: Try serving alongside seasonal veggies, roasted to golden perfection. Their sweet, caramelized edges provide a lovely contrast to the soft chillas.
-
Cucumber Salad: The crunch of fresh cucumbers tossed with lemon and herbs brings a bright, refreshing crunch, cutting through the hearty lentil pancakes wonderfully.
-
Chickpea Salad: Packed with protein and flavors, a zesty chickpea salad makes a nutritious companion that ups the meal’s protein punch and adds diverse textures.
-
Masala Chai: A warm spiced tea brings comfort and spice to the table; it pairs beautifully with the savory flavors of the chillas and is perfect for breakfast or tea time.
-
Sliced Avocado: Creamy, rich, and subtly nutty, avocado adds a velvety layer to each bite, blending effortlessly with the pancakes’ delightful crunch.
-
Fresh Fruit Salsa: A mix of diced fruits like mango, pineapple, and papaya provides a sweet and tangy contrast, making your plate vibrant and exciting!
-
Savory Pancake Stack: For an entertaining twist, stack your chillas with layers of cheese and vegetables, creating a hearty and visually appealing dish that the whole family will love!
Moong Dal Chilla Recipe FAQs
What is the best way to select ripe ingredients for Moong Dal Chilla?
Absolutely! For Moong Dal Chilla, choose fresh, vibrant greens such as spinach or kale that are free from dark spots or wilting. The moong dal should be clean and dry. If purchasing packaged, ensure the package is intact with a clear expiration date for the best quality.
How long can I store cooked Moong Dal Chilla?
You can store cooked Moong Dal Chillas in an airtight container in the fridge for up to 3 days. Just reheat them on a skillet over low heat for that perfect crispy texture, ensuring they don’t dry out.
Can I freeze Moong Dal Chilla? How should I do it?
Yes, you can absolutely freeze Moong Dal Chilla! First, let them cool completely, then lay them in a single layer on a baking sheet. Once frozen, transfer them to an airtight bag or container. They can last up to 2 months in the freezer. To enjoy, simply reheat them on a skillet or in the oven for a crispy result.
Advertisement
What should I do if the batter is too thick?
If you find your batter is too thick and hard to spread, add water gradually until you reach a smoother, pouring consistency. It’s essential for achieving that perfect chilla texture. Aim for a batter that flows easily but isn’t watery. Additionally, give it a quick stir to ensure the ingredients are well incorporated.
Are there any dietary considerations for Moong Dal Chilla?
Very! Moong Dal Chilla is naturally vegan and gluten-free, making it suitable for many diets. However, if anyone in your family has allergies, always check for potential allergens in the ingredients like cumin seeds, jalapenos, or even flax seed powder. If serving to young children or pets, omit the spices for a milder version.
How can I make Moong Dal Chilla more appealing to kids?
To make Moong Dal Chilla enticing for kids, consider mixing in mild shredded cheese while it’s cooking. It not only adds flavor but also makes them a little more indulgent. You can also create fun shapes with cookie cutters or serve it with colorful dips like ketchup or yogurt to make mealtime more fun!
Moong Dal Chilla: Easy Savory Pancakes for Healthy Eating
Ingredients
Equipment
Method
- Soak lentils in lukewarm water for at least 4 hours or overnight.
- Drain and blend lentils with water to create a smooth batter.
- In a bowl, combine the lentil batter with spinach, cilantro, onion, jalapeno, cumin seeds, ajwain, turmeric, and salt.
- Adjust the consistency by adding water until it's pourable.
- Heat a non-stick skillet over medium heat and pour a ladleful of batter.
- Cook for 2-3 minutes until the edges lift and bottom is golden.
- Flip and cook for another 2 minutes until golden on both sides.
- Serve hot with your favorite dips.

