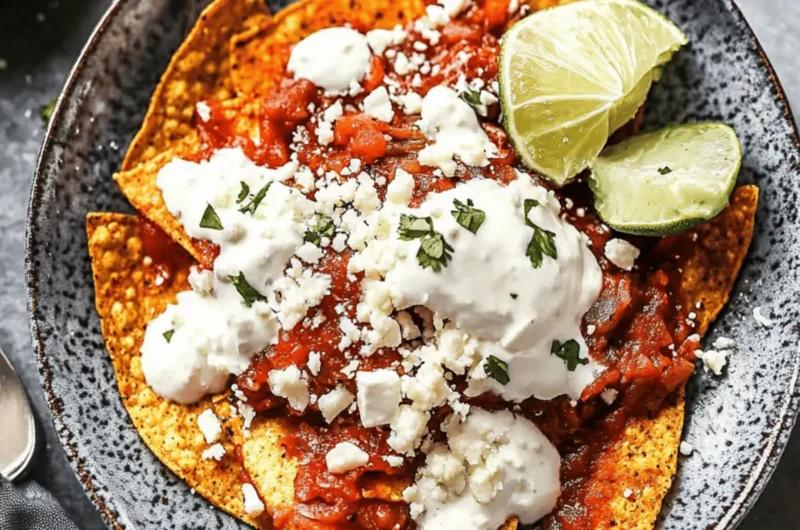
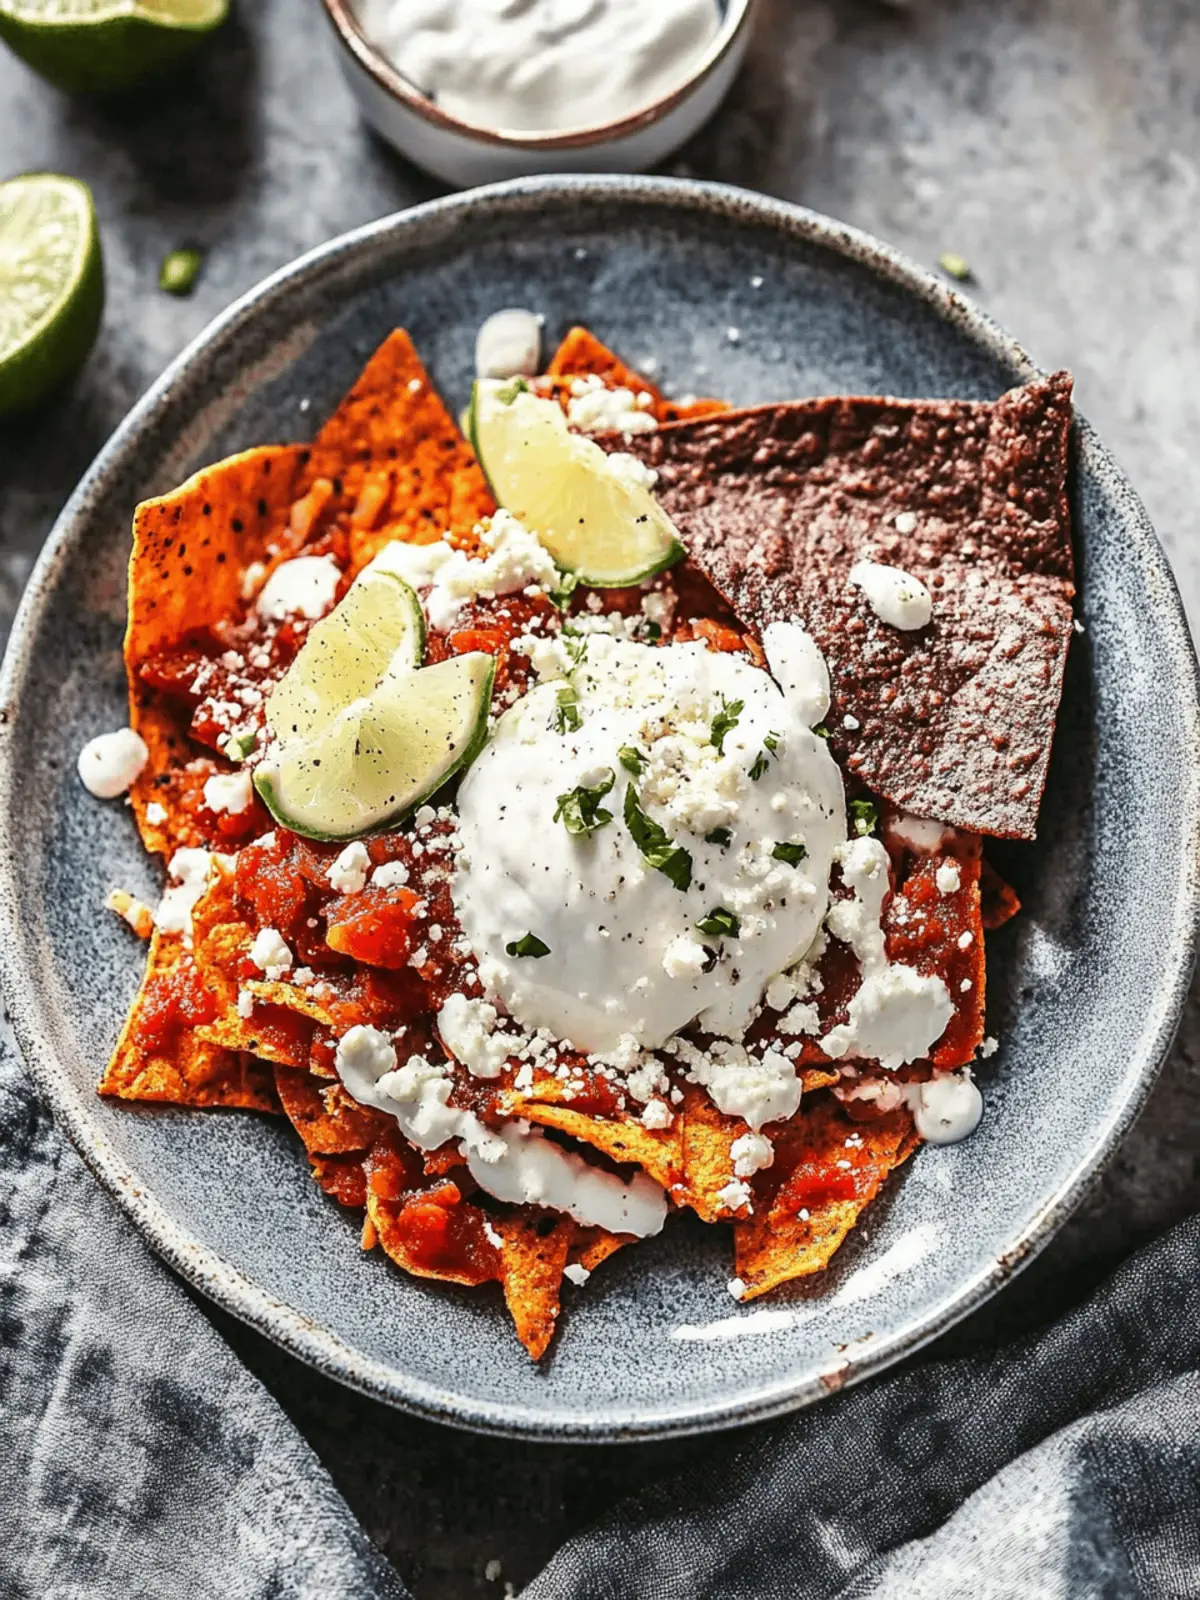
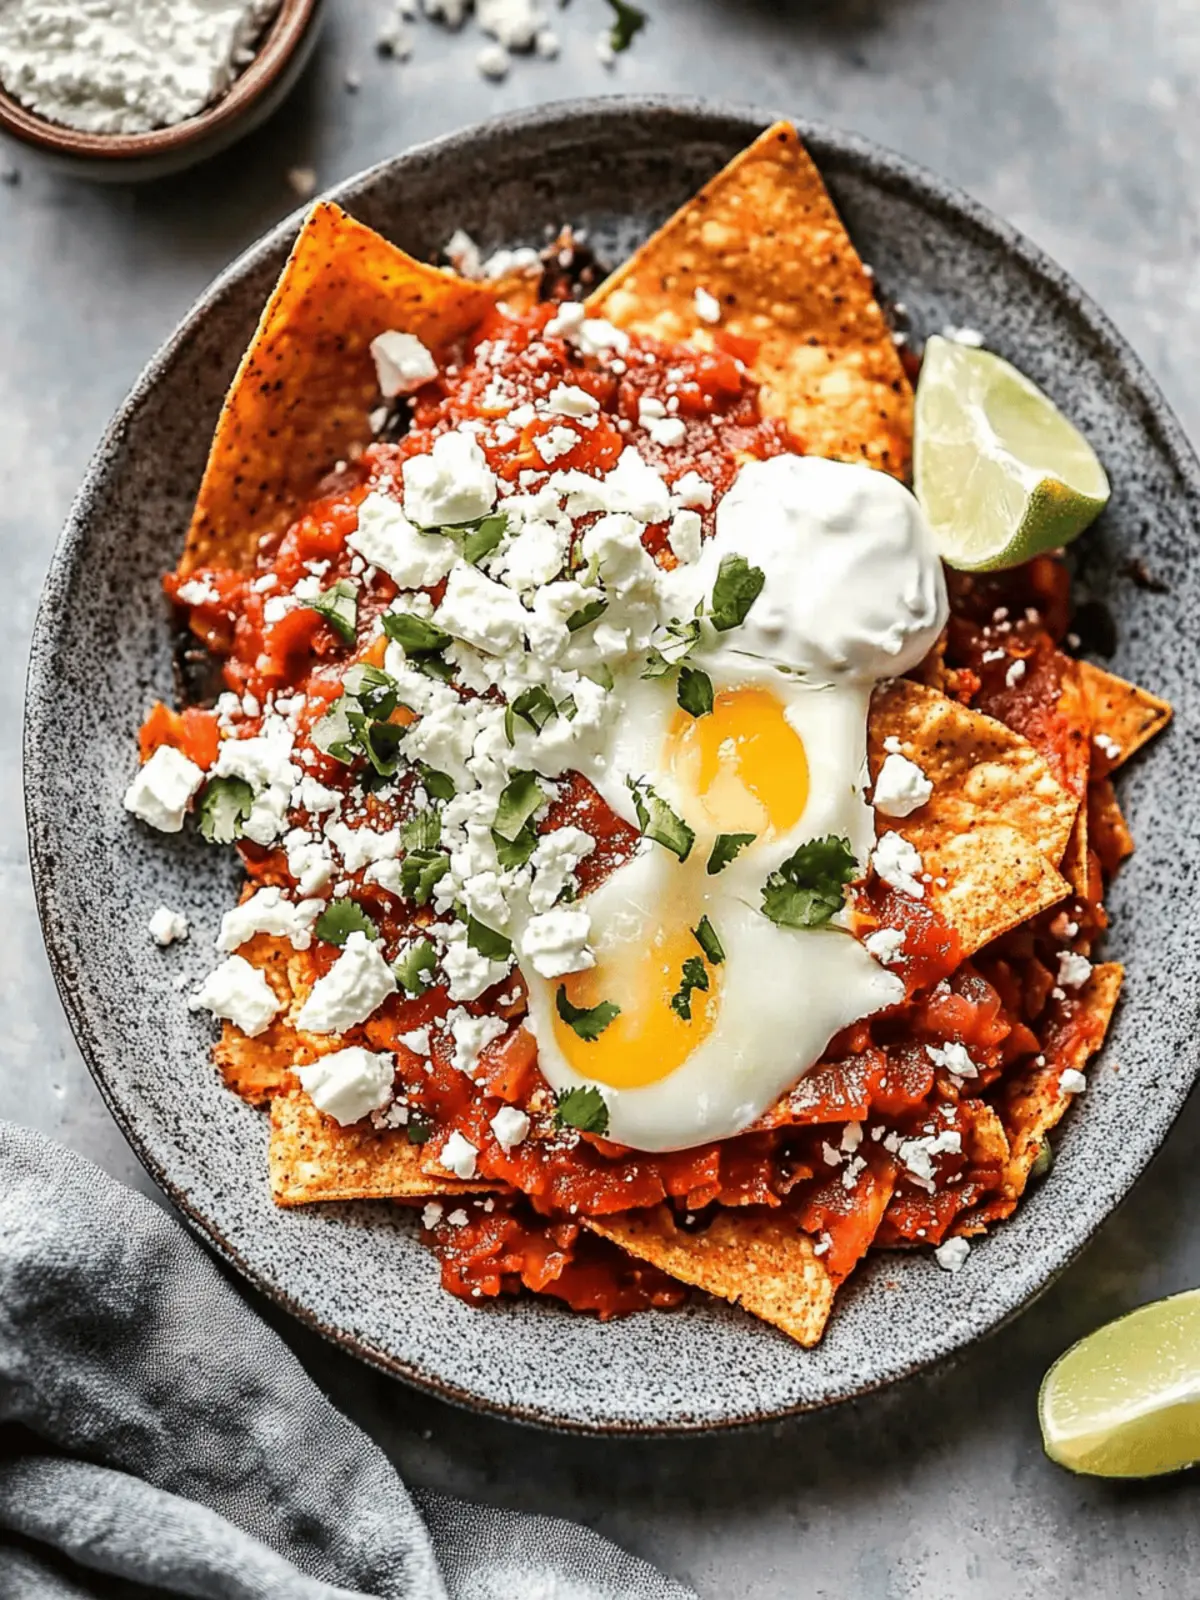
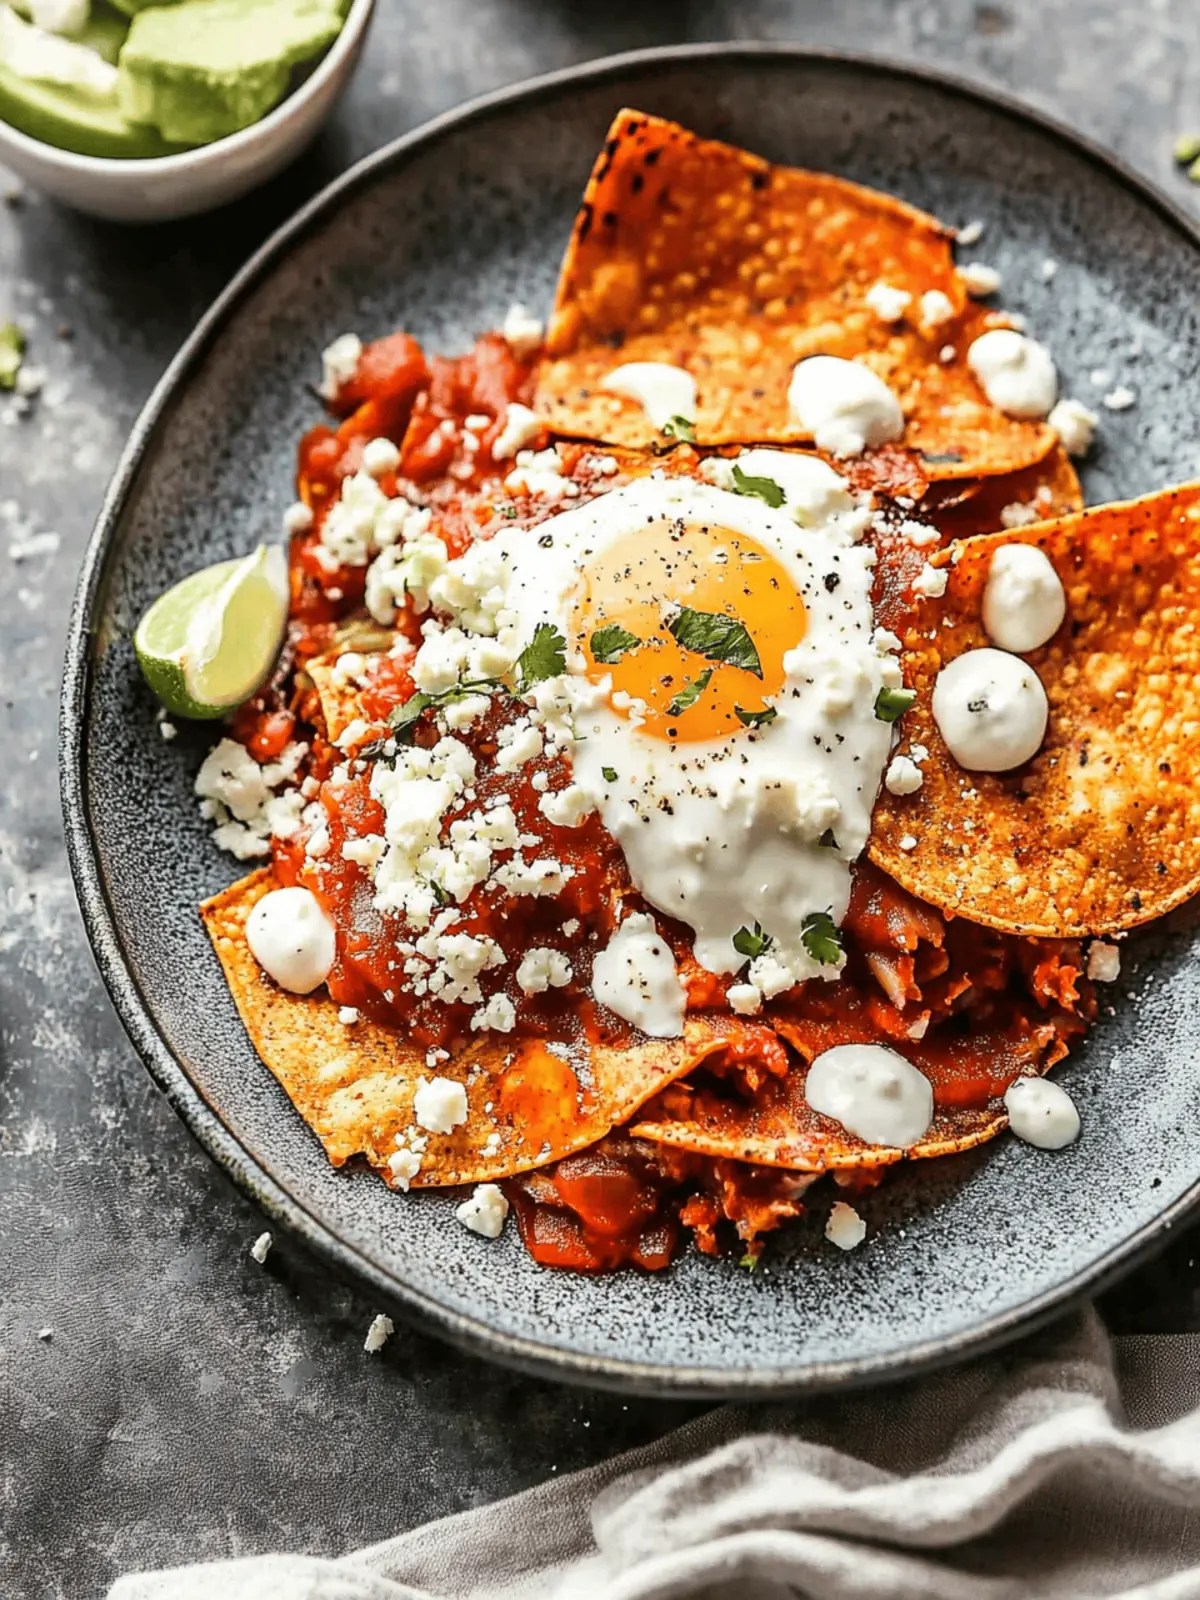
There’s a certain joy that comes from watching leftover tortillas transform into something spectacular. One sunny morning, as I rummaged through my pantry, I stumbled upon an assortment of ingredients that sparked a delicious idea: chilaquiles! This beloved Mexican dish is a vibrant celebration of flavors, featuring crispy corn tortillas tossed in a delightful blend of zesty red and green sauces. With the sound of the tortillas sizzling to life, my kitchen filled with an irresistible aroma that promised comfort and warmth.
Perfect for breakfast, lunch, or dinner, this recipe is not only simple and quick but also entirely adaptable to suit your cravings. Whether you’re looking to impress at a brunch gathering or seeking a satisfying weeknight meal, these chilaquiles serve up that authentic taste of Mexico, all while bringing a little spice to your life! So grab your ingredients, and let’s whip up this colorful, flavorful dish that will surely become a new favorite in your home.
Why are Chilaquiles a Must-Try Dish?
Comforting, Flavor-Packed: Chilaquiles are the ultimate cozy meal, combining crispy tortillas with rich, zesty sauces that awaken your taste buds.
Quick & Easy: This recipe is a breeze to prepare, perfect for busy mornings or a last-minute dinner.
Versatile Ingredients: Use what you have on hand! Customize with toppings like avocado, fried eggs, or your choice of cheese for a personal twist.
Crowd Pleaser: Ideal for sharing, these chilaquiles impress guests while making you the star of the kitchen—who doesn’t love a vibrant plate of deliciousness?
Perfect for Any Time: Enjoy them for breakfast, lunch, or dinner; they are satisfying enough to make any meal special. Dive into this exciting dish, and experience the joy it brings!
Chilaquiles Ingredients
• Get ready to create a vibrant dish!
For the Tortillas
- White Corn Tortillas – They’re the main base for optimal crunch; a bit stale is best.
- Oil – Used for frying to achieve that perfect crispiness; vegetable oil is a great option.
For the Red Sauce
- Dried Guajillo Chiles – Packed with rich flavor, they make the red sauce sing; mild chiles make a fine substitute.
- Dried Arbol Chiles – Add a spicy kick; adjust to suit your heat preference!
- Low Sodium Chicken Broth – Necessary for blending the sauce smoothly; use vegetable broth if keeping it vegetarian.
- Garlic – Essential for that aromatic touch in both sauces.
- Whole Cumin Seeds – Infuses the dish with earthy warmth; ground cumin works too.
- Mexican Oregano – Offers a distinct flavor profile, typical in Mexican cooking; you can use regular oregano if necessary.
For the Green Sauce
- Tomatillos – Adds a refreshing tang that brightens up your dish; green tomatoes can substitute if needed.
- Fresh Cilantro – Provides a fresh, herbal note used in both sauces.
- Salt – Enhances all flavors; adjust to personal taste.
- Small Onion – Adds sweetness when sautéed; an essential flavor booster!
For the Toppings
- Queso Fresco – Crumbled on top for creaminess; feta cheese is a great alternative.
- Mexican Crema – Drizzled for richness; sour cream can also be used in a pinch.
- Avocado – Chopped for creaminess and nutrition, perfect for a fresh finish.
- Eggs – Fried and placed on top for an extra protein boost; they elevate every bite.
- Black Refried Beans – Served as a side for added protein and fiber.
- Shredded Chicken – Optional for a heartier meal, great for using up leftovers.
Dive into this mix of chilaquiles ingredients, and prepare for a delightful culinary adventure!
How to Make Chilaquiles
-
Prepare the Tortilla Chips: Cut the white corn tortillas into wedges. Either let them dry for several hours to achieve maximum crispiness or fry them in hot oil until golden and crunchy, about 2-3 minutes.
-
Soak and Prep the Chiles: Remove the seeds from the dried guajillo and arbol chiles. Soak them in boiling water for about 10-15 minutes until softened, making the blending process easier.
-
Blend the Salsa Verde: In a blender, combine the low sodium chicken broth, garlic, cumin seeds, and Mexican oregano. Add tomatillos and fresh cilantro, blending until smooth and set aside.
-
Sauté Onions: Heat oil in a skillet over medium heat. Sauté the small, sliced onion until soft and translucent, which should take about 5 minutes. Pour the salsa verde into the skillet and simmer for an additional 10 minutes.
-
Blend the Red Sauce: Blend the soaked chiles with the chicken broth until smooth, then combine with the green salsa. Season with salt and let it simmer on low heat for about 5 minutes to meld the flavors.
-
Combine Chips and Sauce: Toss the crispy tortilla chips in the skillet with the blended red and green sauce, ensuring they’re well coated without getting too soggy.
-
Serve with Toppings: Plate your vibrant chilaquiles and top with crumbled queso fresco, sautéed onions, a drizzle of Mexican crema, diced avocado, and optional shredded chicken. Serve with a side of black refried beans and a fried egg on top for that perfect finishing touch!
Optional: Add pickled jalapeños for an extra kick!
Exact quantities are listed in the recipe card below.
How to Store and Freeze Chilaquiles
Fridge: Store leftover chilaquiles in an airtight container in the refrigerator for up to 3 days. Keep sauces separate from chips to maintain crispiness.
Freezer: If you want to freeze chilaquiles, place them in a freezer-safe container for up to 2 months. It’s best to freeze the sauce separately to retain freshness.
Reheating: To reheat, thaw the frozen chilaquiles in the fridge overnight. Warm them in a skillet over low heat, adding a splash of water to help revive the sauce.
Make-Ahead Tip: Prepare the sauce and tortilla chips ahead of time and store them separately for an easy and quick assembly, ready to enjoy whenever a craving for chilaquiles strikes!
Chilaquiles Variations & Substitutions
Feel free to get creative with your chilaquiles dish; the possibilities are endless and can make every bite unique!
- Vegetarian: Omit the chicken and use vegetable broth for a deliciously meat-free version that’s still packed with flavor.
- Cheese Options: Swap out queso fresco for crumbled cotija or creamy Monterey Jack for a different taste experience that suits your palate.
- Spicy Kick: Add pickled jalapeños or fresh diced serrano peppers on top for those who love a little extra heat.
- Crispy Toppings: Consider adding crushed tortilla chips or crispy fried shallots over the top for an extra crunch that will delight your taste buds.
- Herb Swap: Instead of cilantro, try fresh parsley or even green onions for a different herbaceous twist that complements the sauces beautifully.
- Protein Boost: Mix in black beans or pinto beans for an extra protein punch while keeping it vegetarian-friendly. You can also use shredded pork for a heartier option.
- Savory Veggies: Toss in sautéed bell peppers, zucchini, or corn to add texture and color, giving your chilaquiles a delightful vegetable medley.
- Breakfast Twist: Serve alongside scrambled eggs or crispy bacon to transform your chilaquiles into a fully-fledged breakfast feast that satisfies morning cravings.
Get ready to enjoy an ever-evolving plate of chilaquiles that reflects your personal taste and what you have on hand!
Expert Tips for Chilaquiles
- Tortilla Drying: Ensure your tortillas are a bit stale or dried for maximum crispiness; this prevents sogginess when combined with the sauce.
- Adjusting Heat: Customize the spice level by varying the number of dried Arbol chiles; start with a small amount and taste as you go.
- Coating Timing: Toss the crispy chips in the sauce just before serving to keep them crunchy; this is key for perfect chilaquiles.
- Prep Ahead: Prepare the sauces ahead of time for a quicker assembly during meal prep; reheat them before combining with tortilla chips.
- Flavor Tweaks: Don’t hesitate to experiment with toppings like pickled jalapeños or different cheeses to add your unique twist to the chilaquiles.
What to Serve with Chilaquiles?
Chilaquiles burst with flavor and zest, making it a delightful centerpiece for any meal. Round out this culinary experience with these scrumptious pairings!
-
Creamy Avocado Salad: Fresh avocado salad brings a smooth, cool contrast to the crispy chilaquiles, enhancing the dish’s richness.
-
Huevos Rancheros: This classic Mexican breakfast with eggs and salsa complements the dish perfectly, adding protein and a familiar flavor profile.
-
Black Beans: Serve a side of seasoned black beans to boost the protein and fiber content, adding earthiness to your meal.
-
Grilled Corn on the Cob: The sweetness of grilled corn balances the spices in the chilaquiles, providing a delightful crunch and a touch of smoky flavor.
-
Tortilla Soup: A warm bowl of tortilla soup enriches the meal, creating harmony with the chilaquiles while offering a comforting texture.
-
Fresh Fruit Salsa: A mix of diced seasonal fruits adds a refreshing note to your plate and enhances the vibrant flavors of the chilaquiles.
-
Margaritas or Horchata: Pair these chilaquiles with a refreshing margarita or soothing horchata, both promising to elevate the dining experience with their unique flavors.
-
Cinnamon Sugar Churros: End your meal on a sweet note with some churros; the cinnamon sugar sweetness beautifully contrasts the savory chilaquiles, making for a delightful dessert.
Make Ahead Options
These chilaquiles are perfect for meal prep enthusiasts looking to save time during busy mornings! You can prepare the red and green sauces up to 3 days in advance. Simply soak, blend, and store them in airtight containers in the refrigerator to maintain freshness. The tortilla chips can also be fried and stored in a separate container to stay crispy. Just be sure to toss the chips with the sauces before serving to keep them from getting soggy. When you’re ready to enjoy your chilaquiles, reheat the sauces on the stove and combine them with the chips for a delightful meal that’s just as delicious as when freshly made!
Chilaquiles Recipe FAQs
What kind of tortillas are best for chilaquiles?
I recommend using white corn tortillas, as they become deliciously crispy when fried. It’s actually best if they’re a bit stale! If you’re in a pinch, yellow corn tortillas can work as a great alternative.
Advertisement
How should I store leftover chilaquiles?
To keep those scrumptious leftovers fresh, store chilaquiles in an airtight container in the fridge for up to 3 days. However, to maintain the crispy texture, it’s best to keep the tortilla chips separate from the sauce until you’re ready to enjoy them again.
Can I freeze chilaquiles?
Absolutely! To freeze, place the chilaquiles in a freezer-safe container for up to 2 months. For best results, freeze the sauce separately; this ensures optimal flavor and freshness. When you’re ready to enjoy, thaw overnight in the fridge and reheat in a skillet over low heat, adding a splash of water as needed.
What if my chilaquiles turn soggy?
If you find your chilaquiles are too soggy, it might be because they were coated in sauce too early. Always toss the crispy tortilla chips in the sauce just before serving to keep them crunchy. Additionally, ensuring your tortillas are dried or a bit stale before frying can help achieve that perfect texture.
Are chilaquiles suitable for vegetarians?
Yes indeed! To make a vegetarian version, simply omit any meat like shredded chicken and use vegetable broth instead of chicken broth in your sauces. It’s just as hearty and flavorful without the added protein!
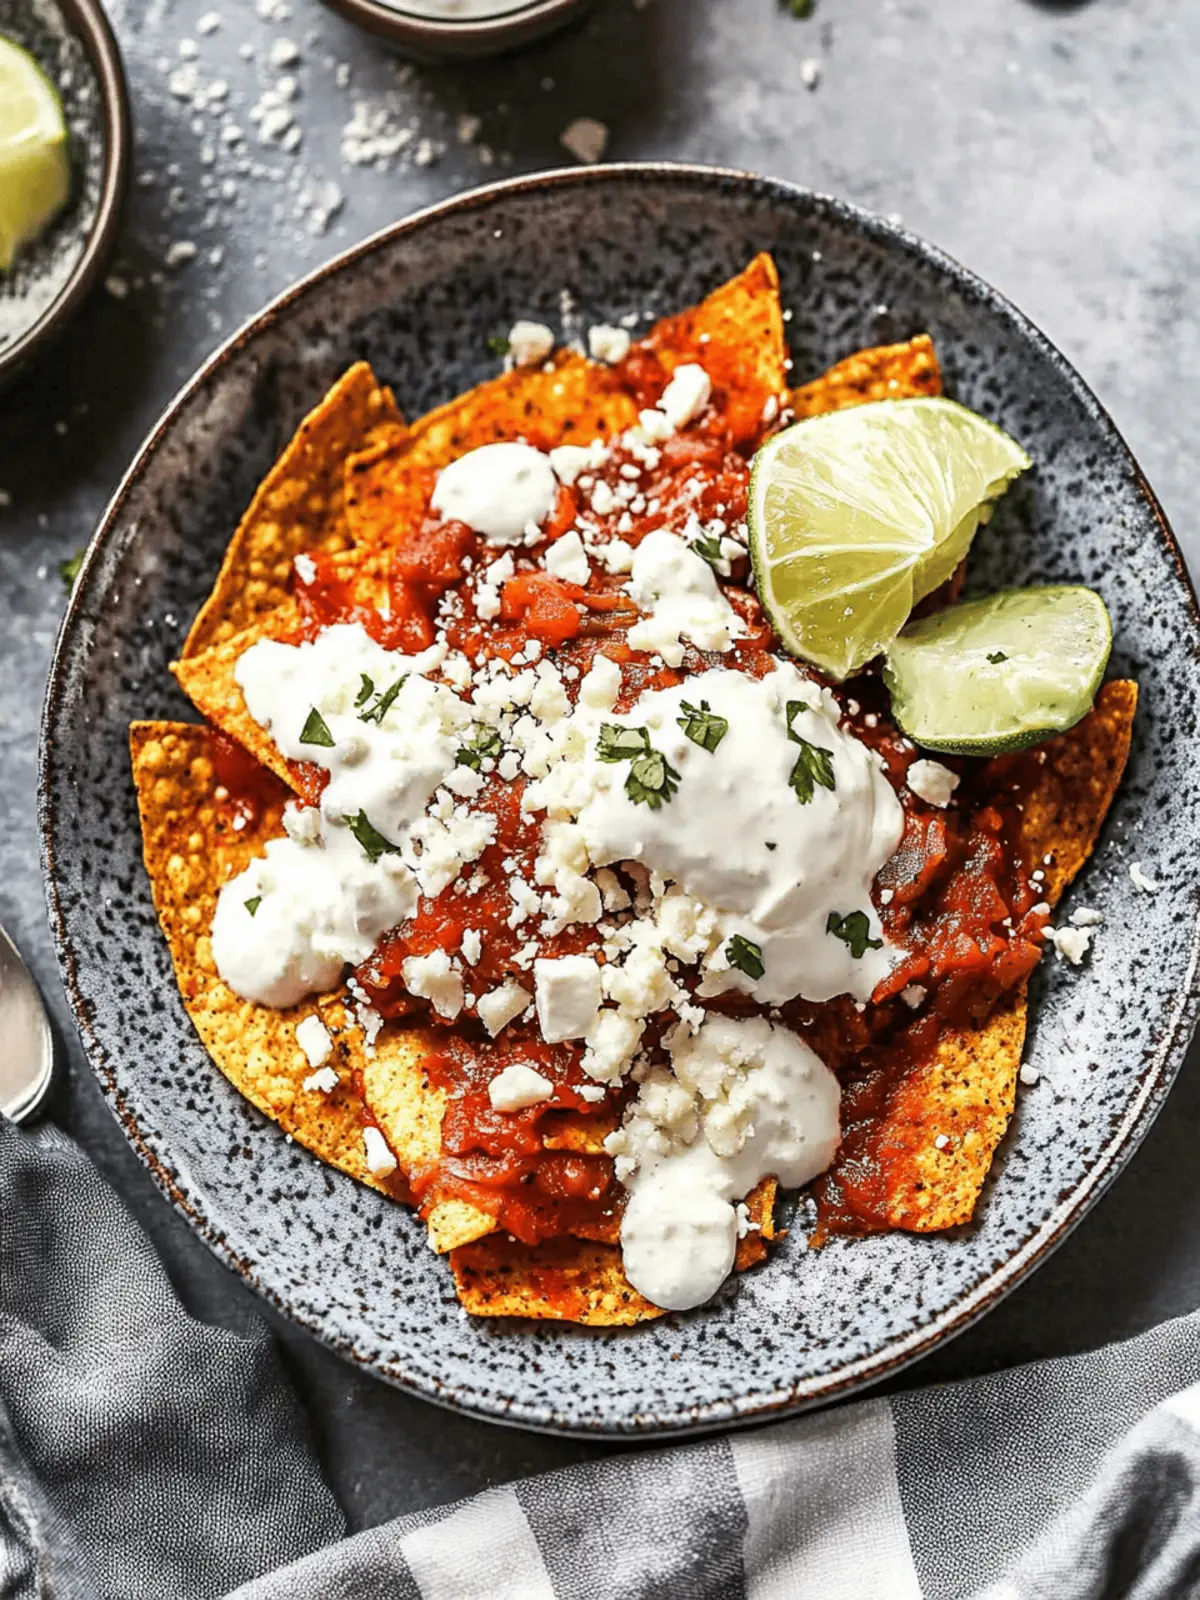
Crispy Chilaquiles with Red and Green Sauce for Breakfast Bliss
Ingredients
Equipment
Method
- Cut the white corn tortillas into wedges. Either let them dry for several hours or fry them in hot oil until golden and crunchy, about 2-3 minutes.
- Remove the seeds from the dried guajillo and arbol chiles. Soak them in boiling water for about 10-15 minutes until softened.
- In a blender, combine the low sodium chicken broth, garlic, cumin seeds, and Mexican oregano. Add tomatillos and fresh cilantro, blending until smooth.
- Heat oil in a skillet over medium heat. Sauté the small, sliced onion until soft and translucent, about 5 minutes. Pour the salsa verde into the skillet and simmer for an additional 10 minutes.
- Blend the soaked chiles with the chicken broth until smooth, then combine with the green salsa. Season with salt and let it simmer on low heat for about 5 minutes.
- Toss the crispy tortilla chips in the skillet with the blended red and green sauce, ensuring they’re well coated.
- Plate your chilaquiles and top with crumbled queso fresco, sautéed onions, Mexican crema, diced avocado, and optional shredded chicken.

