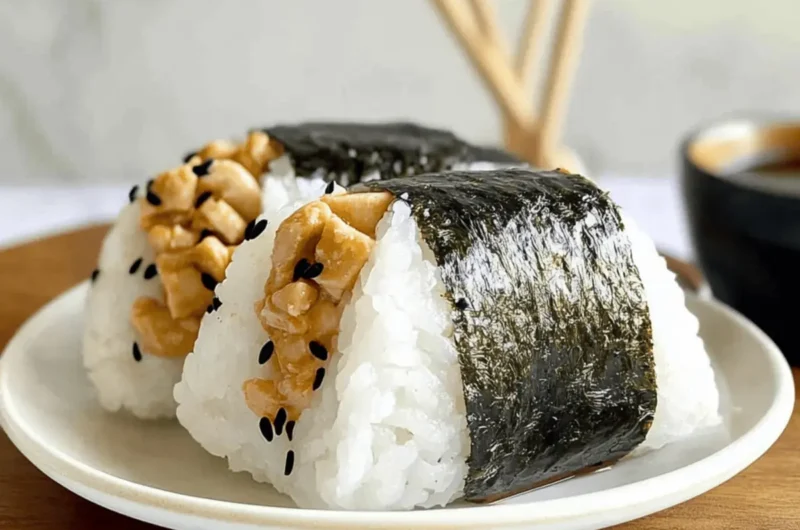
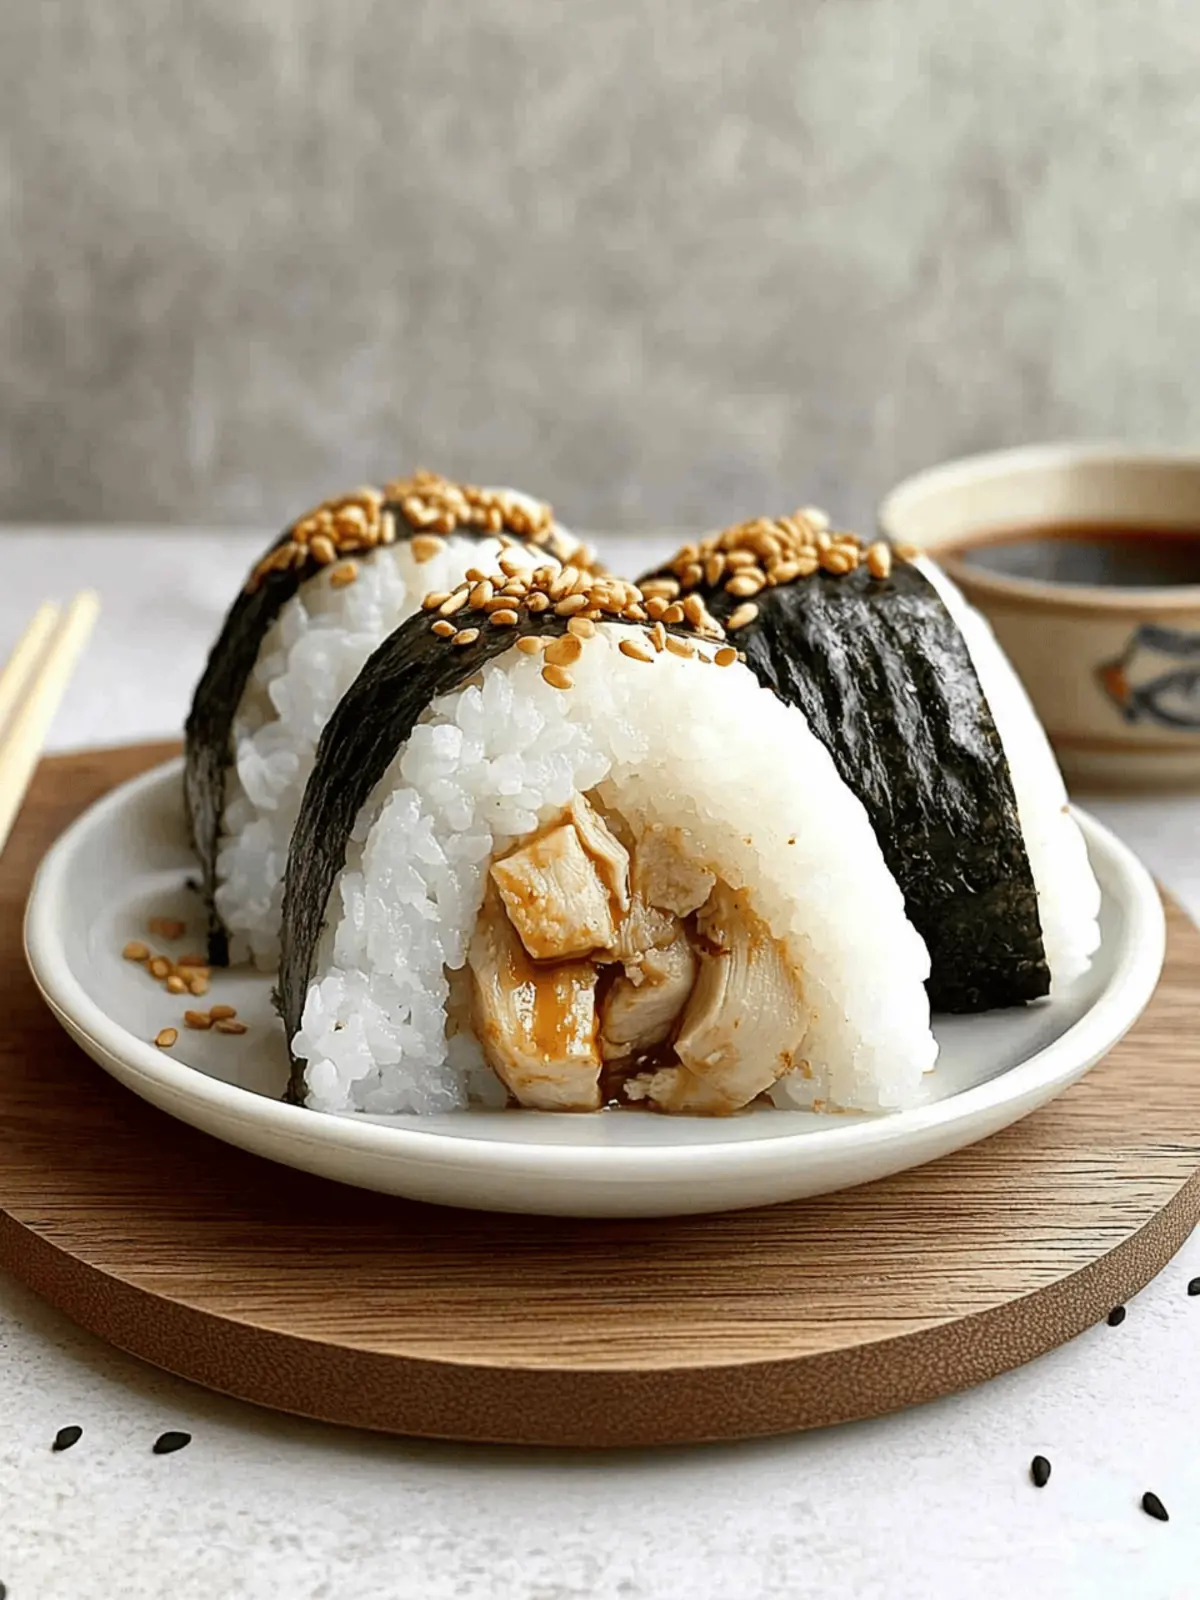
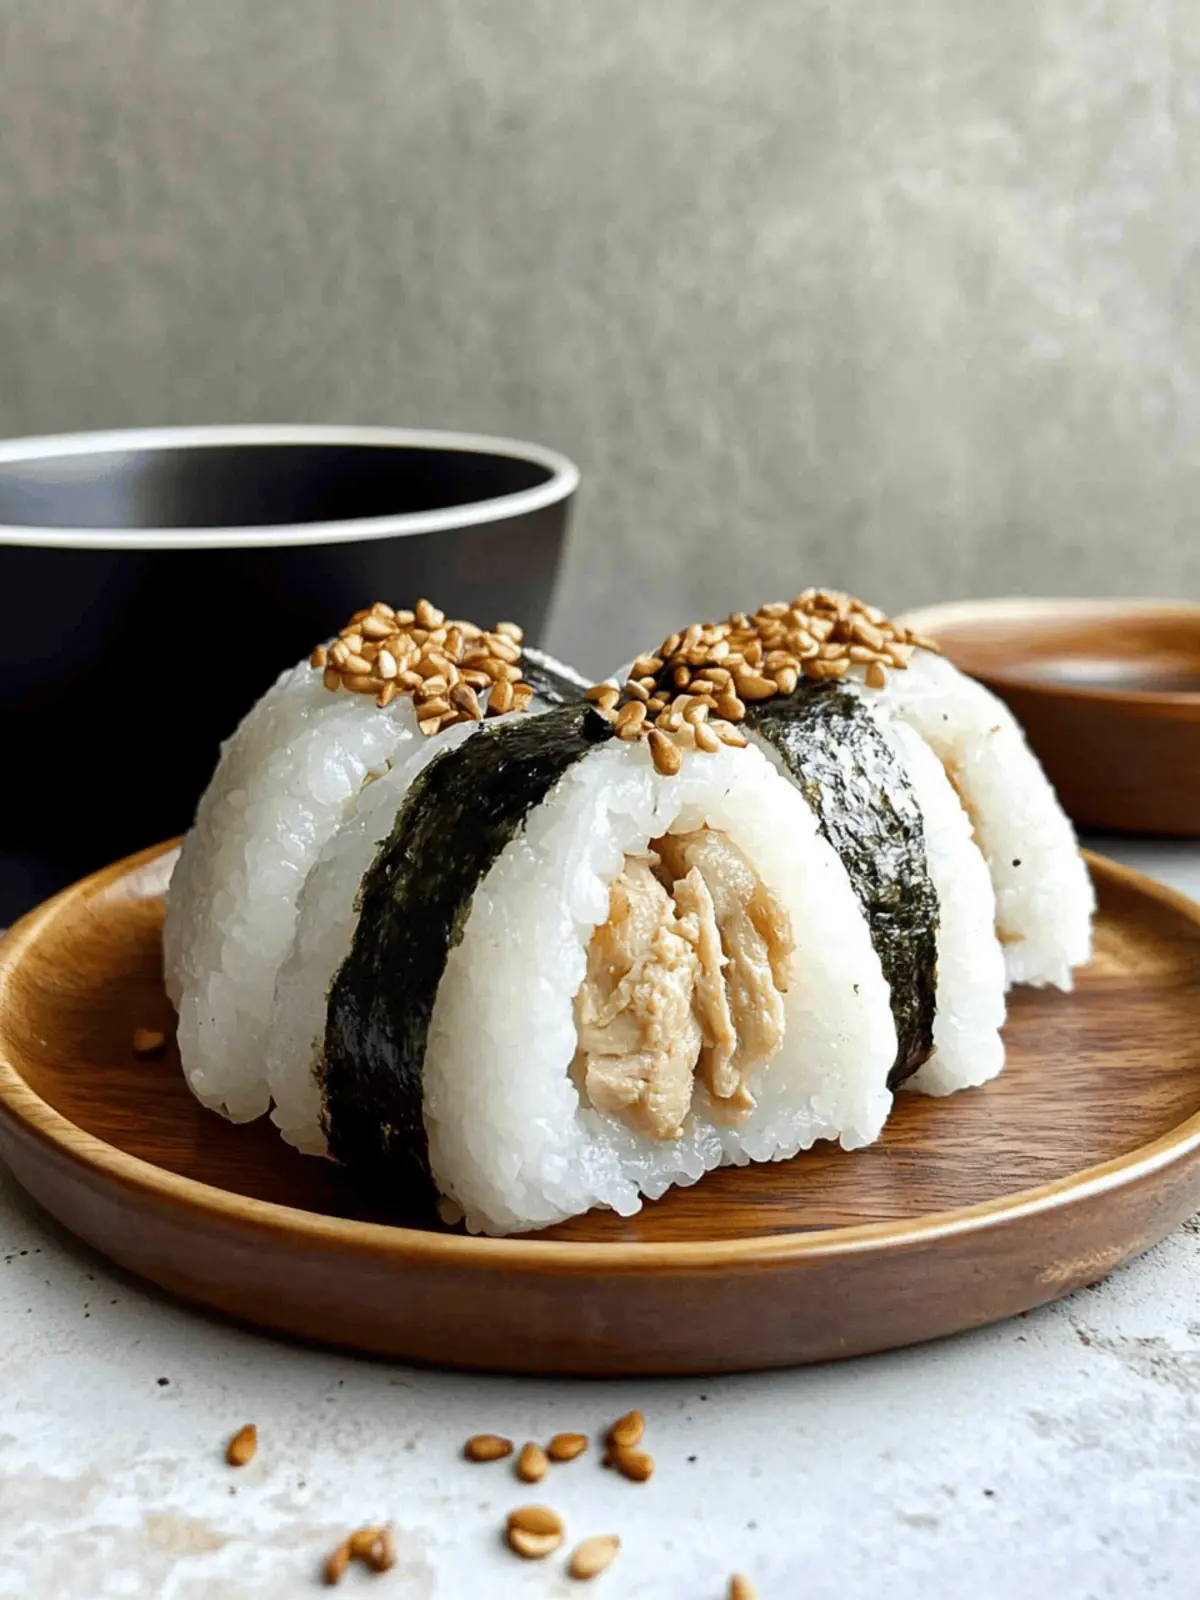
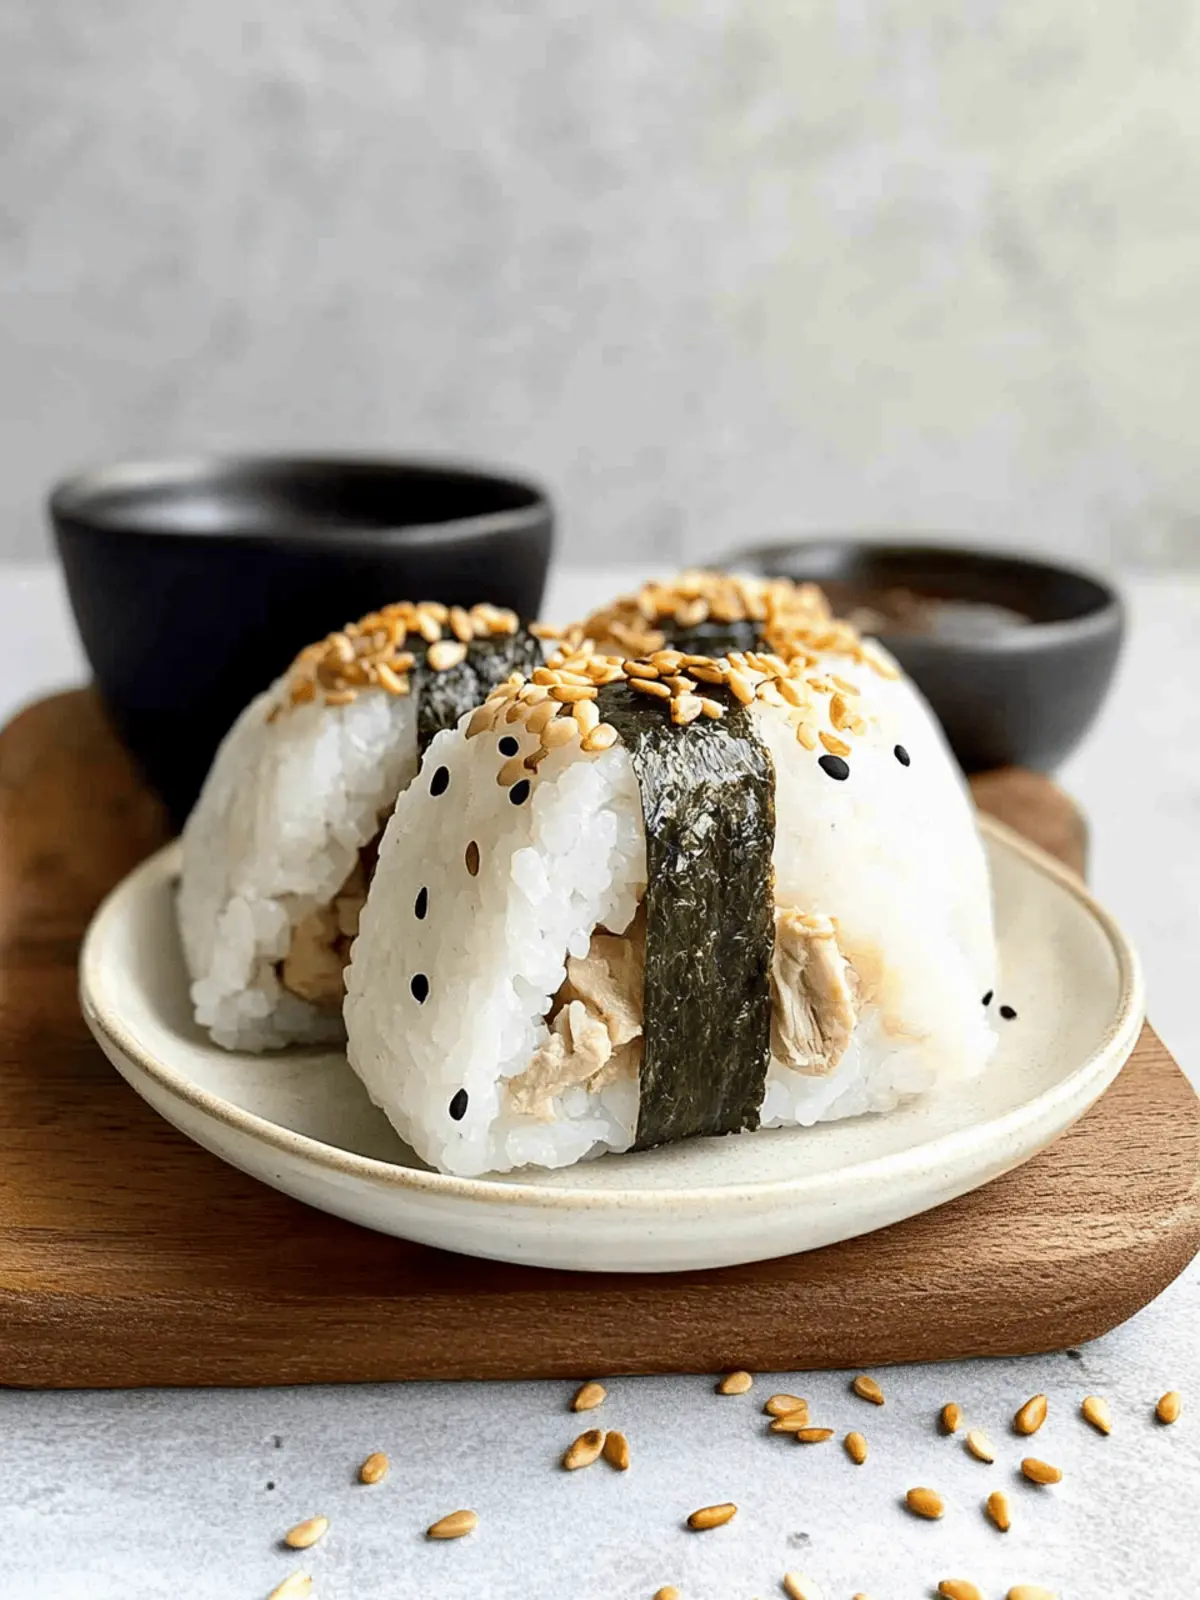
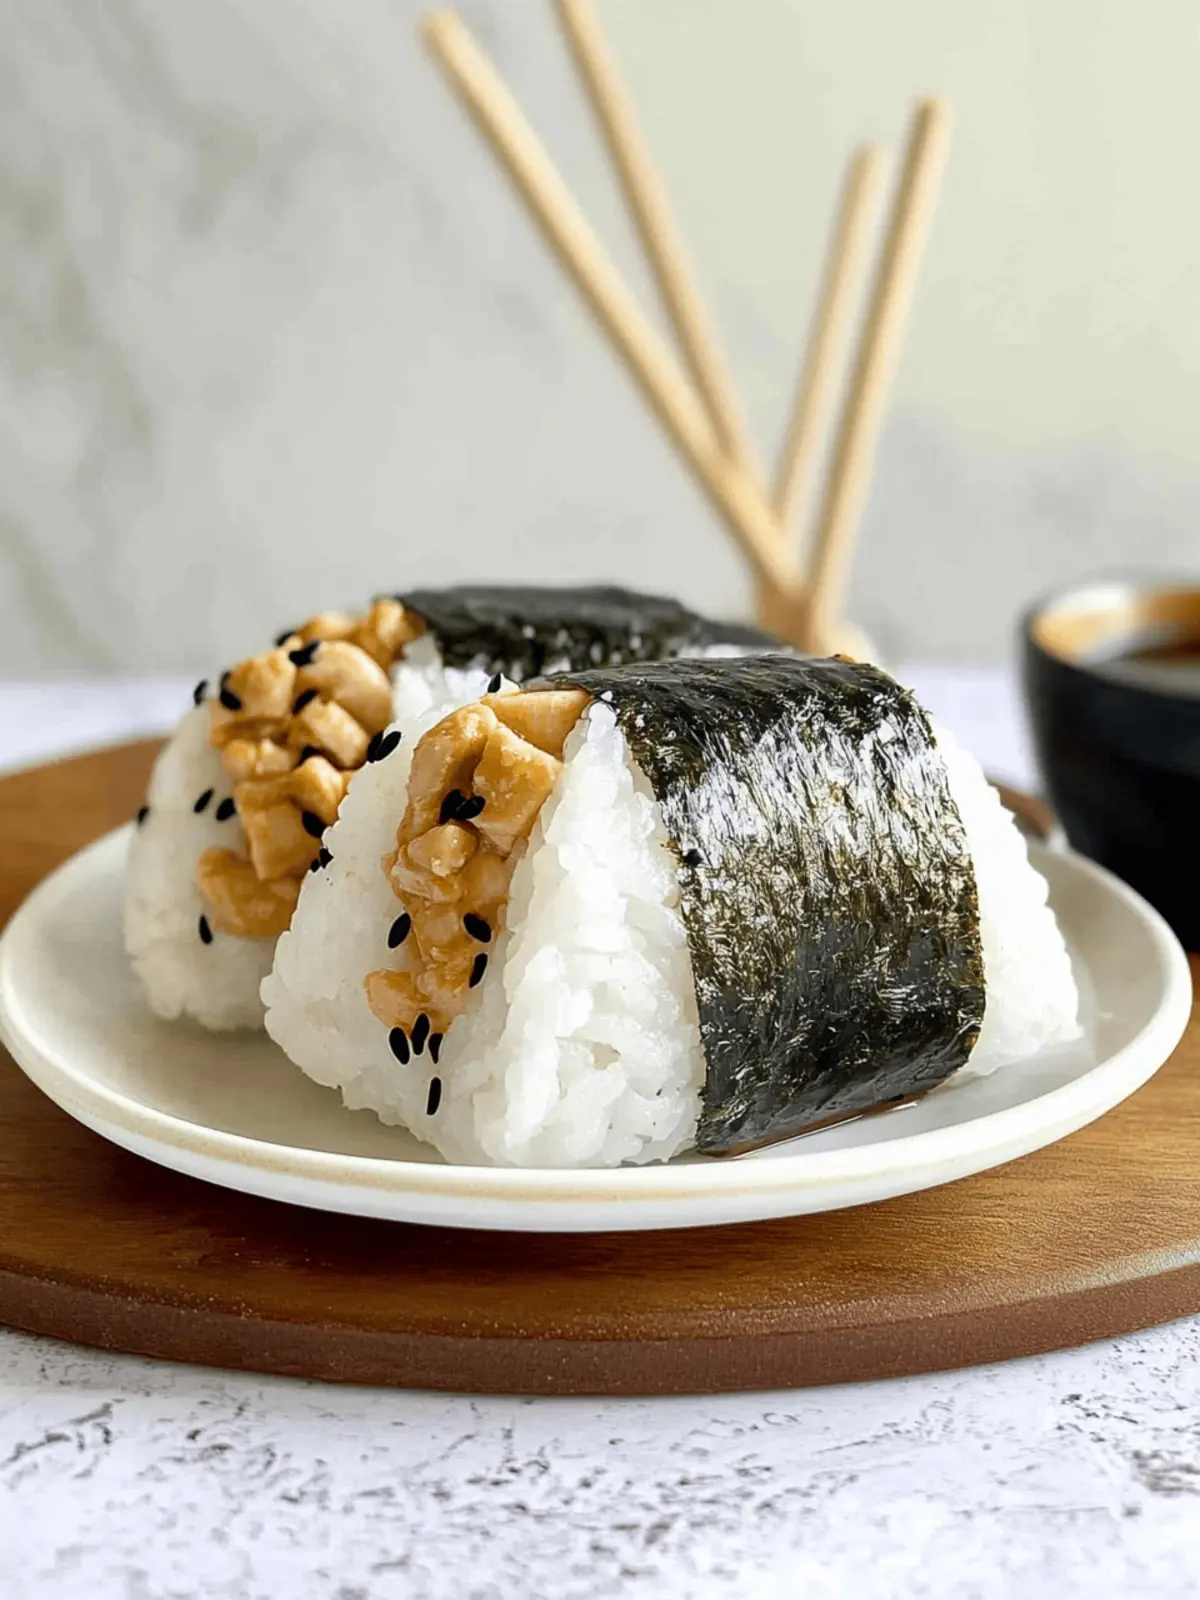
When the craving for Japanese cuisine strikes but time is tight, I turn to my trusty recipe for Chicken Onigiri. Picture this: tender marinated chicken coated in a savory teriyaki glaze nestled within perfectly sticky sushi rice, all wrapped in a crisp strip of nori. Each bite transports me back to those bustling Japanese streets, where these delightful snacks are a daily staple.
I discovered the joy of making onigiri while searching for something quick yet satisfying to jazz up my meal prep. The beauty of this dish lies not just in its flavor, but in its versatility—this recipe is as easy to customize as it is to prepare. Whether you’re packing a lunch, prepping for a picnic, or just in need of a snack, these Chicken Onigiri will impress and delight both family and friends. Let’s dive into this delicious adventure together!
Why is Chicken Onigiri a Must-Try?
Simplicity: This Chicken Onigiri recipe is incredibly easy to follow, perfect for both beginners and seasoned cooks alike.
Flavor Fusion: The combination of tender chicken in savory teriyaki sauce and sticky sushi rice takes your taste buds on a delightful journey to Japan.
Customizable: Feel free to experiment with various fillings, from tofu for a vegetarian option to different proteins, making it a versatile choice.
Quick Prep: Ready in just minutes, it’s an excellent option for a busy day, satisfying your cravings without the fast food hassle.
Perfect for Sharing: Whether you’re hosting friends or enjoying a picnic, these onigiri are sure to impress and keep everyone coming back for more!
Chicken Onigiri Ingredients
For the Rice
• Short-grain rice – Use sushi rice for that perfect sticky texture essential for shaping onigiri.
• Salt – Fine salt enhances the flavor of the rice, ensuring a delightful taste.
For the Chicken Filling
• Boneless, skinless chicken – This is the protein superstar; feel free to use thighs or ground chicken for variation!
• Soy sauce – A fundamental marinade that brings depth and saltiness to the chicken; opt for gluten-free if needed.
• Sake – Enhances flavor and tenderizes the chicken; water can serve as a substitute if unavailable.
• Baking soda – Helps to tenderize the chicken meat during marination, making it juicy.
• Cornstarch – Gives the chicken a better texture once cooked; don’t skip this!
• Mirin – Sweet rice wine adds authenticity and a touch of sweetness to the teriyaki flavor.
• Brown sugar – This balances the savory notes of the soy sauce with a hint of sweetness.
• Oil – Use a neutral oil like canola for stir-frying the chicken, allowing its flavors to shine through.
• Garlic – Minced for that aromatic kick and extra depth of flavor.
For the Topping
• Furikake – An optional seasoning that adds umami and texture to the rice, enhancing your Chicken Onigiri.
• Nori – Provides a crispy outer layer; cut it into strips for wrapping, giving each bite that satisfying crunch.
How to Make Chicken Onigiri
-
Prepare Rice: Rinse short-grain (sushi) rice under cold water until it runs clear. Cook it with 15% more water than usual, then mix in salt and optional furikake for that extra flavor boost once the rice is fluffy and sticky.
-
Marinate Chicken: Cut your boneless, skinless chicken into small pieces. In a bowl, mix soy sauce, sake, baking soda, cornstarch, mirin, brown sugar, and minced garlic. Add the chicken, making sure it’s well-coated, then refrigerate for 30 minutes to absorb those delicious flavors.
-
Make Teriyaki Sauce: In a small bowl, combine remaining soy sauce, mirin, and brown sugar to create a cohesive and tasty teriyaki sauce that pairs beautifully with the chicken.
-
Stir-Fry Chicken: Heat a splash of neutral oil in a nonstick pan over medium-high heat. Once the oil is shimmering, add the marinated chicken and stir-fry for about 2-3 minutes until it’s cooked through and lightly golden.
-
Add Sauce: Lower the heat and mix in the teriyaki sauce. Allow it to simmer for a few minutes, stirring occasionally, until it thickens and clings to the chicken, creating a mouthwatering glaze.
-
Shape Onigiri: Wet your hands to prevent sticking, then scoop ⅓ cup of rice. Form a well in the center, fill it with 1 tablespoon of the delicious chicken, and cover it with more rice. Shape it into a triangle, then wrap a strip of nori around it for that delightful crunch.
Optional: Serve with a side of pickled vegetables for a refreshing contrast!
Exact quantities are listed in the recipe card below.
What to Serve with Chicken Onigiri?
Elevate your mealtime experience with delightful sides that bring out the best in these savory snacks.
-
Miso Soup: This warm and comforting soup complements the onigiri’s flavors, providing a traditional Japanese touch to your meal.
-
Pickled Vegetables: A crunchy, tangy side like pickled daikon or cucumbers balances the richness of the chicken, refreshing your palate with every bite.
-
Steamed Edamame: Lightly salted edamame adds a pop of color and a satisfying texture, making it a fun and healthy addition to your plate.
-
Seaweed Salad: This cool, tangy salad contrasts beautifully with the warm, hearty onigiri, adding an oceanic flavor that’s irresistible.
-
Cucumber Salad: Crisp cucumbers tossed with sesame oil and rice vinegar create a light side that enhances the overall experience while refreshing the mouth.
-
Japanese Beer or Green Tea: Sip on a chilled Japanese beer or refreshing green tea to round out your meal. Both beverages harmonize with the umami flavors of the onigiri, making for a delightful dining experience.
-
Fruit Salad: For a sweet finish, a light fruit salad with seasonal fruits offers a bright, refreshing contrast and satisfies your sweet tooth.
Chicken Onigiri Variations
Feel free to get creative with this recipe and make it your own!
-
Vegetarian: Substitute chicken with marinated tofu, adding flavor and texture while keeping it plant-based.
Tofu’s rich essence absorbs the teriyaki sauce beautifully, providing that comforting umami taste. -
Different Proteins: Experiment with fillings like spam, shrimp, or even ground turkey for a unique twist.
Each protein brings its own flair, letting you savor a variety of flavors. -
Spicy Kick: Add a dash of sriracha or chili oil to the marinade for an extra layer of heat.
This fiery addition can elevate your onigiri and tantalize your taste buds. -
Herbs and Greens: Incorporate chopped scallions or cilantro into the rice for a fresh burst of flavor.
This not only enhances taste but also adds a beautiful touch of color to your onigiri. -
Nutty Flavor: Replace furikake with sesame seeds for a delightful crunch and nutty aroma.
Toasting the sesame seeds beforehand brings an even richer flavor and texture. -
Sweet Surprise: Add chopped fruits such as mango or diced pineapple inside for a sweet contrast to savory ingredients.
This unexpected twist can create a wonderful flavor combination that surprises your palate. -
Balmy Bliss: Infuse your rice with coconut milk instead of using water for a tropical twist.
The creamy consistency makes the onigiri even more indulgent and flavorful. -
Cheesy Addition: For a unique fusion, try adding a small cube of cheese in the center before shaping the onigiri.
As it melts, it will create a gooey, delicious surprise in every bite!
Make Ahead Options
These Chicken Onigiri are perfect for meal prep aficionados! You can prepare the sushi rice up to 24 hours in advance, cooling it completely before refrigerating to maintain its sticky texture. The marinated chicken can also be made up to 3 days ahead; just ensure it’s stored in an airtight container in the fridge to lock in the flavors. When you’re ready to serve, stir-fry the marinated chicken as directed and shape the onigiri just before enjoying. This way, you’ll have a delicious, homemade snack ready in no time, feeling just as fresh as when you made it!
Expert Tips for Chicken Onigiri
-
Choose the Right Rice: Use short-grain sushi rice for the perfect stickiness. This is essential for shaping your Chicken Onigiri neatly.
-
Marination Time: Don’t rush the marination process; letting the chicken sit for the full 30 minutes enhances flavors significantly.
-
Prevent Sticking: Wet your hands while shaping the rice to avoid it clinging to your fingers, ensuring easier formation of your onigiri.
-
Check Consistency: When adding sauce to the chicken, cook until it’s thick enough to cling, creating a delicious glaze that elevates your Chicken Onigiri.
-
Wrap Smartly: Cut nori into strips and wrap tightly around the onigiri right before serving to maintain its crispness and texture.
Storage Tips for Chicken Onigiri
- Room Temperature: Best enjoyed fresh, but if you’re in a pinch, Chicken Onigiri can stay at room temperature for up to 2 hours, ideal for picnics or packed lunches.
- Fridge: Store any leftovers in an airtight container in the refrigerator for up to 1 day. Keep the nori separate if you want them to stay crisp.
- Freezer: For longer storage, you can freeze Chicken Onigiri (without nori) for up to 1 month. Wrap each onigiri tightly to prevent freezer burn.
- Reheating: To reheat, microwave for about 30 seconds to 1 minute until warm. Enjoy cold or at room temperature for a delightful snack!
Chicken Onigiri Recipe FAQs
What type of rice should I use for Chicken Onigiri?
Absolutely! For the best results, use short-grain (sushi) rice, which has the stickiness needed to hold the onigiri together. Rinse it under cold water until the water runs clear, and remember to cook it with about 15% more water than usual for that perfect texture.
How should I store leftover Chicken Onigiri?
Very! If you have some leftover Chicken Onigiri, store them in an airtight container in the refrigerator for up to 1 day. To keep the nori crisp, it’s best to store them separately and wrap them just before serving.
Can Chicken Onigiri be frozen?
Absolutely! You can freeze Chicken Onigiri for up to 1 month. Make sure to wrap each onigiri tightly in plastic wrap to prevent freezer burn. When you’re ready to enjoy them, simply microwave for about 30 seconds to 1 minute until warm.
Advertisement
What if my onigiri fall apart when shaping them?
No worries! If your onigiri won’t hold together, it might be due to not enough stickiness in the rice. Make sure you’re using short-grain rice and that it’s well-cooked with a little extra water. Wetting your hands while shaping can also prevent sticking and help form a solid shape.
Are there any dietary considerations for Chicken Onigiri?
Definitely! You can make this recipe gluten-free by using gluten-free soy sauce. Additionally, for those with tofu allergies, you might want to substitute chicken with other proteins or vegetables. Always check labels for potential allergens, especially with ingredients like mirin and sauces.
Can I make Chicken Onigiri ahead of time?
Yes! While Chicken Onigiri is best enjoyed fresh, you can prepare the chicken filling and cook the rice in advance. Store each component separately and assemble just before serving to maintain the best texture and flavor. Enjoying them cold is also a delightful option!
Delicious Chicken Onigiri Recipe You Can Make in Minutes
Ingredients
Equipment
Method
- Rinse short-grain sushi rice under cold water until it runs clear. Cook with 15% more water than usual, then mix with salt and optional furikake once fluffy.
- Cut the chicken into small pieces. Mix soy sauce, sake, baking soda, cornstarch, mirin, brown sugar, and garlic in a bowl. Add chicken, coat well, and refrigerate for 30 minutes.
- Combine remaining soy sauce, mirin, and brown sugar in a bowl to create teriyaki sauce.
- Heat oil in a nonstick pan over medium-high heat. Stir-fry marinated chicken for 2-3 minutes until cooked through.
- Lower heat, add teriyaki sauce, and simmer a few minutes until it thickens and clings to the chicken.
- Wet your hands, scoop ⅓ cup of rice, form a well, fill it with 1 tablespoon of chicken, cover with more rice, and shape into a triangle. Wrap a nori strip around it.

