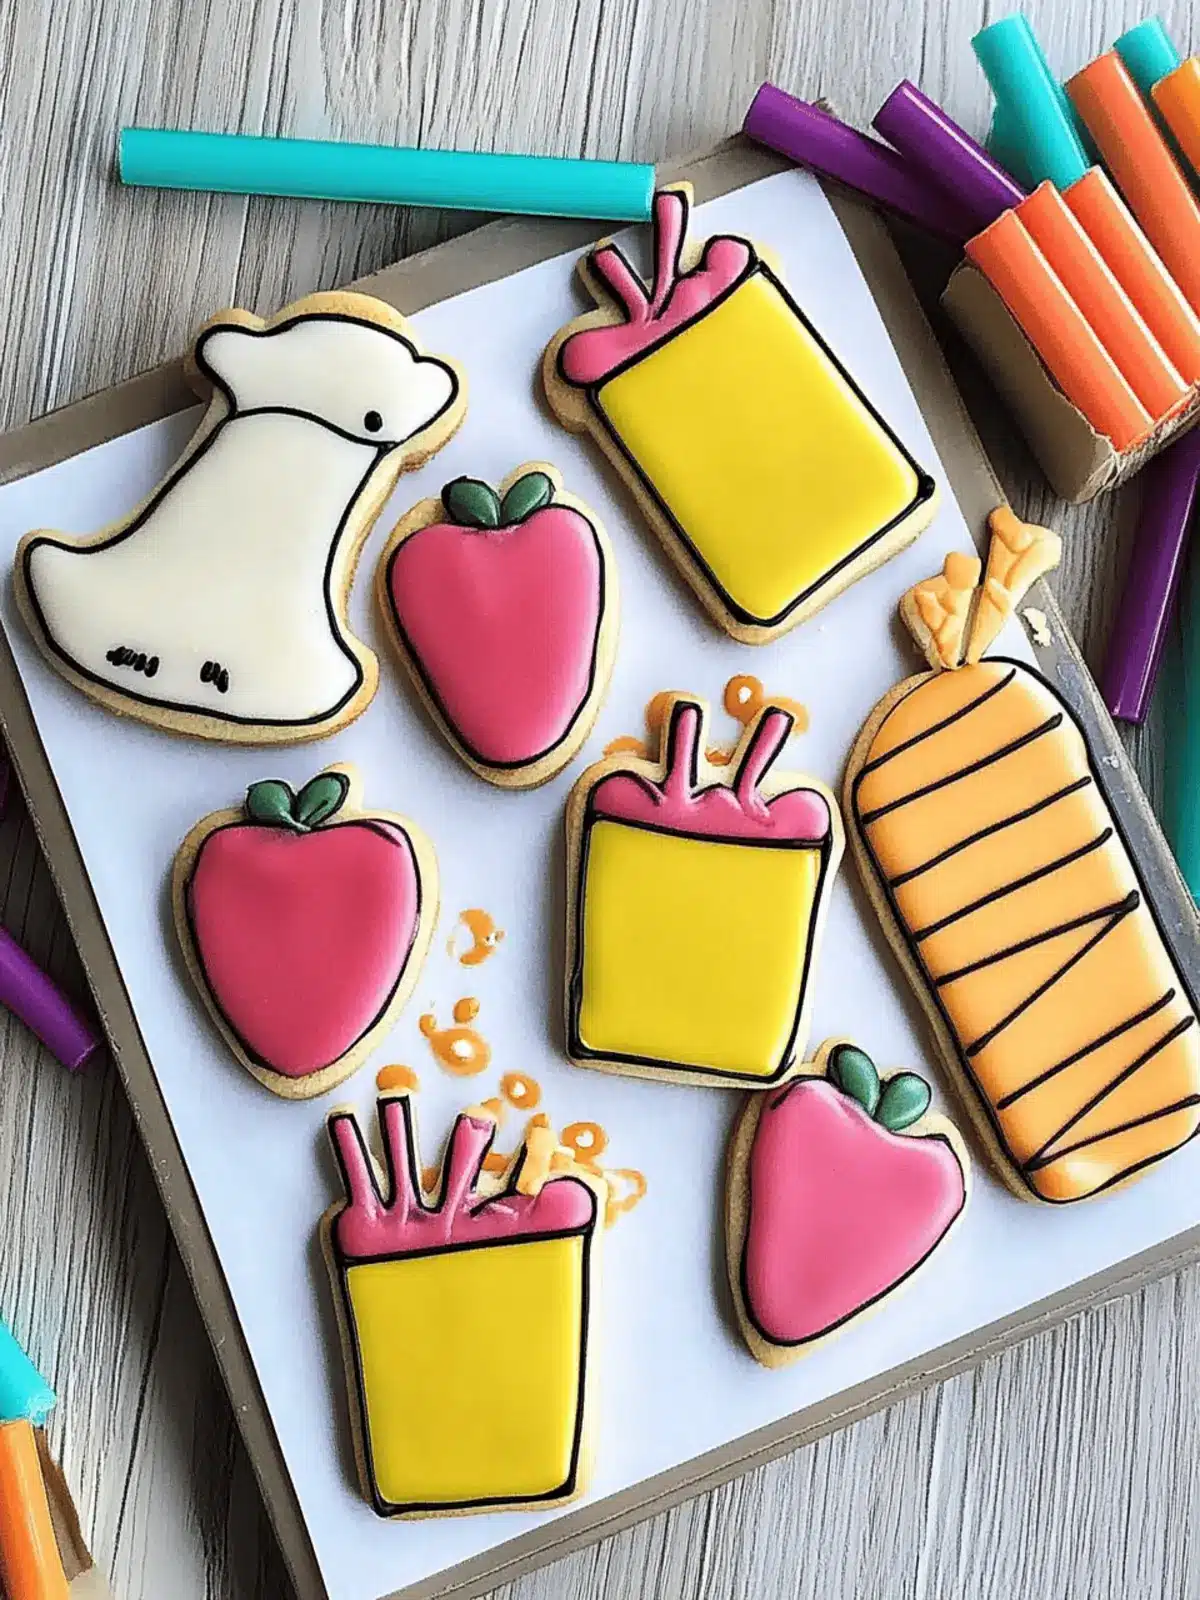
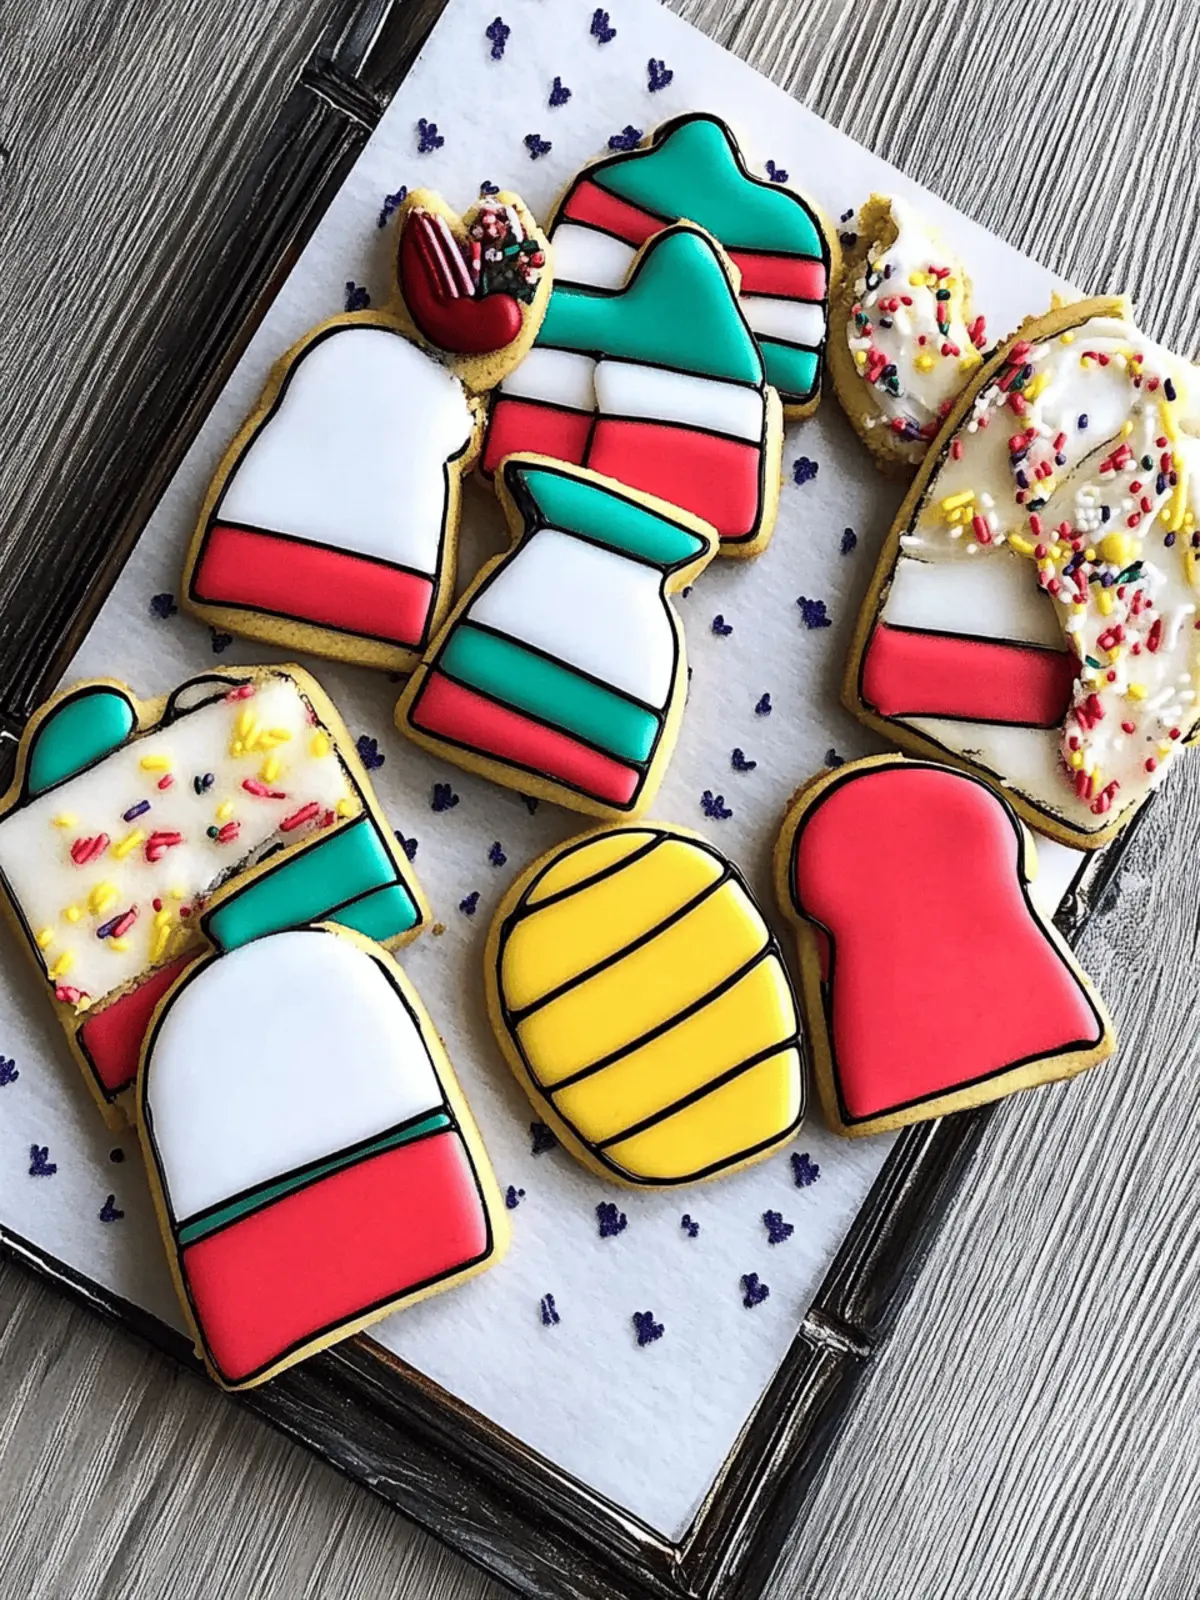
As the summer sun gives way to the cool breeze of autumn, I find myself feeling a rush of nostalgia for those back-to-school days. One of my favorite memories involves baking colorful cookies that not only delighted my friends but also filled our lunchboxes with joy. This recipe for Back to School Sugar Cookies brings that magic back!
With just a few simple ingredients, you can create soft, chewy cookies in the shapes of apples, pencils, and notebooks, perfect for celebrating the new academic year. Topped with vibrant royal icing, these treats not only look cheerful but also taste heavenly. Whether you’re surprising your little ones or prepping for a classroom party, these cookies are an easy and fun way to mark the transition into school mode. Let’s dive into the delightful world of cookie making together!
Why Love Back to School Sugar Cookies?
Nostalgic Memories: These cookies evoke the delightful feeling of returning to school, making them perfect for creating new memories with your family.
Shape Variety: Choose from fun shapes like apples, pencils, and notebooks, allowing kids to have fun while enjoying a tasty treat.
Vibrant Decoration: The colorful royal icing adds a special touch, making these cookies not just delicious but also visually captivating for your little ones.
Easy to Make: This simple recipe requires just a few pantry staples, making baking a breeze and ensuring that even novice bakers can shine!
Perfect for Sharing: Great for lunchboxes, school parties, or as sweet surprises, these cookies are sure to impress classmates and teachers alike.
A Fun Activity: Get the kids involved in decorating, making it an enjoyable and creative bonding experience for the whole family, as you embrace the back-to-school spirit!
Back to School Sugar Cookies Ingredients
For the Cookie Dough
- Unsalted Butter – Adds richness and tenderness; substitute with margarine for a dairy-free option.
- Granulated Sugar – Sweetens the dough; brown sugar can impart a delightful caramel flavor.
- Eggs – Provides the necessary structure and moisture; aquafaba can be used as a vegan alternative (3 tbsp per egg).
- All-Purpose Flour – Forms the base of the cookies; a gluten-free flour blend may alter the texture but can work as a substitute.
- Baking Powder – Helps cookies rise to perfection; feel free to swap with baking soda, adjusting the quantity as needed.
For the Royal Icing
- Powdered Sugar – The sweet base for your icing, giving it that delightful sweetness.
- Meringue Powder – Helps stabilize the icing; you could use egg whites for a more traditional version.
- Water – Combines with the other ingredients to achieve the perfect icing consistency.
Create these delightful Back to School Sugar Cookies and watch as they brighten up lunchboxes and classroom parties alike!
How to Make Back to School Sugar Cookies
-
Prepare the Dough: Begin by creaming together the softened unsalted butter and granulated sugar in a large mixing bowl until light and fluffy. This should take about 2-3 minutes—it’s worth the time for that perfect texture!
-
Mix in Eggs: Add in the eggs one at a time, mixing thoroughly after each addition. This ensures that your cookie dough has the right moisture and structure.
-
Combine the Dry Ingredients: Gradually sift in the all-purpose flour and baking powder. Mix until just combined, avoiding overmixing, which can make your cookies tough. You want a soft dough!
-
Chill the Dough: Shape the dough into a disc, wrap it in cellophane, and refrigerate for at least 1 hour. This helps solidify the butter and prevents spreading during baking.
-
Roll and Cut: Once chilled, roll out the dough on a floured surface to about 1/4 inch thickness. Use fun cookie cutters to create adorable shapes like apples, pencils, and notebooks. Re-chill any cut-outs briefly for best results.
-
Bake the Cookies: Preheat your oven to 325°F (163°C). Bake the cookies for 8-10 minutes, just until they start to puff up and are pale in color. Let them cool for 1 minute on the pan before transferring them to a wire rack to cool completely.
-
Decorate with Royal Icing: While the cookies cool, prepare the royal icing by mixing powdered sugar, meringue powder, and water to your desired consistency. Once the cookies are cool, outline with icing, let dry, and then fill them in with colorful icing. Allow decorations to set completely for 2-3 hours.
Optional: Add sprinkles on top of the royal icing for an extra pop of color!
Exact quantities are listed in the recipe card below.
What to Serve with Back to School Sugar Cookies?
Delight your little ones and bring joy to your kitchen with a lineup of complementary treats that enhance your cookie-making experience.
-
Milk: The classic choice for cookies; its creamy goodness contrasts perfectly with the sweet royal icing, ensuring a delightful bite every time.
-
Fresh Fruit Skewers: Add a vibrant, nutritious element by pairing the cookies with colorful fruit. The natural sweetness of fruits like strawberries and grapes balances out the sugar.
-
Yogurt Parfaits: Layer yogurt with granola and berries for a refreshing side that adds a creamy texture and a hint of tang to your sweet treats.
-
Mini Sandwiches: Finger sandwiches filled with cheese or peanut butter offer a savory counterpoint, creating a wonderful balance of flavors that kids adore.
-
Nutty Trail Mix: Crunchy trail mix adds delightful texture and a hint of salt, making it a fun snack to enjoy alongside the vibrant cookies.
-
Hot Chocolate or Apple Cider: Embrace the autumn feel with a warm beverage that pairs deliciously, creating a cozy atmosphere that complements the cookies beautifully.
These pairing ideas ensure that your Back to School Sugar Cookies aren’t just treats—they’re part of a delightful meal that celebrates the new school year!
How to Store and Freeze Back to School Sugar Cookies
Room Temperature: Store cookies in an airtight container at room temperature for up to 1 week. This keeps them soft and delicious while maintaining their colorful appearance.
Fridge: If you prefer to keep them fresh a bit longer, you can refrigerate the cookies in an airtight container for up to 2 weeks. Just be aware that refrigeration may slightly alter the texture.
Freezer: These cookies freeze beautifully! Layer them in an airtight freezer bag or container, with parchment paper between layers, for up to 3 months. Thaw them at room temperature for a delightful treat anytime.
Reheating: If you enjoy warm cookies, pop them in the microwave for about 10-15 seconds, just to warm them up. Enjoy your festive Back to School Sugar Cookies fresh and cheery!
Expert Tips for Back to School Sugar Cookies
-
Dough Temperature: Keep the dough cool while working; warm dough can spread, leading to misshapen cookies. Re-chill cut-outs before baking.
-
Icing Consistency: Aim for a medium-stiff royal icing for outlining and a thinner flood icing for filling. Adjust with water gradually for best results.
-
Baking Time: Watch closely; cookies should be puffy and pale without browning. Overbaking can lead to dry cookies.
-
Mixing Technique: Be gentle when mixing your dough. Overmixing can toughen the cookies—just mix until ingredients are combined for the perfect soft texture.
-
Shape Ideas: Get creative with shapes! Beyond apples and pencils, try school buses or books for more diversity in your Back to School Sugar Cookies.
Make Ahead Options
These Back to School Sugar Cookies are a delightful treat that can be prepped in advance, making your busy weeknights a bit easier! You can prepare the cookie dough up to 24 hours in advance—just wrap it tightly in cellophane and refrigerate it to maintain its texture and flavor. Additionally, you can cut out the cookie shapes and keep them chilled on a baking sheet in the refrigerator for up to 3 days. To maintain quality, ensure they are well-covered to avoid drying out. When ready to bake, simply pop them straight into a preheated oven for a quick and hassle-free sweet treat your kids will love!
Variations & Substitutions for Back to School Sugar Cookies
Feel free to add your own twist to these delightful cookies; the possibilities are endless!
-
Dairy-Free: Replace unsalted butter with coconut oil or margarine to cater to dairy allergies while keeping the cookies deliciously soft.
-
Vegan: Use aquafaba (3 tablespoons per egg) instead of eggs for a completely plant-based dough, ensuring no one misses out on the fun!
-
Flavored Sugar: Swap granulated sugar for flavored sugars like vanilla or almond for a subtle lift that surprises with every bite.
-
Brown Sugar Twist: Use half brown sugar and half granulated sugar to give your cookies a richer, caramel-like flavor that kids will love.
-
Fun Mix-Ins: Add colorful sprinkles or mini chocolate chips to the dough for a festive crunch that will pique kids’ interest while they munch!
-
Zesty Lemon: Incorporate lemon zest into the dough for a refreshing citrus flavor that cuts through the sweetness, giving a tangy twist.
-
Nutty Delight: Fold in finely chopped nuts or nut butter for warmth and crunch; almond or pecan adds a lovely texture complementing the royal icing.
-
Spicy Kick: For an unexpected twist, include a dash of cinnamon or pumpkin spice to the dough for warmth and a hint of autumn flavor.
With these variations, you’ll create unique and scrumptious cookies that bring joy to your back-to-school celebrations!
Back to School Sugar Cookies Recipe FAQs
How do I select ripe ingredients for my Back to School Sugar Cookies?
Absolutely! When choosing ingredients, opt for room-temperature unsalted butter for better creaming with the sugar, as it incorporates air effectively. Check eggs for freshness by doing the float test; if they sink, they’re good, but if they float, they should be discarded.
How should I store my cookies, and how long will they last?
Very! Store your Back to School Sugar Cookies in an airtight container at room temperature for up to 1 week. This will keep them soft and flavorful. If you store them in the fridge, they can last up to 2 weeks, although this may change their texture slightly.
Advertisement
Can I freeze my decorated cookies? If so, how should I go about it?
Absolutely! To freeze these cookies, place parchment paper between layers in an airtight container or freezer bag. This will prevent sticking. They can be frozen for up to 3 months! When you’re ready to enjoy them, simply let them thaw at room temperature, and they’ll taste just as delightful as the day they were made.
What do I do if my cookie dough is too sticky?
The more the merrier when it comes to flour! If your dough feels too sticky, don’t hesitate to add a little extra flour, a tablespoon at a time, until it is manageable. Remember to chill the dough after mixing, as this also helps firm it up.
Are there any dietary considerations I should keep in mind with these cookies?
Very! For dairy-free cookies, substitute unsalted butter with margarine or vegan butter. If you’re looking for a vegan option overall, use aquafaba (about 3 tablespoons for each egg). Additionally, ensure the meringue powder you use in the royal icing is vegan-friendly, as some brands contain egg whites.
How can I prevent my cookies from spreading too much during baking?
Absolutely! Start by chilling your dough for at least 1 hour. Roll the dough out and chill the cut-out shapes briefly before placing them in the oven. Also, remember to keep your oven temperature accurate—an oven thermometer is handy if you suspect your oven runs hot or cold.

Back to School Sugar Cookies That Spark Joy and Creativity
Ingredients
Equipment
Method
- Cream together unsalted butter and granulated sugar in a large mixing bowl until light and fluffy, about 2-3 minutes.
- Add in the eggs one at a time, mixing thoroughly after each addition.
- Gradually sift in the all-purpose flour and baking powder. Mix until just combined.
- Shape the dough into a disc, wrap in cellophane, and refrigerate for at least 1 hour.
- Roll out the chilled dough on a floured surface to about 1/4 inch thickness and cut into fun shapes.
- Preheat oven to 325°F (163°C). Bake cookies for 8-10 minutes until puffed and pale. Cool on a wire rack.
- Mix powdered sugar, meringue powder, and water for royal icing. Once cookies are cool, outline and fill with icing.

